
Supra L6-2997cc 3.0L DOHC MFI (1998)
b. Remove the three bolts and the wire harness clamp to prevent the wire harness from being damaged when removing or installing the through
bolt.
Torque: 5.4 Nm (48 inch lbs.).
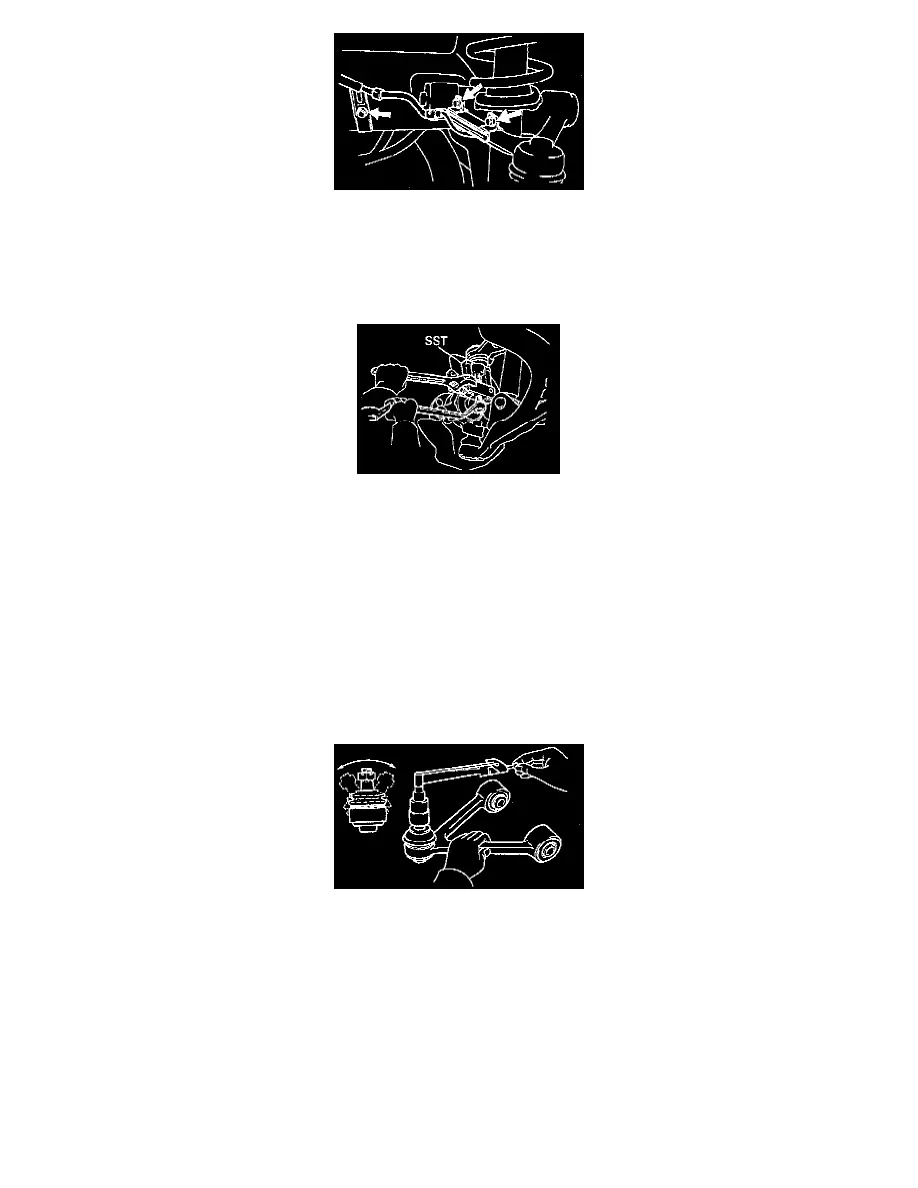
4. Disconnect upper suspension arm.
a. Remove the cotter pin and the nut.
Torque: 103 Nm (76 ft. lbs.).
b. Using Special Service Tool (SST) 09628-62011 or equivalent, disconnect the upper suspension arm from the steering knuckle.
5. Remove front fender splash shield.
6. Left hand side only: Move washer tank.
a. Remove the two washer tank set bolts.
b. Move the washer tank away from the body.
7. Remove upper suspension arm.
a. Remove the bolt and nut.
Torque: 164 Nm (121 ft. lbs.).
HINT: At the time of installation, after stabilizing the suspension, torque the nut.
b. Remove the upper suspension arm.
INSPECTION
1. Inspect the ball joint for rotation condition.
a. As shown, flip the ball joint stud back and forth five times before installing the nut.
b. Using a torque wrench, turn the nut continuously one turn every 2 - 4 seconds and take the torque reading on the fifth turn.
Torque (turning): 1.0 - 3.4 Nm (9 - 30 inch lbs.).
BUSHING REPLACEMENT