|
Rear Panelling, Replace (Models L 35, L 70)
 Remove Remove
| 1. |
Remove right and left rear lights 
|
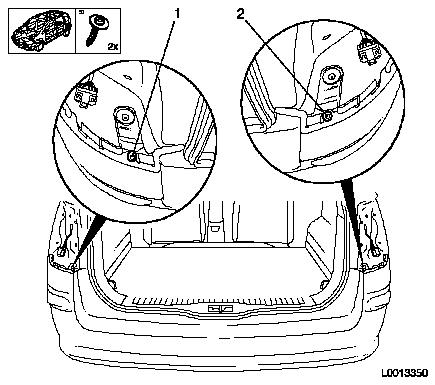
| 2. |
Release upper rear panelling
| • |
Unscrew right-hand (2) and left-hand (1) outside bolts
|
|
|
|
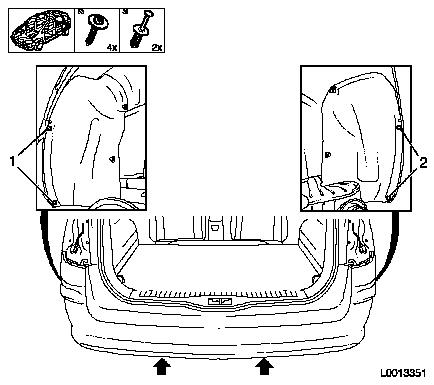
| 3. |
Release rear panelling
| • |
Unscrew 4x outside right-hand (1) and left-hand (2) bolt
|
| • |
Remove 2x bodybound rivet (arrows) from below
|
|
|
|
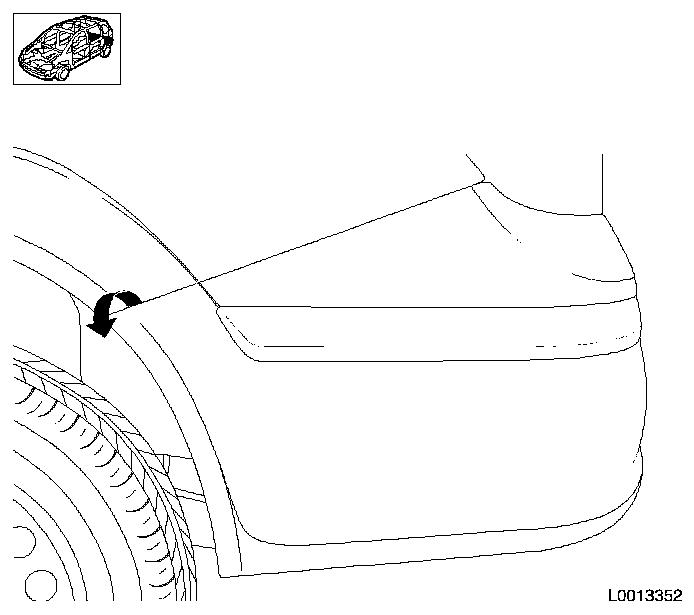
Important: Danger of damage.
Carefully disengage rear panelling from guide rails. Push side of
rear panelling upwards in the guide rail area and at the same time
pull outwards in direction of arrow.
|
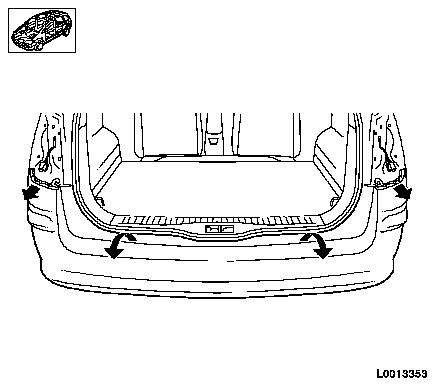
| 4. |
Sideways removal of rear panelling
Note: This requires a
second person
| • |
Unclip rear panelling on the right and the left from the guide
rail
|
|
|
|
| 5. |
Unclip rear panelling from rear guide rail
|
|
|
| 6. |
When replacing the rear panelling, transfer the attaching parts
|
 Install
| 7. |
Position rear panelling
Note: This requires a
second person
| • |
Clip rear panelling into left guide rail
|
| • |
Clip rear panelling into rear guide rail
|
| • |
Clip rear panelling into right guide rail
|
|
| 8. |
Attach rear panelling
| • |
Tighten 4x bolt, outside right and left 2.5 Nm
|
|
| 9. |
Attach rear panelling at the top
| • |
Tighten bolt, outside right and left 2.5 Nm
|
|
| 10. |
Install right and left rear lights
|
|
