|
Engine Control Unit, Remove and Install
Important: When
returning a replaced control unit to Opel, do not clear the fault
memory.
Note: The security
code must be reset using TECH 2 when replacing or interchanging the
engine control module (before removal)
 Remove Remove
| 2. |
Read out control unit data with TECH 2
| • |
Connect TECH 2 with diagnostic plug
|
| • |
Establish communication with TECH2 
|
| • |
End communication with Tech 2
|
| • |
Disconnect TECH 2 from diagnostic plug
|
|
| 3. |
Disconnect battery
Note: The battery must
not be disconnected until all consumers (e.g. fan) have ceased
operation. However, a minimum waiting time of 30 sec. must be
observed
| • |
Detach earth connection from earth terminal
|
|
| 4. |
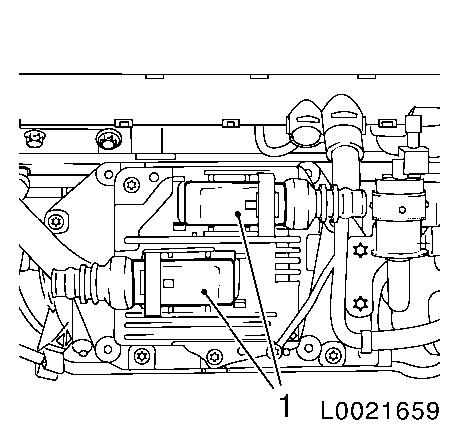
Remove engine control unit
| • |
Disconnect 2x wiring harness plug, engine control unit (1)
|
|
|
|
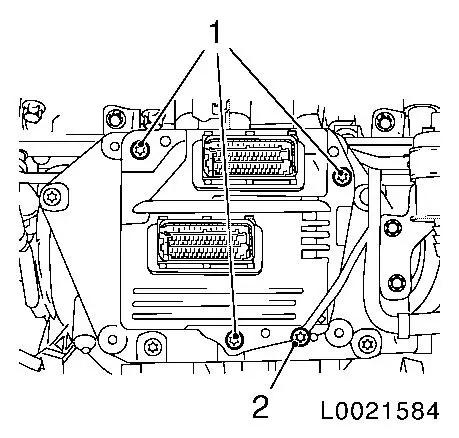
| 5. |
Detach engine control unit from control unit bracket
|
|
|
 Install
| 6. |
Install engine control unit
| • |
Connect 2x wiring harness plugs
| – |
Ensure the plug contacts are perfect and perfectly seated
|
|
|
| 7. |
Connect battery
| • |
Attach earth connection to negative terminal
|
|
| 8. |
Upload control unit data with TECH 2
Note: When replacing
the engine control unit: Observe ECO Service-Flex
| • |
Connect TECH 2 with diagnostic plug
|
| • |
Establish communication with TECH2
|
| • |
Disconnect TECH 2 from diagnostic plug
|
|
| 9. |
Program volatile memories
|
|
