|
Windscreen, remove and install or replace (Model F
08, F 68, F 08 & W5L)
 Remove Remove
| 1. |
Detach water deflector
|
| 2. |
Remove trim strip from the side of the windscreen 
|
| 3. |
Remove inner panelling for upper A-pillar
|
| 6. |
Detach inside rear view mirror
|
| 7. |
Release moulded headlining in the area of the windscreen
|
| 8. |
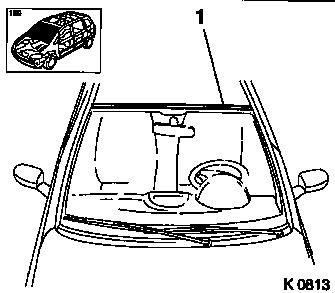
Pull out upper windscreen trim strip with weatherstrip (1)
Note: Upper windscreen
trim strip with seal cannot be removed without being destroyed and
must be replaced. The upper windscreen trim strip with seal is
available from the Aftersales delivery range.
|
|
|
| 9. |
Pull lower seal away from windscreen
|
| 10. |
Remove glass from windscreen
Note: To avoid damaging
paintwork, protect all adjoining paint surfaces in cutting area of
windscreen with masking tape. Self-adhesive rubber spacers are
located in the lower area of the windscreen. Damaged rubber spacers
must be replaced.
| • |
Remove windscreen with Wire Cutting Tool MKM-589-B (I)
|
|
|
|
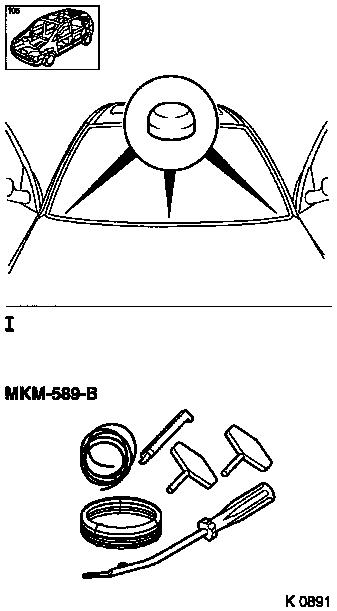
| 11. |
Cut cutting wire to the correct length
Note: Cutting wire
length approx. 400 mm .
|
|
| 12. |
Push cutting wire through the bead of adhesive from inside to
outside through the bead of adhesive using a pair of pliers (Figure
I)
Note: Start at position
(1) when cutting out windscreen.
|
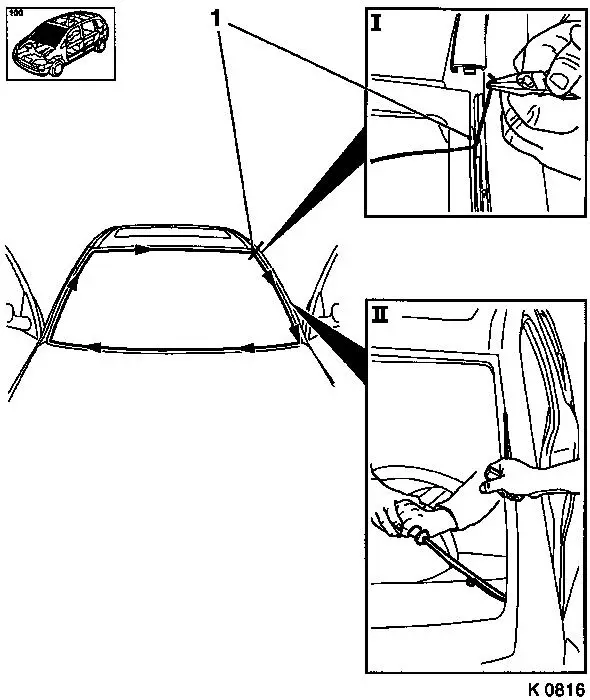
| 13. |
Remove glass working round the circumference of the windscreen
(figure II)
|
| 14. |
Lift windscreen from frame using suction lifter and lay aside
on holding device.
|
|
 Install
|
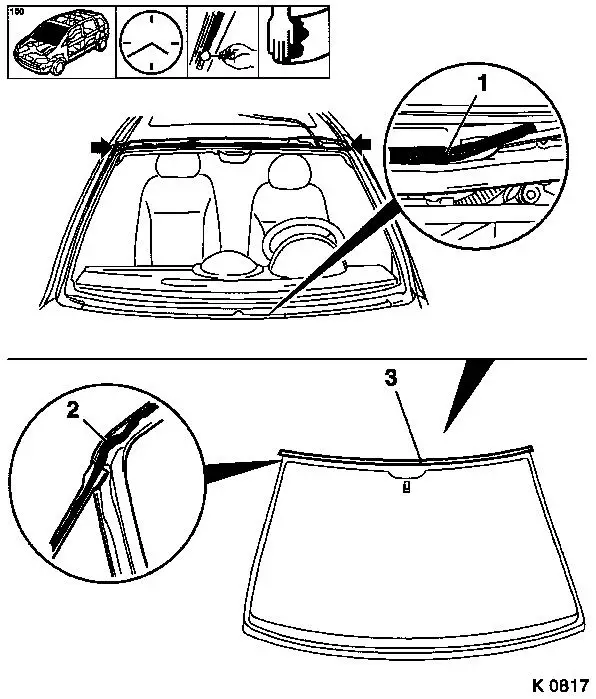
| 15. |
If re-using windscreen:
| • |
Immediately before installing the windscreen, remove the
residue of the beads of adhesive (1) and (2) on the windscreen and
frame with a standard commercial scraper or Scraper MKM-846-70 to a depth of 1
mm
|
| • |
Remove masking tape from frame without leaving any residue
|
| • |
Position trim strip at the top of the windscreen with the
weatherstrip (3) on the windscreen
|
| • |
Position lower seal on windscreen
|
| • |
Apply glass adhesive
Note: Apply adhesive to
residual bead on the glass side. Use precut applicator nozzle from
adhesive set. Never apply primer to the residual adhesive bead (no
adhesion). After applying the glass adhesive, insert glass
immediately, press gently into the adhesive bed and secure. Minimum
depth of glass adhesive after securing is 4
mm .
|
|
|
|
| 16. |
For new windscreens:
| • |
Clean/activate area of adhesive on windscreen and then wipe
dry
|
| • |
Position windscreen trim strip with weatherstrip
|
| • |
Apply black glass primer
| – |
Leave primer to dry in air for 15 minutes
|
|
| • |
Apply glass adhesive
Note: Use precut
applicator nozzle from adhesive set.
|
| • |
After applying the glass adhesive, insert glass immediately,
press lightly into the bed of adhesive and fix
Note: Minimum depth of
glass adhesive after fixing is 4 mm
.
|
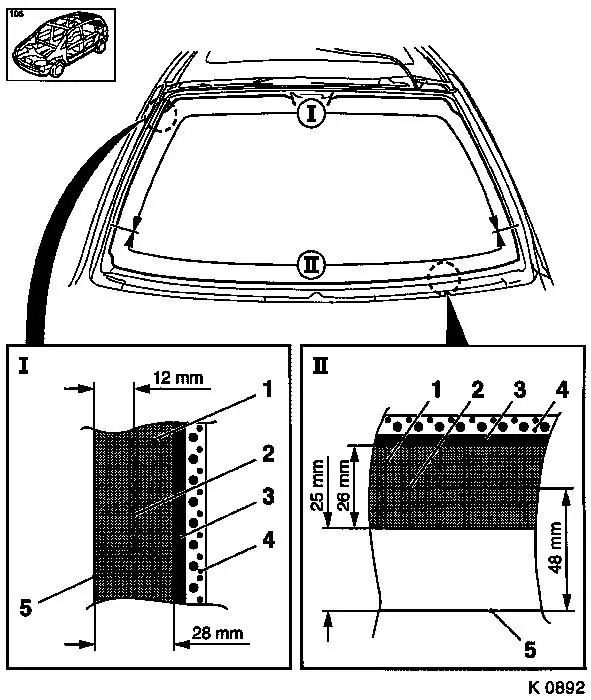
|
| 17. |
Areas I and II
|
1
|
Primer area
|
|
2
|
Adhesive bead in centre
|
|
3
|
Free area (no primer applied)
|
|
4
|
Screen printing run-out
|
|
5
|
Glass edge
|
|
|
|
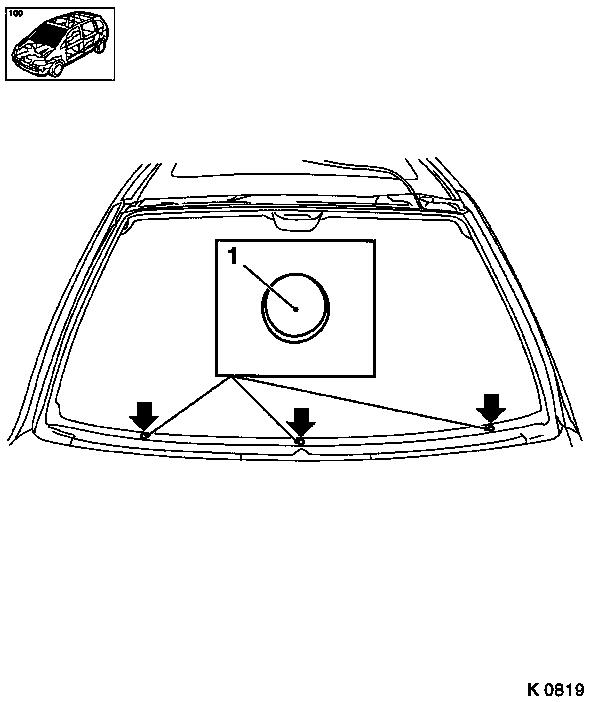
| 18. |
For re-used and new windscreens:
| • |
Attach self-adhesive rubber spacer (1) on frame of
windscreen.
Note: The rubber spacer
is available as an individual part from the Aftersales delivery
range.
| – |
Attach rubber spacers at the positions shown. The positions are
marked by embossed marks in the body.
|
|
|
|
|
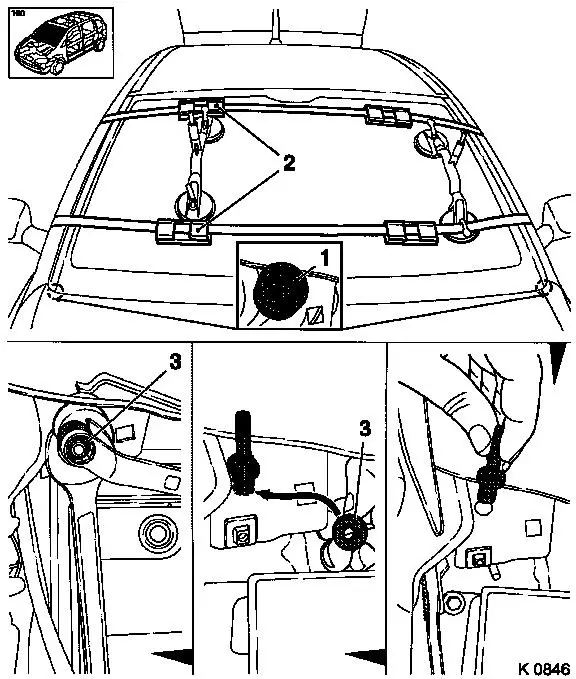
| 19. |
Install windscreen
| • |
Lift windscreen with Suction Lifter MKM-641 , position and upper edge of frame and
release
|
| • |
Press windscreen gently into the bed of adhesive until the
upper windscreen trim strip sits evenly with the weatherstrip in
the roof and A-pillar area
|
| • |
Fit Fixing Aids KM-6187-1 in the
lower area (1) on the body
|
| • |
Align windscreen evenly on the frame with fixing aids
|
|
| 20. |
Check correct seating of windscreen and tighten nuts (3) of
fixing aids.
|
| 21. |
Secure windscreen in place with Tension Belt (2) MKM-591 .
|
|
Important: Comply with lay-over
times for freshly bonded panes of glass in conjunction with glass
adhesive and airbag equipment and follow the instructions on
processing from the manufacturer of the adhesive and on the
packaging.
|
| 22. |
Remove Fixing Aids KM-6187-1
|
| 23. |
Install interior rear view mirror
|
| 24. |
Attach interior light
|
| 26. |
Attach upper A-pillar inner panelling
|
| 27. |
Attach windscreen trim strip at the side
|
| 28. |
Attach water deflector
|
|
