|
Wing, Replace
 Remove Remove
| 1. |
Detach front panelling
|
| 2. |
Detach wind protection panelling 
|
| 3. |
Remove bulkhead closing part
|
| 4. |
Detach wing protective panelling
|
| 6. |
Remove additional indicator lamps
|
| 7. |
Remove the front panelling side guide rails
|
| 8. |
Remove wing insulation inside
|
|
|
|
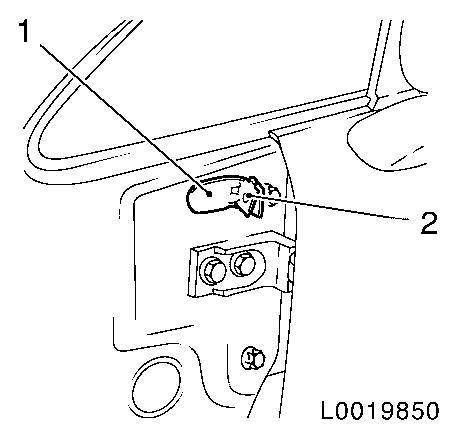
| 9. |
Remove edge gap cover on wing top
Note: When replacing
the left wing, secure the bonnet against falling using EN-48375 !
| • |
unclip from filler on A-pillar
|
|
|
|
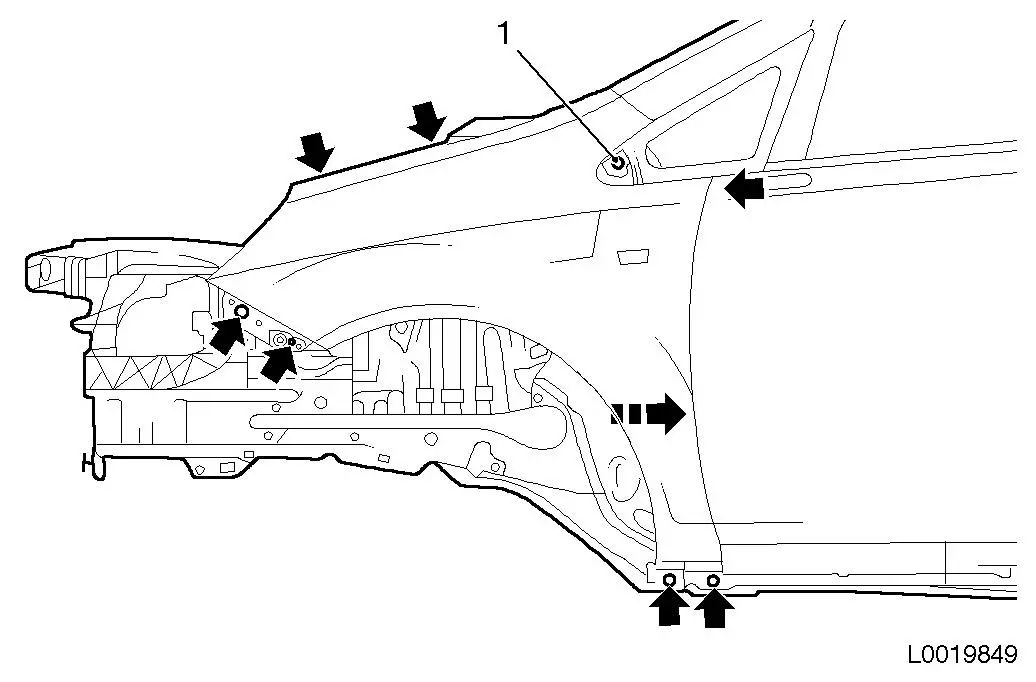
| 10. |
Remove wing
| • |
Separate seam on A-pillar bottom (2)
|
| • |
Unscrew 8x bolts
Note: Detach bolt below
window on A-pillar (1) using an open-ended wrench from below!
|
|
|
 Install
Important: On wing bracket
A-pillar top, turn the flange round!
|
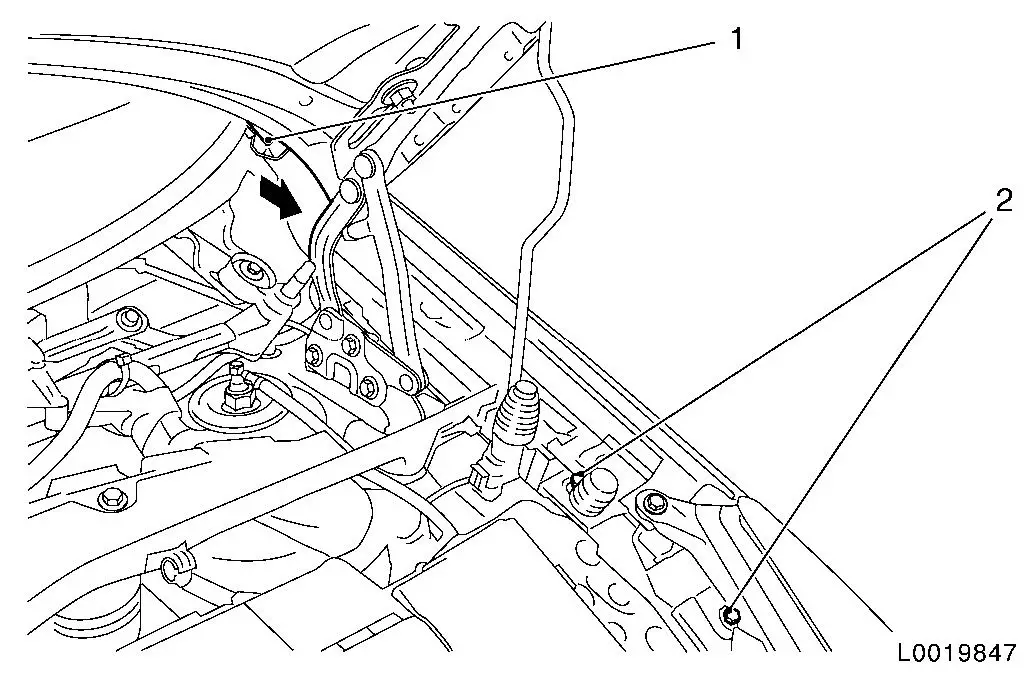
| 11. |
Remove washer (2) on wing bracket A-pillar top (1) and fit
inverted for flange reversal.
|
|
|
Important: Because of the flange
reversal, the bolt on wing bracket A-pillar top must be fitted from
the inside! The reference gap from wing to front door must be
adjusted by alignment if necessary!
|
| 12. |
Install wing
|
|
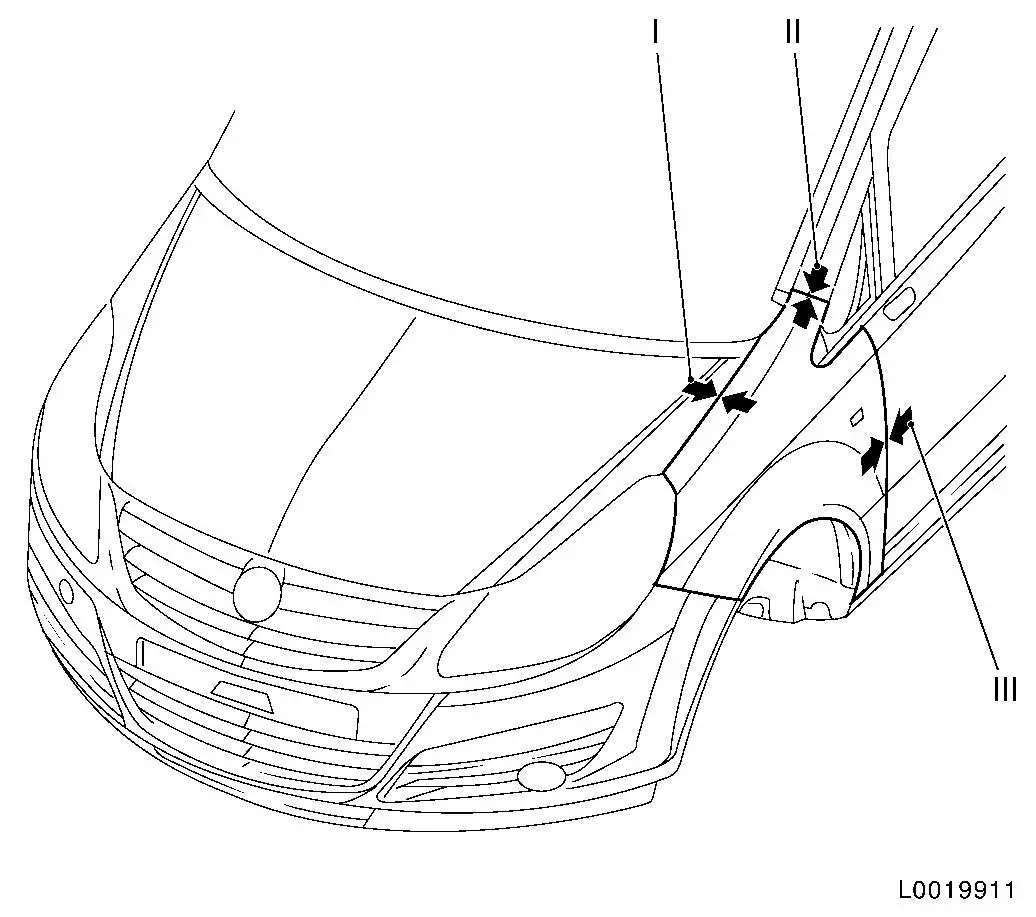
| 13. |
Adjust wing
|
Position:
|
Dimensions in mm:
|
Tolerance in mm.
|
|
I
|
3.5
|
+/- 1
|
|
II
|
2,4
|
+/- 1.2
|
|
III
|
3.8
|
+/- 1
|
|
|
| 14. |
Fit gap cover
| • |
clip into filler A-pillar
|
|
| 15. |
Install wing insulation inside
|
| 16. |
Install the front panelling side guide rails
|
| 17. |
Attach additional indicator lamp
|
| 19. |
Attach wing protective panelling
|
| 20. |
Attach bulkhead closing part
|
| 21. |
Install wind protection panelling
|
| 22. |
Attach front panelling
|
|
