|
Free-wheel Lock Cylinder – Front Door,
Remove and Install
 Remove Remove
Front door inner panelling – see operation "Front Door
Inner Panelling, Remove and Install". Partially remove water vapour
barrier. Handle shell with lock cylinder – 2 nuts. Detach
linkage. Disconnect wiring harness plug.
|
|
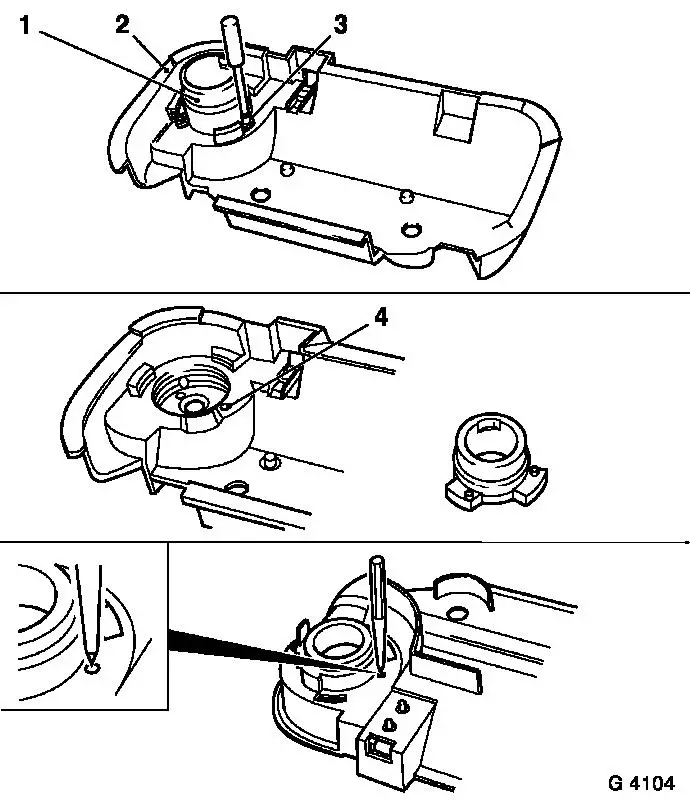
Detach free-wheel housing (1) from bracket (2). Remove roll pin
(3) with punch, diameter 2.5 mm .
Remove bracket
Note: The hole
produced (4) will not result in damage
|
|
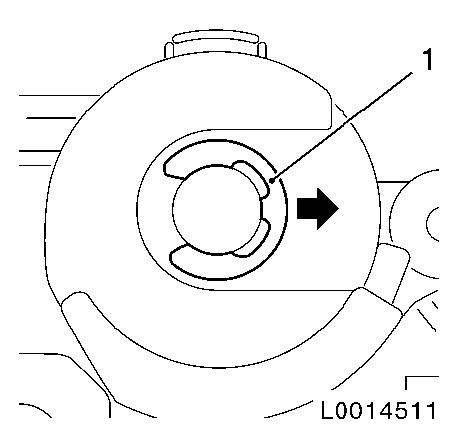
Unclip retaining clip (1) on back from free-wheel housing and
roller control. Remove freewheel housing from latch.
|
|
 Install
|
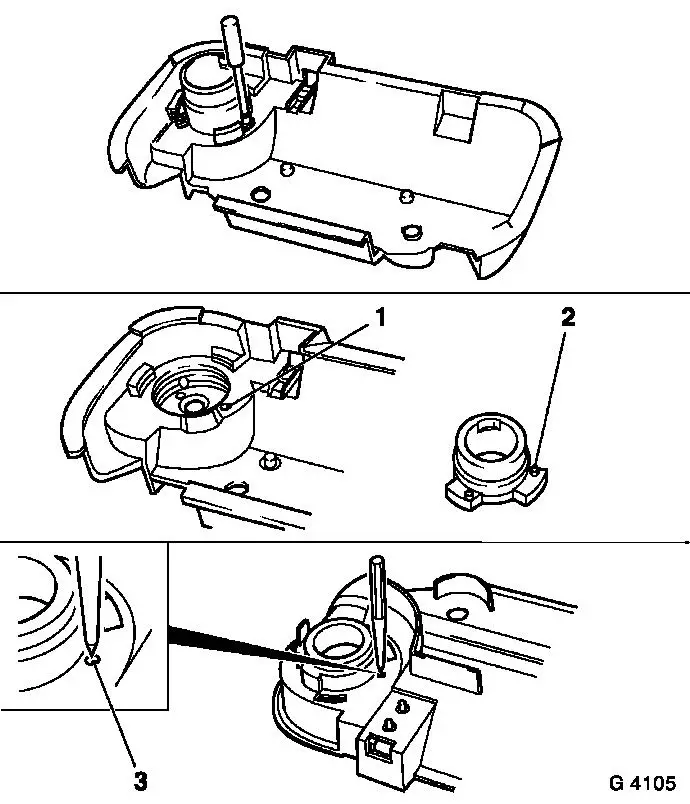
Insert new free-wheel housing.
Note: Ensure that the
tensioning spring (1) is inserted correctly in the housing.
Illustration shows housing without roller control for a clearer
view.
Clip in the retaining clip on the back of the free-wheel
housing
|
|
|
|
Right hand bore (2) must align with hole (1) in the bracket.
Drive in new roll pin with punch. Caulk roll pin on the back of
bracket with the point of a punch (3). Install handle unit.
Connect wiring harness plug. Attach linkage. Install handle
shell with lock cylinder – 2 nuts. Install water vapour
barrier, front door inner panelling.
|
|
