
Golf Mk6
 Note
Note
|
|
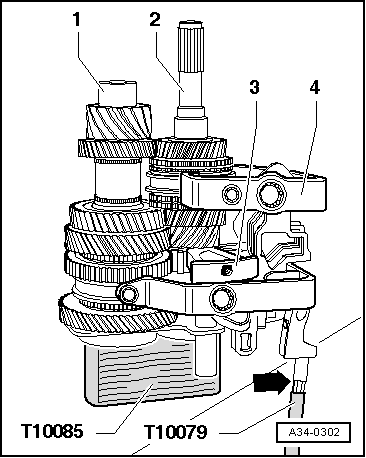
|
|
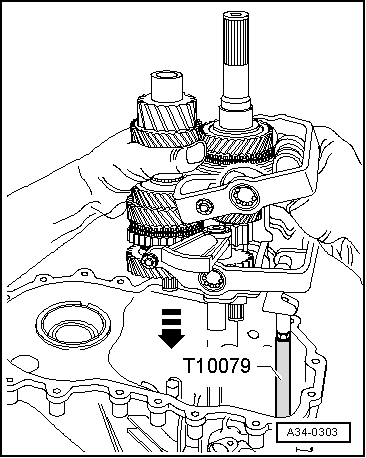
|
Note
|
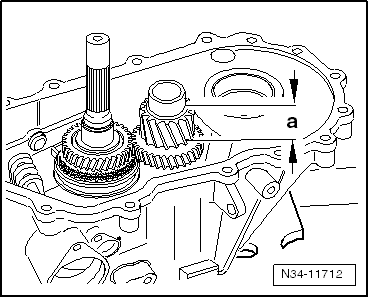
|
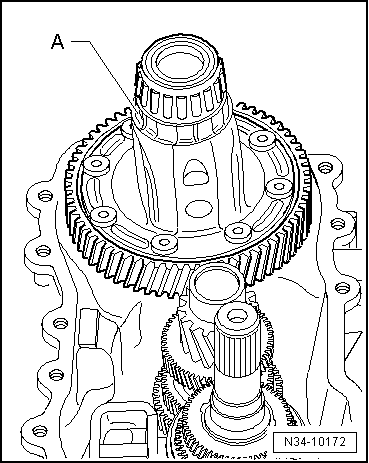
| Dimension -a- = 30.6 mm | |
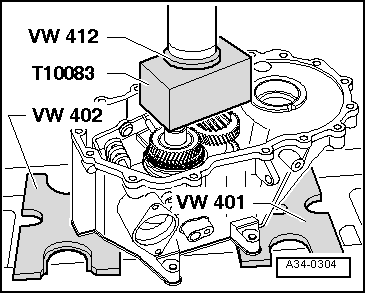
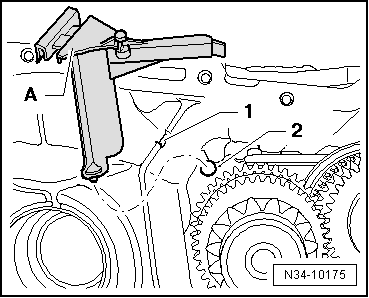
| Placing shim -T10083/1- onto input shaft → Fig. |
|
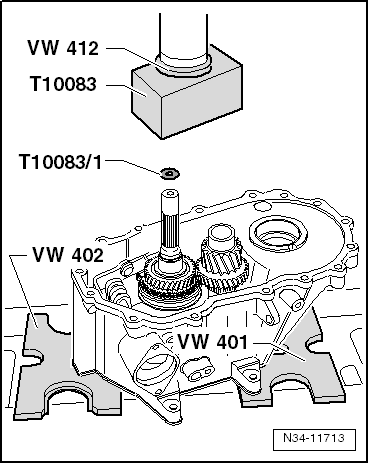
|
|
|
|
|
|
|
Note
|
|
|
|
|

|
|
|
|
|
|
|
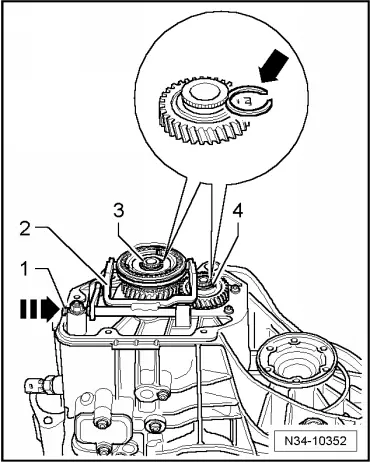
| Thickness (mm) | |
| 2.00 | 2.10 |
| 2.20 | |
|
|
|