
Golf Mk6
| Removing and installing oil sump |
 Caution
|
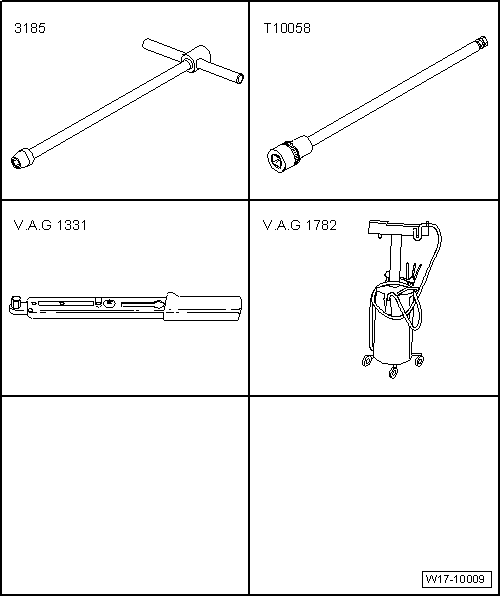
| Special tools and workshop equipment required |
| t | 10 mm jointed spanner -VAS 3185- |
| t | Allen key, long reach -T10058- |
| t | Torque wrench (5…50 Nm) -V.A.G 1331- |
| t | Used oil collection and extraction unit -V.A.G 1782- |
 Note
Note
|
|
|
|
|
|
|
|

|
 WARNING
Note
|

|
|
|
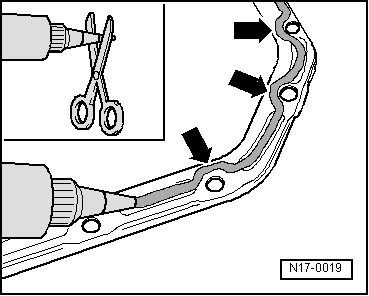
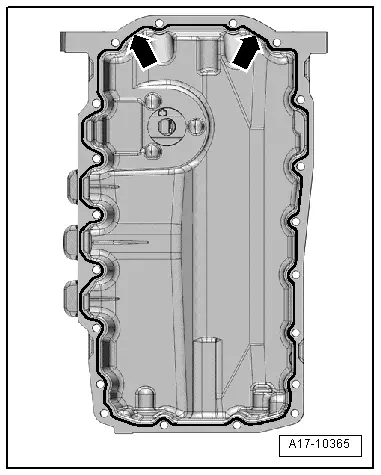
Note
Note
Note
|
|