
Golf Mk6
|
|
|
|
|
|
|
|
|
 Note
Note
|
|
|
|
|
|
|
|
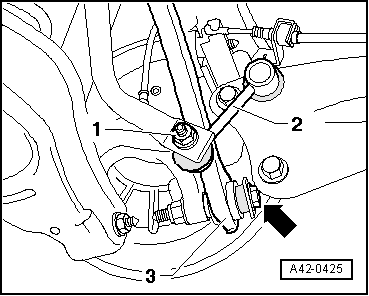
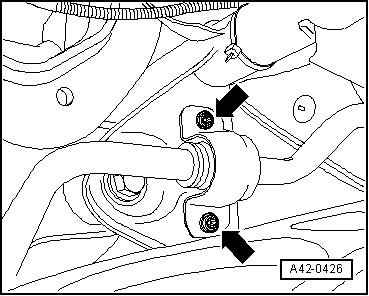
| Specified torques |
| Component | Specified torque | ||||
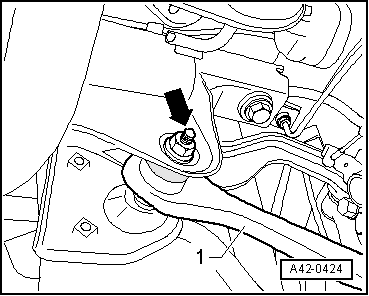
Track rod to wheel bearing housing
| 130 Nm + 90° | ||||
Track rod to subframe
| 90 Nm + 90° | ||||
Anti-roll bar to subframe
| 25 Nm + 45° | ||||
Anti-roll bar to coupling rod
| 45 Nm |