
Passat (B3)
 |
|
|
 |
|
|
 |
|
|
 |
|
|
 |
|
|
 |
|
|
 |
|
|
 |
|
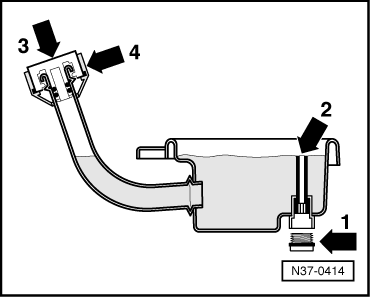
The strainer is fitted in the ATF cooler pipe. |
 |
|
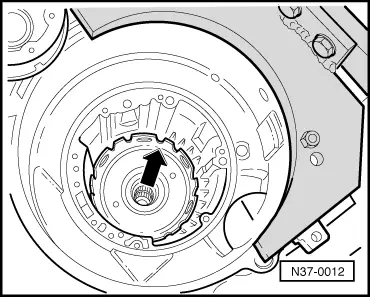
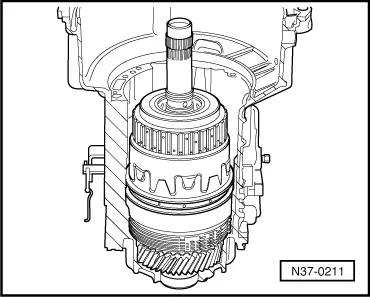
On gearboxes from build date 14 04 7 the clutches -K1- and -K3- are pressed together. Clutch -K1- must only be pressed off -K3- if one of the clutches is to be dismantled or renewed. Pressing -K1- off -K3- . |
 |
|
|
 |
|
|
 |
|
|
 |
|
|
 |
|
 |
|
Pressing clutch -K1- off -K3- On gearboxes from build date 14 07 7 the clutches -K1- and -K3- are pressed together. |
 |
|
|
 |
|
|
 |
|
|
 |
|
|
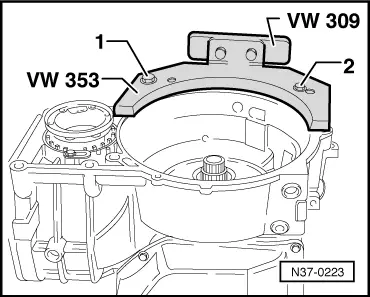
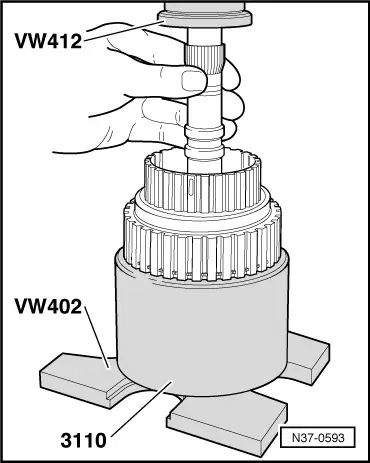
Special tools, testers and auxiliary items
|
 |
|
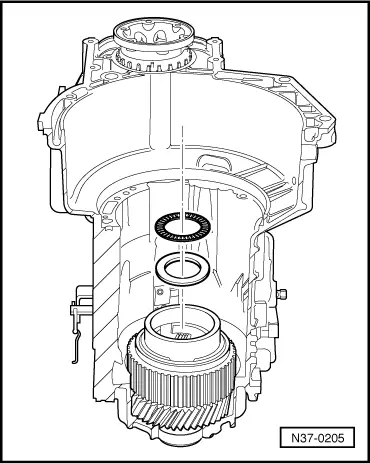
After replacing planet carrier, adjust => Page 37-102 . |
 |
|
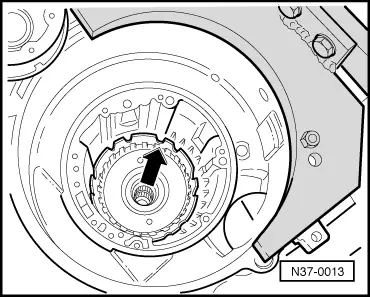
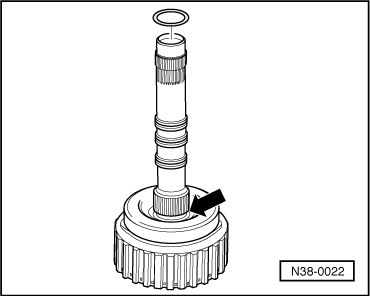
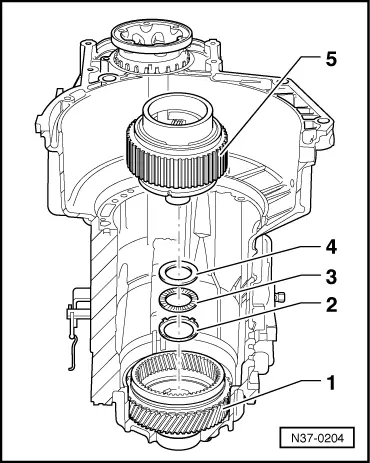
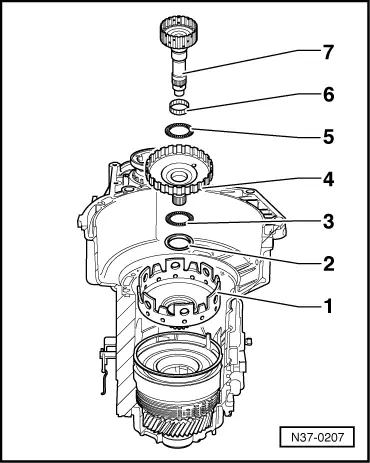
1 - Input gear is installed in gearbox housing => Page 37-66 . 2 - Axial needle bearing washer, insert smooth side into input gear. 3 - Axial needle bearing 4 - Axial needle bearing washer 5 - Install planet carrier with seal fitted |
 |
|
|
|
|
Thickness of pressure plate varies according to number of plates, replacement parts are allocated according to gearbox code letters.
|
 |
|
|
When replacing
then adjust -B1-, => Page 37-110 .
|
|
|
 |
|
1 - Large sun wheel 2 - Needle bearing washer
3 - Axial needle bearing 4 - Large input shaft 5 - Axial needle bearing 6 - Needle bearing 7 - Small input shaft |
 |
|
|
|
|
On gearboxes from build date 14 04 7 the clutches -K1- and -K3- must be pressed together before installing.
|
 |
|
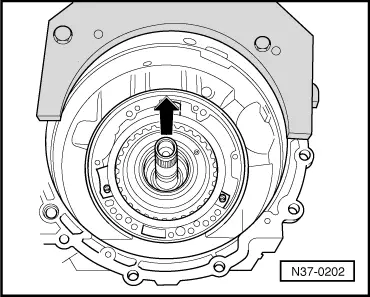
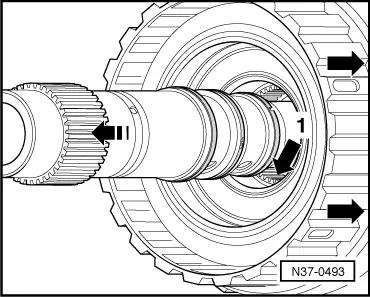
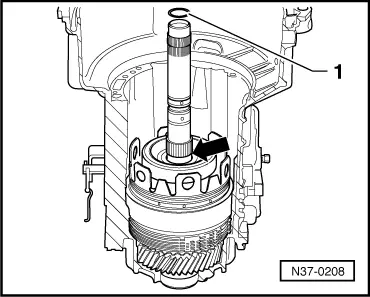
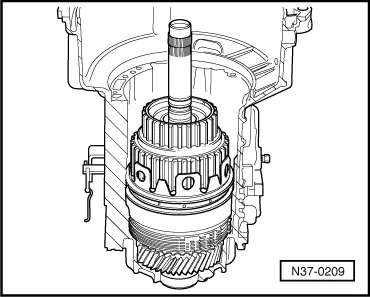
After pressing clutches together they can only be inserted into the gearbox together. |
 |
|
|
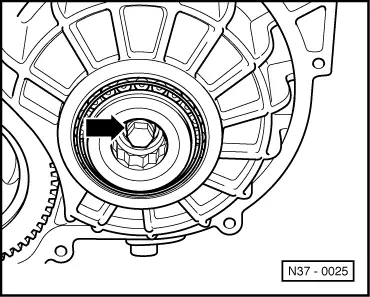
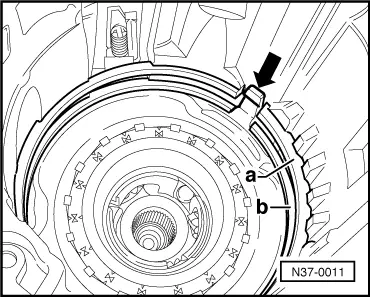
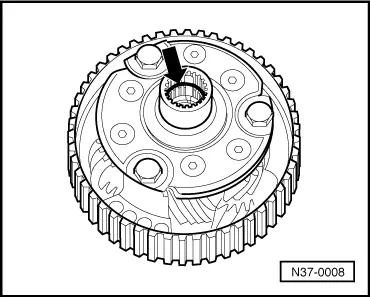
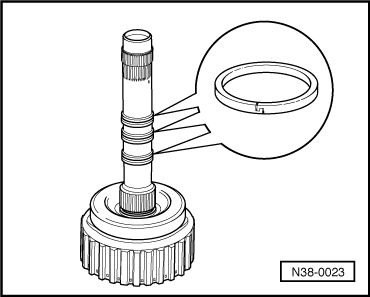
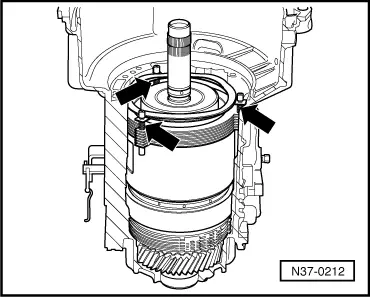
Resistance of O-ring is overcome when connecting together (by hand!) → If -K1- splines -arrow 1- are not visible.
|
|
|
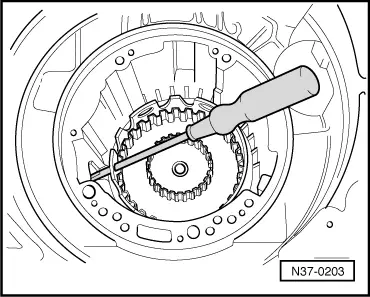
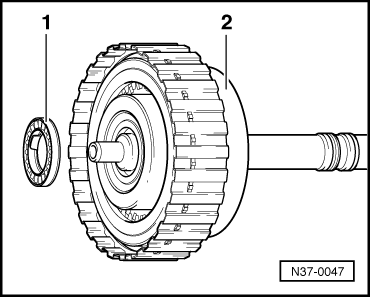
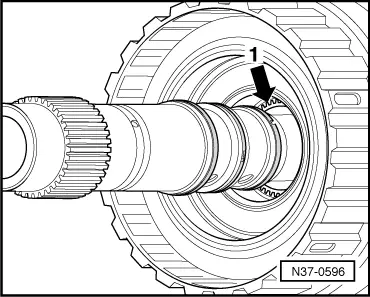
1 - Axial needle bearing with thrust washer
2 - 3rd and 4th gear clutch -K3- |
 |
|
|
 |
|
|
 |
|
|
 |
|
|
 |
|
|
 |
|
When replacing
|
|
|
then the 2nd and 4th gear brakes -B2- are to be adjusted, => Page 37-124 . These components are allocated as replacement parts according to gearbox code letters.
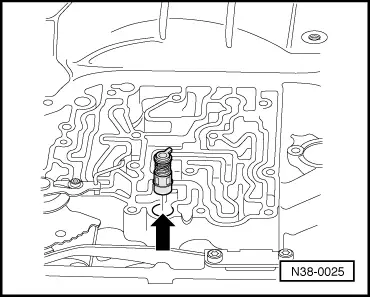
Strainer is located in ATF cooler pipe. |
 |
|
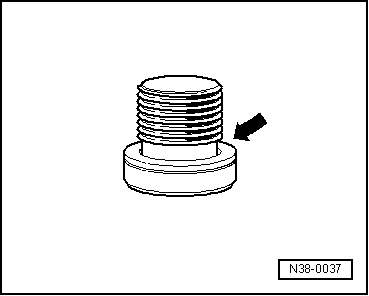
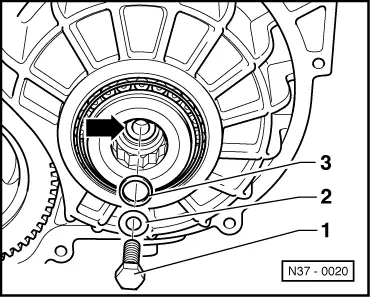
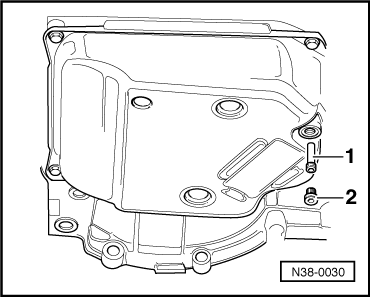
Ensure that the O-ring is not damaged. Tightening torque: 8 Nm.
|
|
|
|
|
|
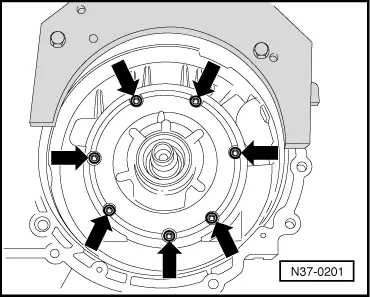
Tightening torque: 8 Nm. |
 |
|