volkswagen Workshop Repair Guides

Volkswagen Workshop Service and Repair Manuals

Checking hydraulic bucket tappets > < Removing and installing camshaft oil seal
4-cyl. fuel injection engine (2-valve), Mechanics
Servicing valve gear
Removing and installing camshaft
 
V15-0849

Removing

  • ‒ Remove toothed belt guard upper part.
  • ‒ Loosen camshaft sprocket (counter-hold with 3036).
  • ‒ Set camshaft sprocket to TDC No. 1 cylinder mark by turning the crankshaft.

→ Engine codes AAM, ABS, ADZ

Mark on camshaft sprocket must align with arrow on toothed belt guard.

 
V15-1234

→ Engine code 2E, ADY, AGG

  •      A -     Cylinder head cover fitted

Arrow on cylinder head cover must align with mark on camshaft sprocket.

  •      B -     Cylinder head cover removed

Mark on camshaft sprocket must align with cylinder head.

Continued for all engine codes

  • ‒ Remove cylinder head cover.
  • ‒ Release tensioner and take off toothed belt.
  • ‒ Pull off camshaft sprocket.
  • ‒ Remove woodruff key from camshaft.
  • ‒ First remove bearing caps 1 and 3.
  • ‒ Slacken off bearing caps 2 and 5 alternately and diagonally.

Installing

Notes:

  • ◆ When installing the camshaft No. 1 cylinder cams must point upwards.
 
V15-0098
  • ◆ → When installing the bearing cap note offset, before installing camshaft fit bearing caps and determine fitting position.
  • ‒ Oil camshaft running surfaces.
  • ‒ Tighten bearing caps 2 and 5 alternately and
    diagonally to
         20 Nm.
  • ‒ Install bearing caps 1 and 3 and also tighten to
         20 Nm.
  • ‒ Install camshaft sprocket and tighten to
         80 Nm
    (counter-hold with 3036).
  • ‒ Install and tension toothed belt (adjusting valve timing)
    .

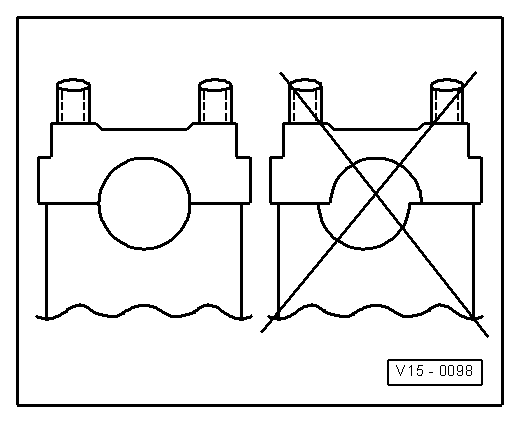
Note:

When new tappets have been installed the engine must not be started for about 30 minutes. Hydraulic compensation elements must settle (otherwise valves will strike pistons).

Checking hydraulic bucket tappets > < Removing and installing camshaft oil seal