volkswagen Workshop Repair Guides

Volkswagen Up! Service & Repair Manuals – Workshop Guides

Dismantling and assembling heater and air conditioning unit > < Removing and installing evaporator temperature sensor
Removing and installing heater and air conditioning unit
Special tools and workshop equipment required
   
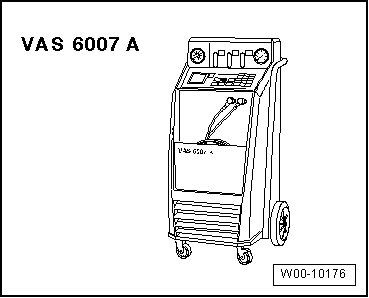
t  Air conditioner service station -VAS 6007A- or later model.
  W00-10176
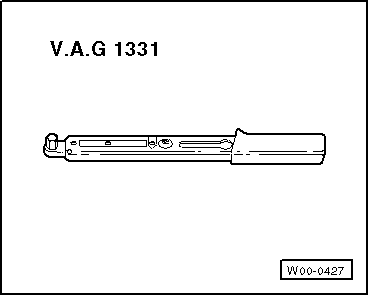
t  Torque wrench -V.A.G 1331/- (5…50 Nm)
  W00-0427
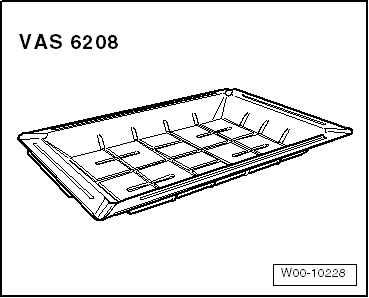
t  Drip tray for workshop hoist -VAS 6208-
  W00-10228
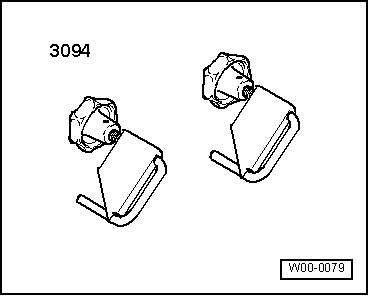
t  Hose clamps up to 25 mm -3094-
t  Compressed air gun, commercially available.
Removing
–  Disconnect battery → Electrical system; Rep. gr.27.
  WARNING
Danger from refrigerant escaping under pressure!
Freezing of skin and other body parts.
l  Evacuate the refrigerant and then open the refrigerant circuit immediately.
l  If more than 10 minutes have elapsed since evacuation and the coolant circuit has not been opened, evacuate the refrigerant again. Pressure builds up in the coolant circuit as a result of secondary evaporation.
–  Remove dash panel → General body repairs, interior; Rep. gr.70.
–  Cover floor covering at front.
  WARNING
The cooling system remains pressurised while the engine is warm!
Danger of scalding due to hot steam and coolant.
Reduce excess pressure by covering the cap of the coolant expansion tank with cloths and opening it carefully.
  W00-0079
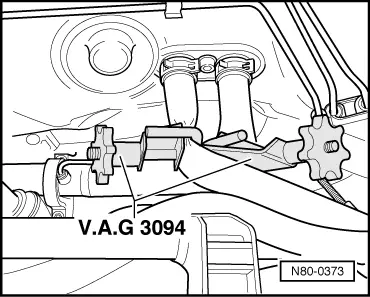
–  Clamp off coolant hoses in engine compartment using hose clamps up to 40 mm -3093- and remove from heat exchanger.
  N80-0373
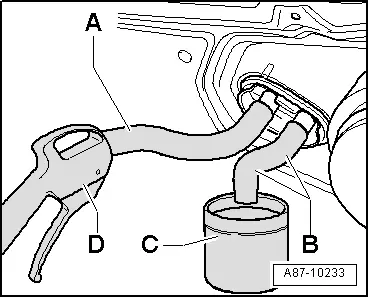
–  Push a piece of hose -A- and -B- onto both connections to heat exchanger.
–  Hold a container -C- under hose from lower connection -B-.
–  Using a compressed air gun -D-, carefully blow coolant out of heat exchanger into container -C- via hose -A-.
–  Extract refrigerant, e.g. with air conditioner service station -VAS 6007A- or later model.
  WARNING
Danger from refrigerant escaping under pressure!
Freezing of skin and other body parts.
l  Evacuate the refrigerant and then open the refrigerant circuit immediately.
l  If more than 10 minutes have elapsed since evacuation and the coolant circuit has not been opened, evacuate the refrigerant again. Pressure builds up in the coolant circuit as a result of secondary evaporation.
  A87-10233
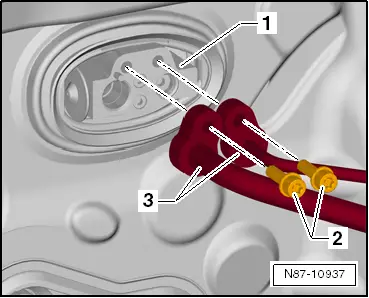
–  Unscrew bolts -2- (12 Nm) for refrigerant lines -3- which are accessible from engine compartment.
–  Disconnect refrigerant lines from expansion valve -1-.
  Note
t  Seal open connections.
t  To seal open connections of expansion valve, use, for example, sealing cover from spare expansion valve.
–  Cover floor covering in interior of vehicle with a waterproof foil and water absorbing paper.
–  Disconnect connectors from heater and air conditioner unit.
–  Remove intermediate piece for defroster vent → Chapter.
–  Remove intermediate piece for centre vent → Chapter.
  N87-10937
1 - Central pipe of dash panel
q   Removing and installing → General body repairs, interior; Rep. gr.70.
2 - Bolt
q   Qty. 3
q   3.5 Nm
3 - Bolt
q   Qty. 3
q   3.5 Nm
4 - Heater and air conditioning unit
q   Removing and installing → Chapter

  Note
t  Install all cable ties and other fasteners for the wiring harness at the same places from which they were detached or cut when the air conditioner was removed.
t  The air conditioning wiring harness is removed along with the heater and air conditioning unit.
–  Unscrew bolts -2- and -3-.
–  Remove central pipe of dash panel -1- → General body repairs, interior; Rep. gr.70.
–  Remove heater and air conditioning unit.
Installing
–  Install in reverse order.
–  Ensure that gasket between condensate drain and plenum chamber bulkhead is properly seated.
–  After installation, fill coolant → Rep. gr.19.
–  Fill refrigerant → Chapter.
   

Dismantling and assembling heater and air conditioning unit > < Removing and installing evaporator temperature sensor