940 L4-2.3L SOHC VIN 88 B230F (1992)

-
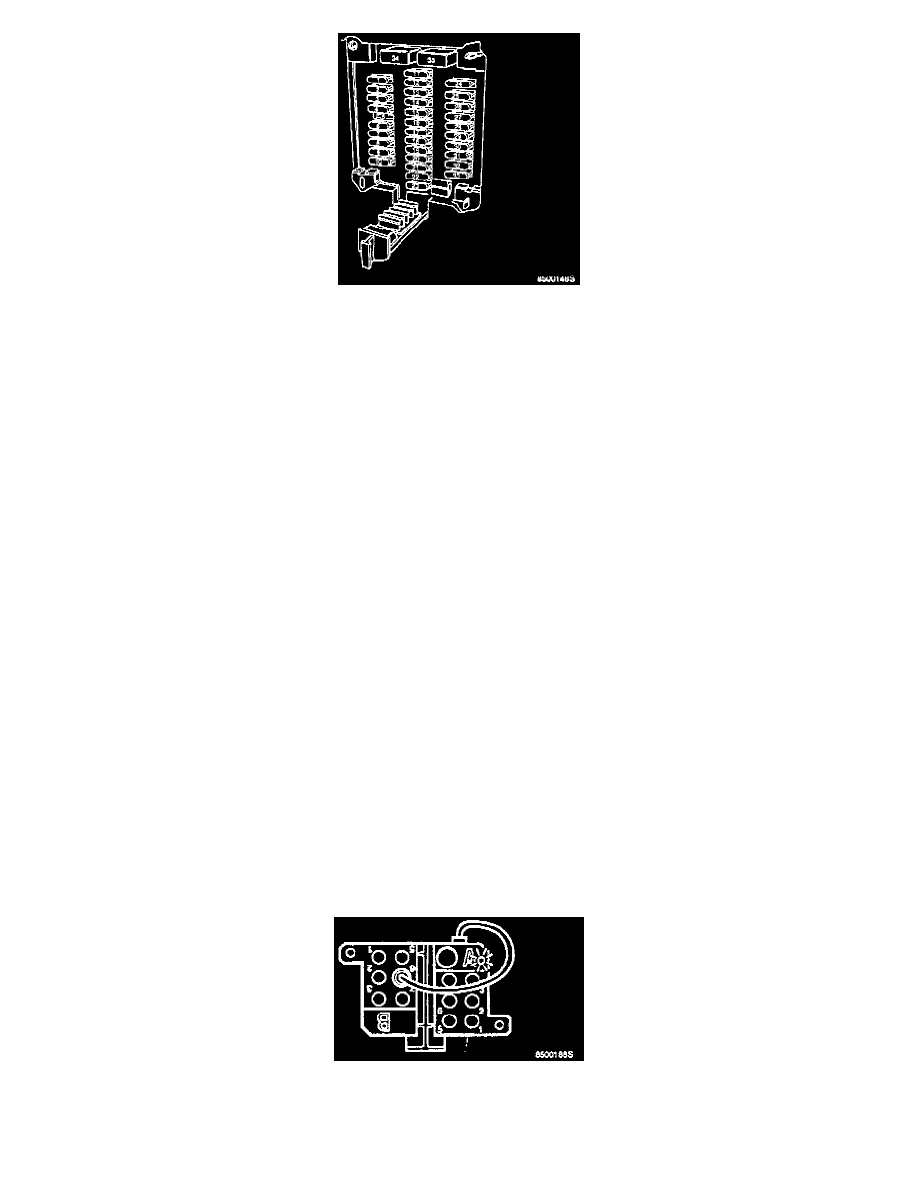
Remove circuit breaker 35. Fusebox is located at left-hand end of dashboard.
D4
Ignition must be off for at least 5 seconds before performing this step.
-
Press and hold any button on control panel of seat to be tested while switching ignition on. Keep button depressed for at least 1 second after turning
on ignition.
D5
-
Reinstall circuit breaker 35.
Diagnostic system must now be activated within one minute, i.e., test button must be pressed once to select DTM 1 (self-diagnostics) or four times to
select DTM 4 (calibration).
-
Control module will exit diagnostic function after approx. 1 minute if no activity takes place between module and DLC. Module will also exit
diagnostic function if ignition is switched off for at least 5 seconds. Seat cannot be operated either with control buttons or memory buttons while
using diagnostic system.
Codes for DTM 1 are listed and explained in the table on page 9 of the SM; use of DTM 4 (calibration) is described on SM page 7.
Method For Version 5 (E)
Applies to:
940/960 from 1994 on
Unlike later 1993 variants, fault tracing or calibration of power seats in the above models can be carried out without removing the fuses.
Note:
The seat can be operated with the ignition switched off.
E1
-
Switch off ignition.
E2
-
Manual fault tracing/calibration: Connect test lead from DLC A to socket No. 6 on DLC B.
-
Fault tracing/calibration using VST with OBD System Memory Cassette: Connect instrument to DLC B.
