
940 L4-2.3L SOHC VIN 88 B230F (1992)
Control Arm Bushing: Service and Repair
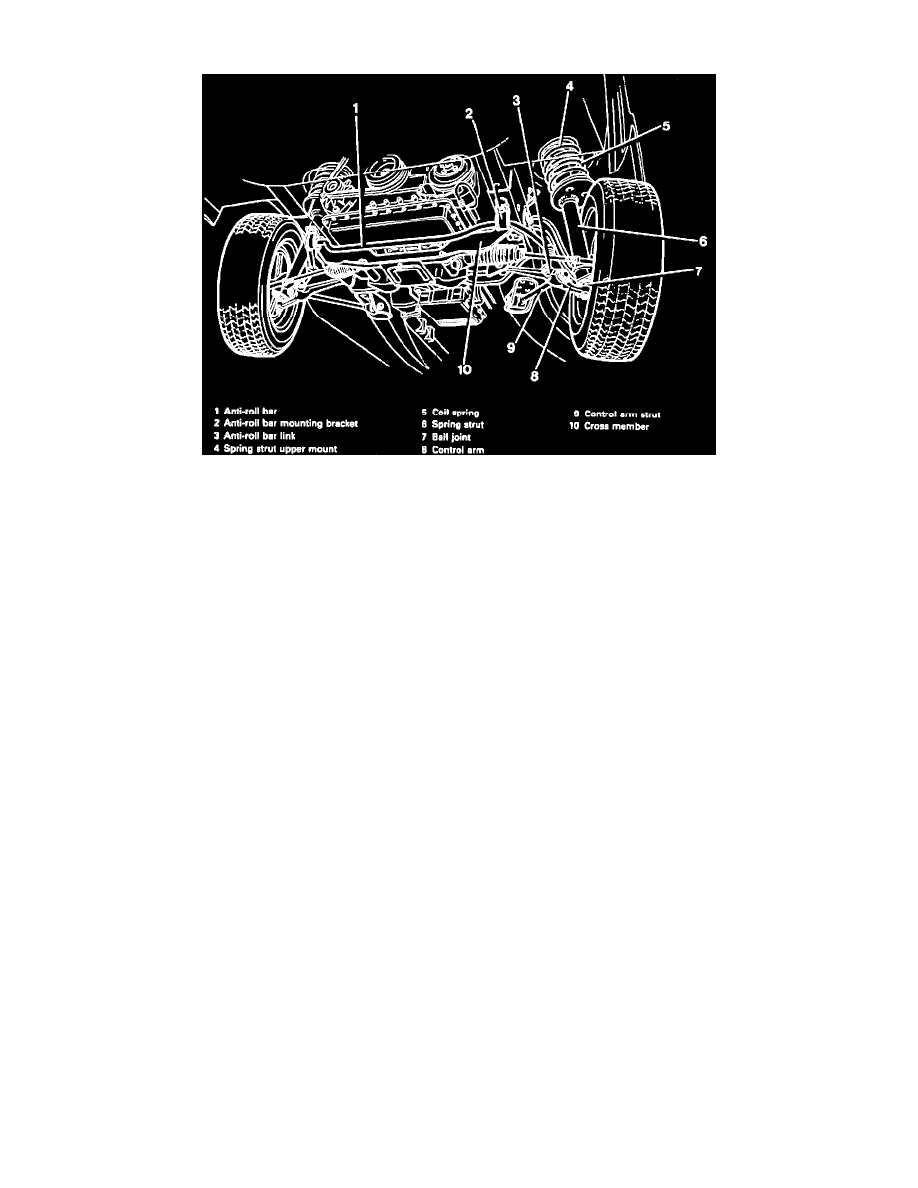
Fig. 2 Front Suspension
1.
Raise and support front of vehicle and remove wheel.
2.
Remove ball joint stud cotter pin and nut.
3.
Remove anti-roll bar link and control arm strut attaching bolt, Fig. 2, then drive out front bushing.
4.
Press ball joint out of control arm using ball joint replacement tool No. 5259, then remove control arm from crossmember.
5.
Secure control arm in a vise and press out bushing using press tool Nos. 5091 and 5240. Press in rear bushing using tools 2904 and 5240.
6.
Align control arm strut with control arm, attach control arm to crossmember, then install retaining bolt. Do not tighten bolt at this time.
7.
Install ball joint to control arm, then torque attaching nut to specifications and install cotter pin.
8.
Install control arm strut bushing, washer and retaining bolt. Torque bolt to specifications.
9.
Attach anti-roll bar link to control arm and torque retaining bolt to specifications.
10.
Lower vehicle, then bounce vehicle several times to allow control arm to set in position. Torque control arm to crossmember retaining bolt to
specifications.