
940 L4-2.3L SOHC VIN 88 B230F (1992)
To Clean The Throttling Orifice
The throttling orifice is accessible after the relief valve cylinder has been removed. Blow the orifice clean with compressed air.
NOTE: Remove the solenoid before blowing the throttling orifice clean with compressed air.
Check Valve Checking/Replacing
1. Remove the oil pan and strainer. Collect the oil into a suitable container.
WARNING: The oil may be hot and may cause burn injuries unless sufficient time is allowed for the over drive to cool.
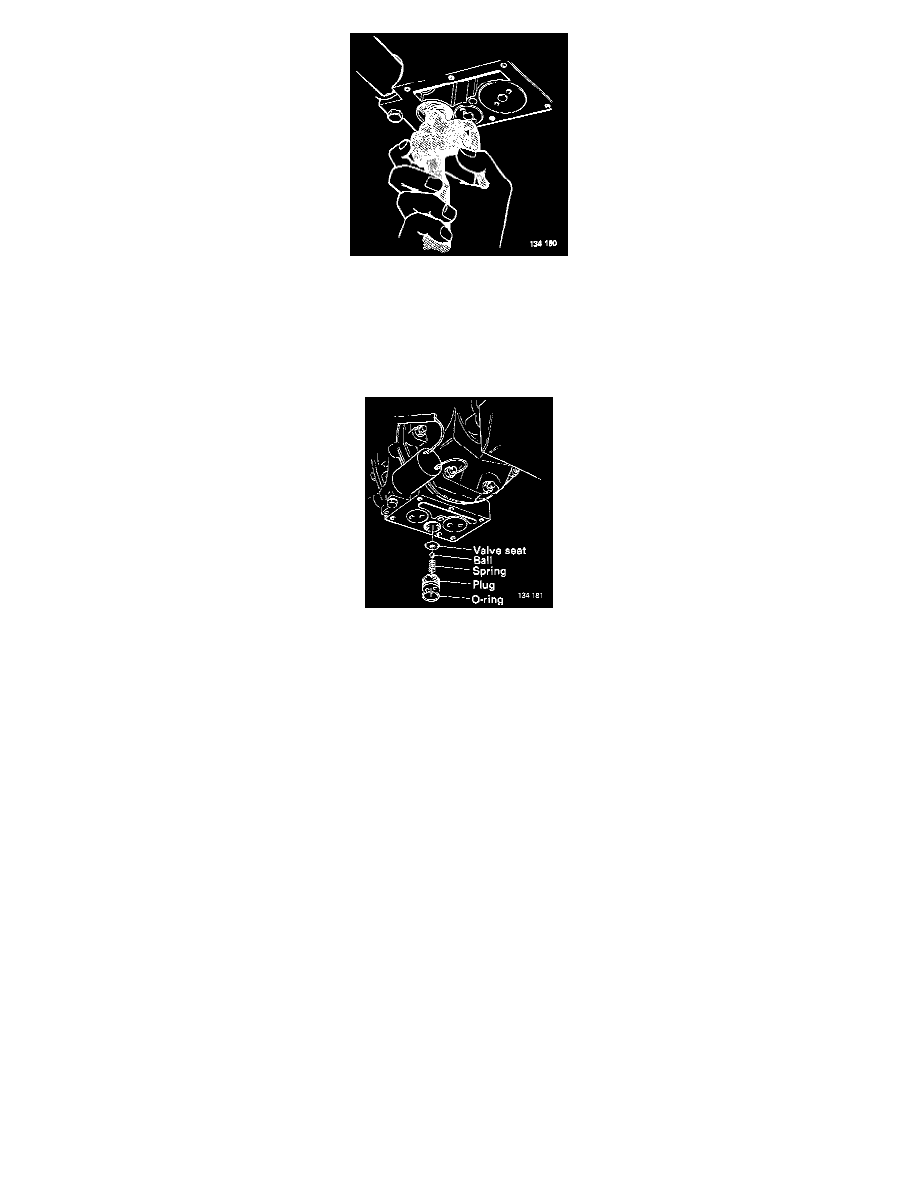
2. Use socket P/N 2836 to remove the plug, the spring, ball and valve seat.
3. Clean all parts with white spirit and blow them dry with compressed air.
4. Check the parts for damage and wear:
-
Place the ball in the seat and blow with your mouth. The ball should seal tightly. If not, tap the ball gently into the seat. Use a small copper
mallet.
-
Replace any defective parts.
5. Fit the non-return valve.
-
Fit the valve seat.
-
Fit a new O-ring to the plug. Then fit the ball, spring and plug.
-
Tightening torque: 20 Nm (14 ft lbs).
6. Fit the strainer and oil pan, using a new gasket. Make sure that the magnet is in position in the pan and that it is clean.
7. Fill with oil.