
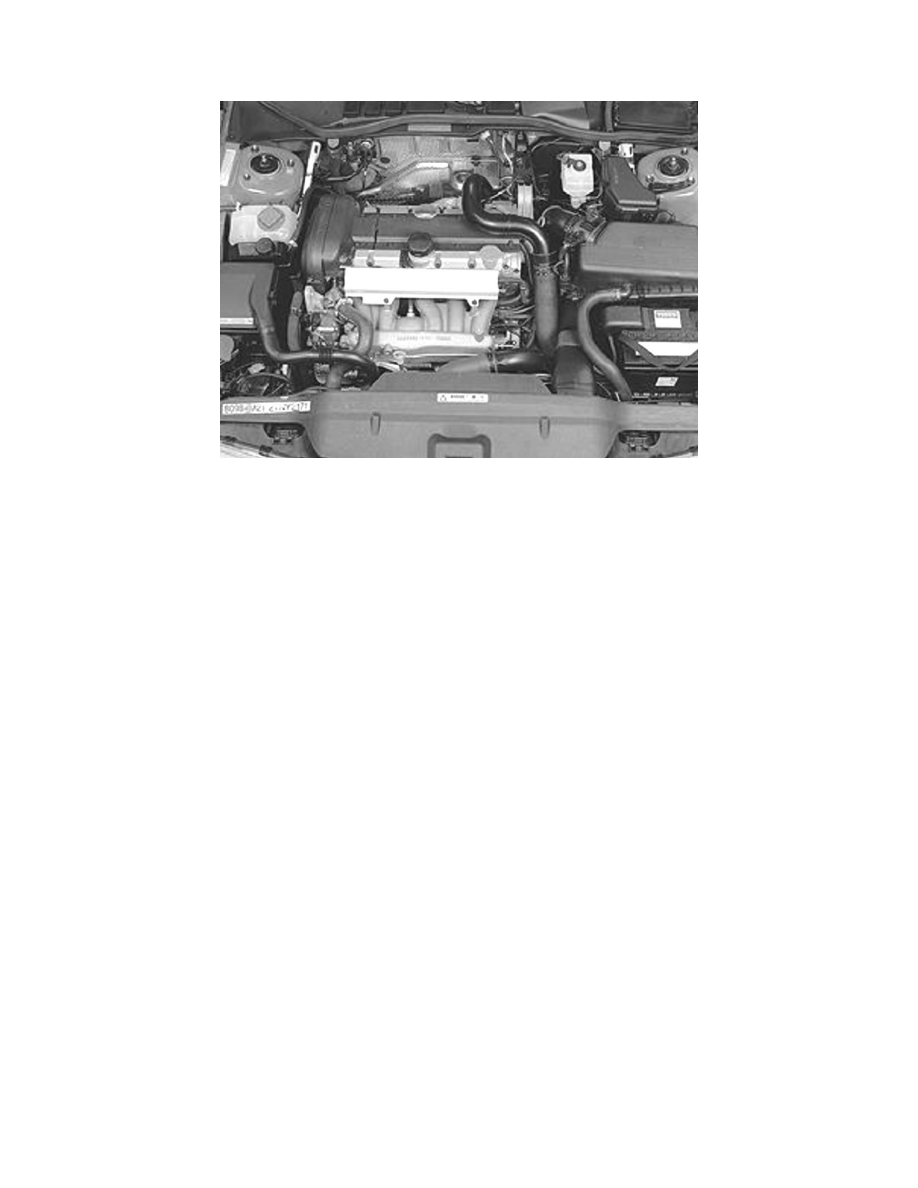
C70 Coupe L5-2.3L Turbo VIN 53 B5234T3 (2001)
-
the engine cooling fan (FC).
-
the hose between the charge air cooler and the intake.
Remove the seals.
Tighten the clamp on the charge air pipe at the throttle body (TB).
-
screw the relay bracket and the fan shroud into place.
-
the canister purge (CP) valve, relays and connectors.
-
the air ducts.
-
the brake vacuum hose.
-
the trigger wheel. Tighten to 17 Nm (12 lb.ft).
-
the camshaft position (CMP) sensor housing and a new cover.
-
Tighten the screws.
-
the torque rod bracket. Tighten to 50 Nm (37 lb.ft).
-
the upper torque rod. Tighten to 35 Nm (26 lb.ft). Angle-tighten 90 degree.
-
the cover over the ignition coils. Tighten to 8 Nm (6 lb.ft).
-
the charge air pipe over the engine.
Remove the seals.
-
the air cleaner (ACL) cover and the intake air hose.
-
the solenoid valves on the air cleaner (ACL) cover.
-
the cable to the battery negative terminal.
-
The cover in the fender liner.
-
The front wheel.
Checking Work
-
Check the engine function by test driving the car.
-
Wipe clean and check the engine compartment.
-
Wipe the steering wheel and the gear selector lever.
Replacing The Rear Seal
The Following Components Must Be Removed When Replacing The Rear Seal:
-
the solenoid valves.
Lift out from the air cleaner (ACL) cover.
-
the air hose from the air cleaner (ACL) to the turbocharger (TC). Place to one side.