
S60 L5-2.4L VIN 64 B5244S6 (2003)
-
Use tool 951 2923 Hydraulic hole cylinder See: Tools and Equipment/951 2923 Hydraulic Hole Cylinder with 999 7054 Adapter incl. 2x MC6C
M6X12 See: Tools and Equipment/999 7054 Adapter Incl. 2X MC6C M6X12 , 999 7035 Sleeve See: Tools and Equipment/999 7035 Sleeve
and 999 7040 Drift See: Tools and Equipment/999 7040 Drift
-
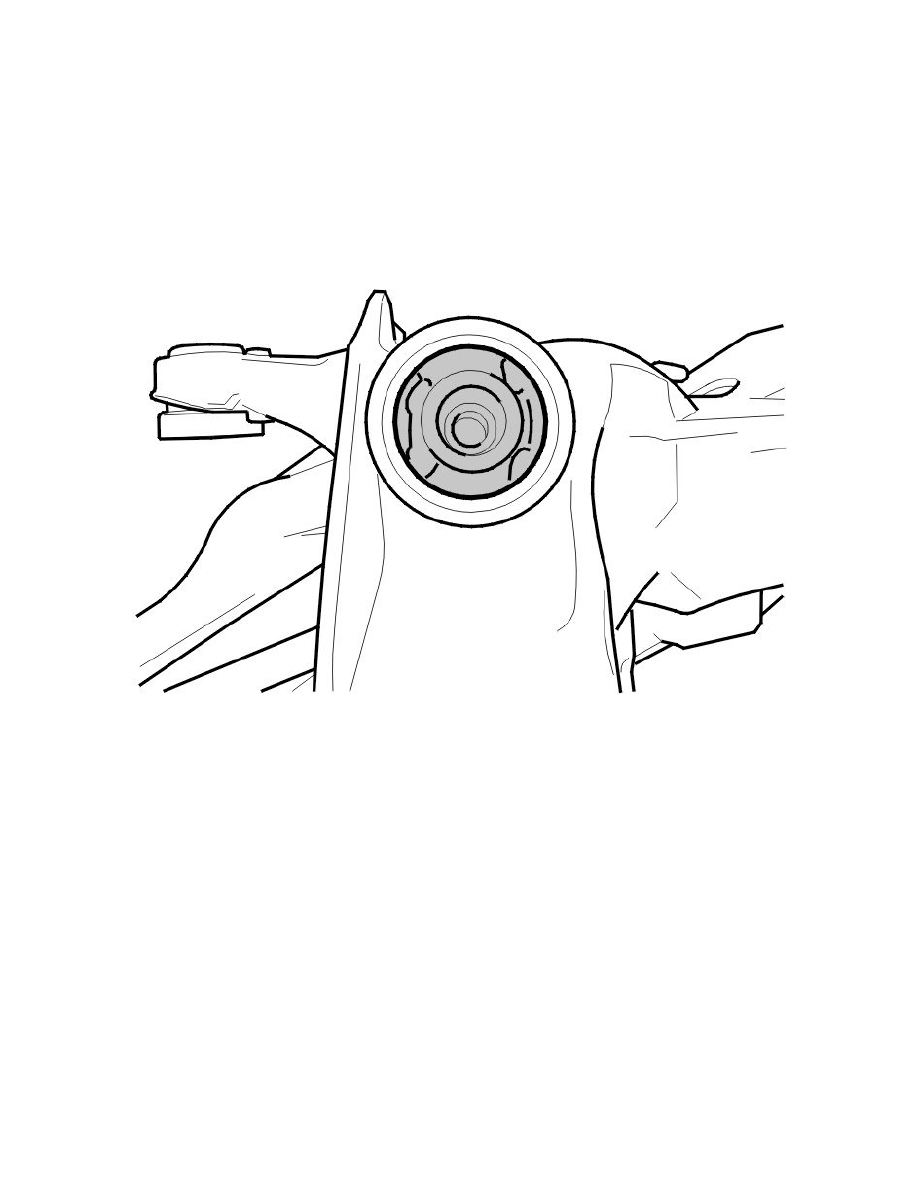
Thread the control arm in
-
Press the bushing onto the end of the control arm. Install the counterhold in the control arm mounting thread
-
Use screw 999 7041 Screw MC6S M12X70 See: Tools and Equipment/999 7041 Screw MC6S M12X70
-
Install the hydraulic cylinder using thread rod 999 7034 Connecting rod M12X400 See: Tools and Equipment/999 7034 Connecting Rod
M12X400 in the other mounting thread for the control arm
-
Tighten the bushing.
Note! Ensure that the bushing is in the correct position.
Installing screw
-
Install the screws for the control mountings.
Note! Do not tighten the screw for the bushing mountings. This is carried out later when the rear suspension is in the normal position.
Installing the wheel spindle
Install:
-
the wheel spindle
-
the screw for the outer mounting drive shaft. Use a new screw. Tighten to 50 Nm
-
the screw for the outer mounting for the tie rod
-
the screw for the rear mounting for the lateral link
-
the screw for the outer mounting for the lower control arm
-
the screw for the outer mounting for the upper control arm.
Note! Do not tighten the screw for the bushing mountings. This is carried out later when the rear suspension is in the normal position.
Installing the rear axle
-
Raise the rear suspension 50 mm to the installation position
-
Install the three hoses on the EVAP canister
-
Carefully raise the rear suspension.
Does not apply to AWD: