
S60 L5-2.4L VIN 64 B5244S6 (2003)
Press the suspension up to its normal position, see Normal position See: Service and Repair/Procedures.
Tighten:
-
the outer mounting for the tie rod. Tighten to 80 Nm
-
the rear mounting for the lateral link. Tighten to 80 Nm
-
the outer mounting for the lower control arm. Tighten to 80 Nm
-
the outer mounting for the upper control arm. Tighten to 80 Nm
-
the inner mounting for the upper control arm. Tighten to 80 Nm.
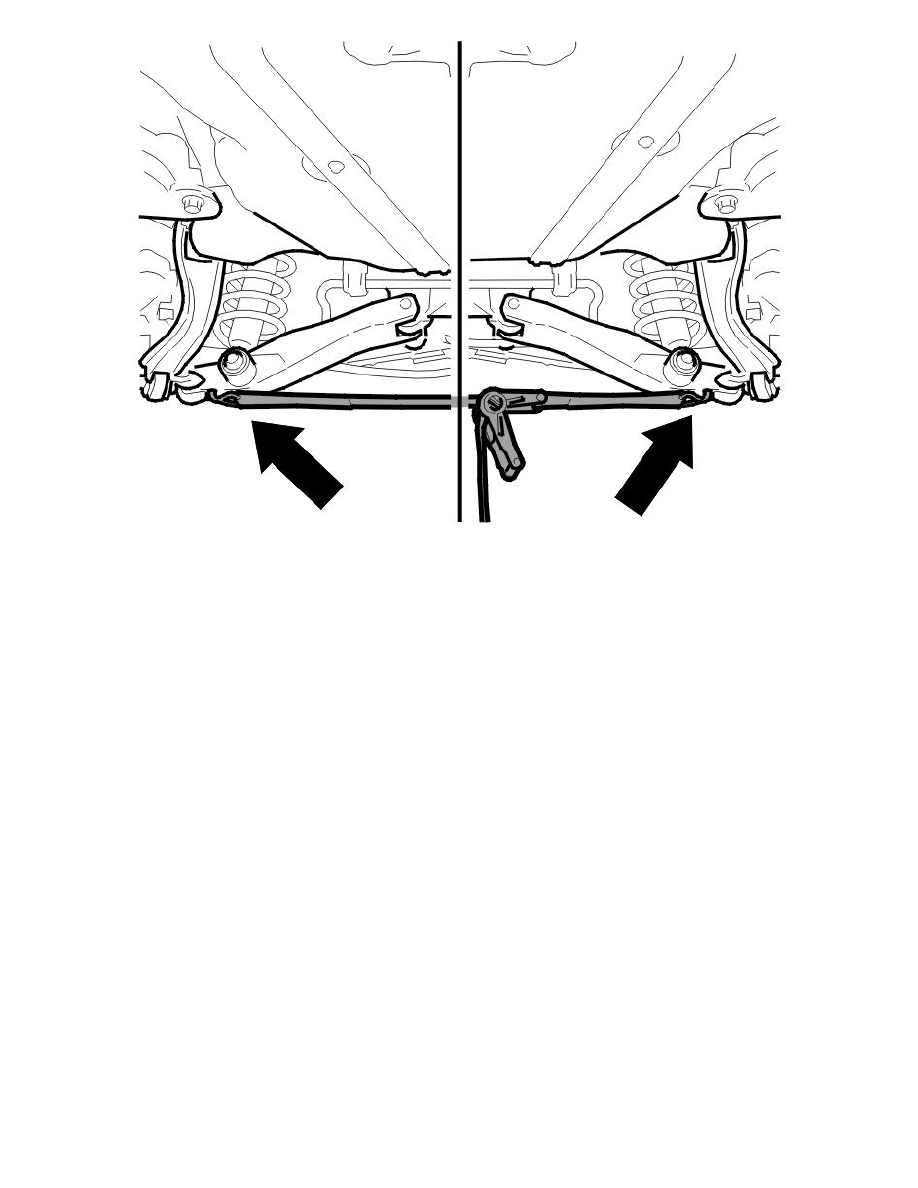
Install the retaining strap and pull down the control arms so that the shock absorber can be installed.
Install:
-
the shock absorber
-
the screws. Tighten to 80 Nm.
Remove the tensioner strap.
Finishing work (continued)
Adjust the parking brake. See Handbrake, brake shoes, replacing See: Brakes and Traction Control/Parking Brake System/Parking Brake Shoe/Service
and Repair.
Install:
-
the exhaust system. See Exhaust system, replacing See: Engine, Cooling and Exhaust/Exhaust System/Service and Repair
-
the wheels.
Finishing work (continued)
Applies only to All-wheel drive (AWD)
-
Install the propeller shaft in the viscous coupling alternatively.
Applies only to cars with Active on Demand Coupling:
Install:
-
the cable harness in the clips on the sub-frame
-
the Active on Demand Coupling connector.
Does not apply to AWD: