
S60 L5-2.4L VIN 64 B5244S6 (2003)
-
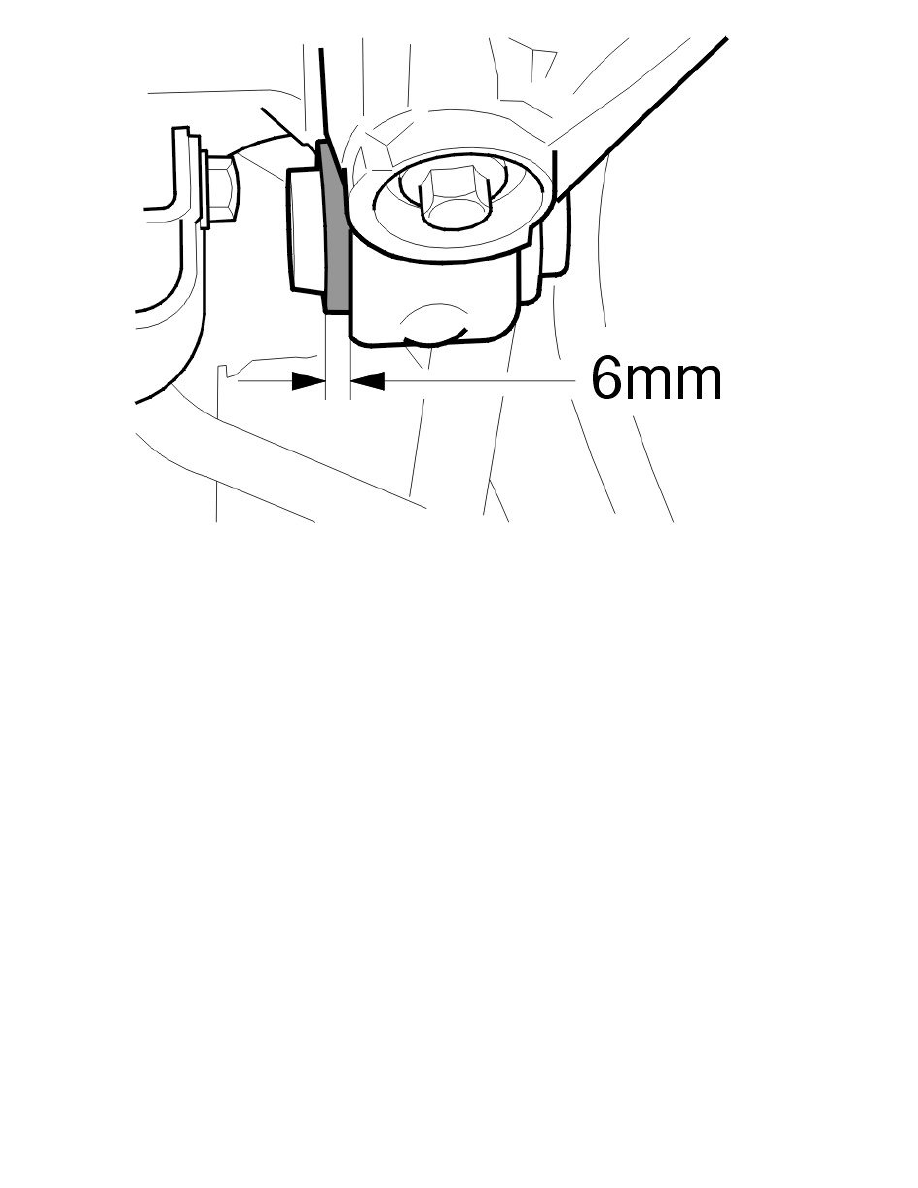
Pull the bushing.
Note! 6 mm of the bushing steel sleeve must be visible when in the correct position.
-
Remove the hydraulic cylinder.
Installing the control arm
Lift the control arms so that the screw for the control arm can be installed through the sub-frame.
Install the screw.
Note! Do not tighten the screw for the bushing mountings. This is carried out later when the rear suspension is in the normal position.
Installing the lateral link and tie rod
Install:
-
the retaining strap and secure the lower control arm slightly against the jacking point
-
the screw for the lateral link.
Release the retaining strap.
Install the screw for the tie rod with the eccentric washers.
Tightening the stay and mountings
Install tensioner and tension the rear suspension to the normal position. See Tensioner, instructions for use, M66, TF-80SC, AW55-50/51SN, M56 See:
Service and Repair/Removal and Replacement/Tensioner, Instructions For Use.
Tighten:
-
both the mountings for the lateral link. Tighten to 80 Nm
-
the inner mounting for the tie rod. Tighten to 80 Nm
Note! Ensure that the eccentric washer is positioned in the previously marked position.
-
the outer and inner control arm mounting. Tighten to 80 Nm.
Finishing