
S60 L5-2.4L VIN 64 B5244S6 (2003)
Install the wheels. See Installing wheels See: Wheels and Tires/Wheels/Service and Repair.
Check/adjust the wheel alignment. See: Wheel alignment, checking / adjusting See: Alignment/Service and Repair.
Bushing Outer Control Arm Lower, Replacing
Bushing outer control arm lower, replacing
Special tools:
951 2923 Hydraulic hole cylinder See: Tools and Equipment/951 2923 Hydraulic Hole Cylinder
999 5200 PUNCH See: Tools and Equipment/999 5200 Punch
999 5659 Tension caliper See: Tools and Equipment/999 5659 Tension Caliper
999 5740 Mounting used with -5659 and -5972 C-version See: Tools and Equipment/999 5740 Mounting Used With -5659 and -5972 C-Version
999 7034 Connecting rod M12X400 See: Tools and Equipment/999 7034 Connecting Rod M12X400
999 7035 Sleeve See: Tools and Equipment/999 7035 Sleeve
999 7044 Sleeve See: Tools and Equipment/999 7044 Sleeve
999 7045 Drift See: Tools and Equipment/999 7045 Drift
999 7046 Drift See: Tools and Equipment/999 7046 Drift
999 7054 Adapter incl. 2x MC6C M6X12 See: Tools and Equipment/999 7054 Adapter Incl. 2X MC6C M6X12
Removal
Note! As the illustrations in this service information are used for different model years and / or models, some variation may occur. However,
the essential information in the illustrations is always correct.
Note! It is recommended to replace the present bushing on both sides for best properties and optimum service life.
Preparations
Remove the wheel.
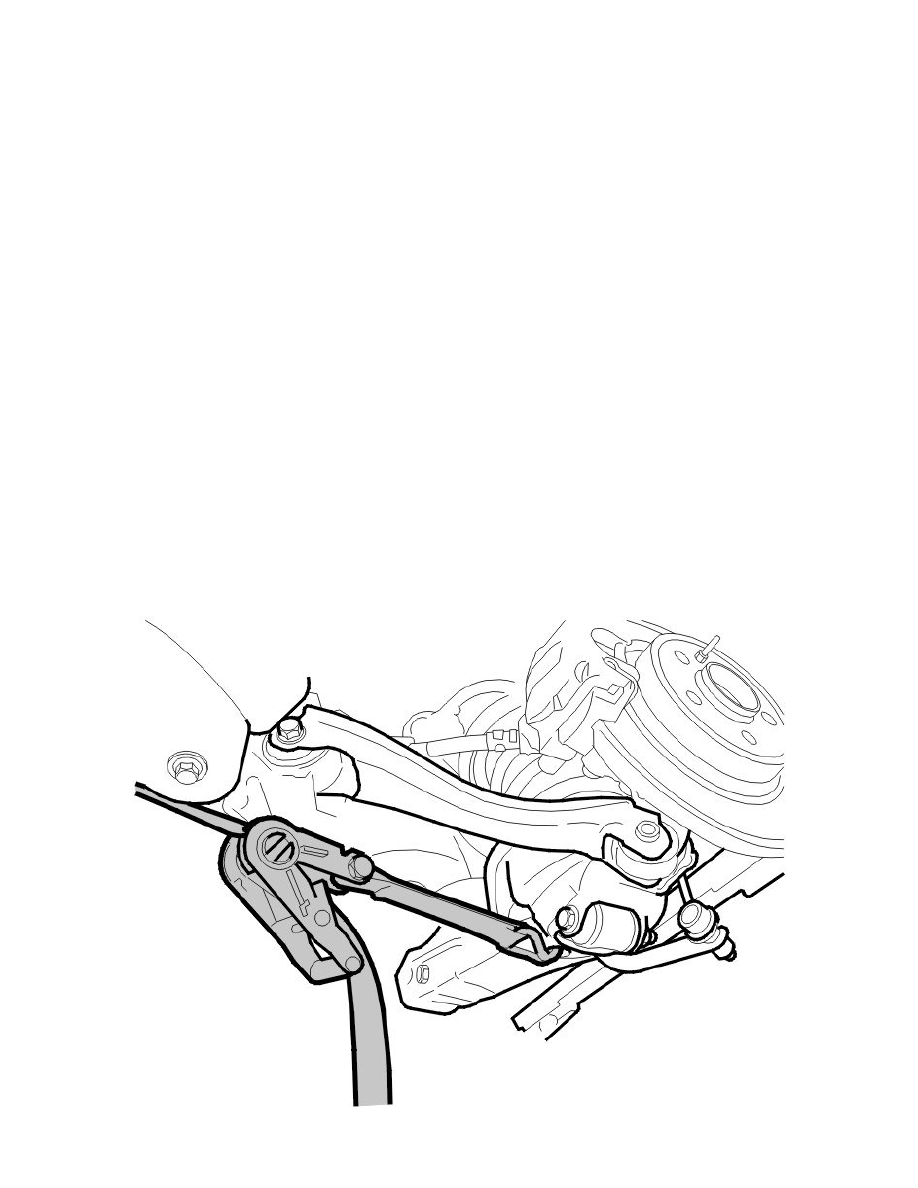
Disconnecting the lateral link
Detach the lateral link by installing a tensioning strap and drawing the lower link arm slightly towards the jacking point.