
V50 L5-2.4L VIN 39 B5244S7 (2005)
-
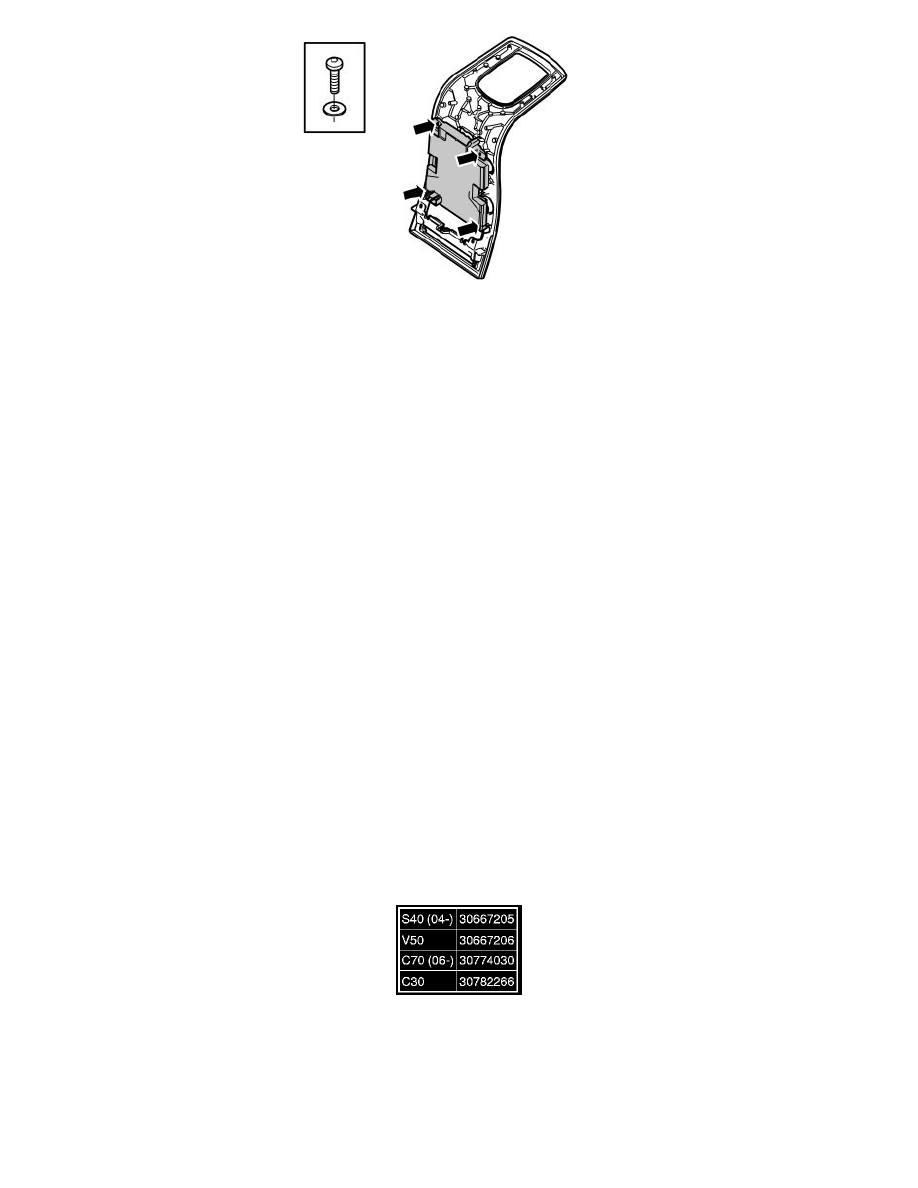
the 4 screws
-
the climate control module (CCM).
Installation
Installing the climate control module (CCM)
Caution! Tighten the screws carefully. There is a risk of cracks forming.
Install:
-
the climate control module (CCM) on the front section of the center console
-
the 4 x screws. Tighten. See: Tightening torque See: Body and Frame/Specifications
-
the rear section of the center console
-
the 8 screws. Tighten. See: Tightening torque See: Body and Frame/Specifications.
Installing center console
Install:
-
the gear selector lever boot
-
the center console
-
the 4 screws. Tighten
-
the panel. See: Power socket 12V See: Power and Ground Distribution/Auxiliary Power Outlet/Service and Repair/Removal and
Replacement/Power Socket 12V Power socket 12V See: Power and Ground Distribution/Auxiliary Power Outlet/Service and Repair/Removal and
Replacement/Power Socket 12V
-
the connector for the center console
-
the 2 connectors for the infotainment control module (ICM)
-
the infotainment control module (ICM). It is secured with 2 hidden clips
-
the radio panel
-
the panel inside the center console. It is secured with 4 hidden clips.
Finishing
Ordering software
Order software. See: See: Testing and Inspection/Programming and Relearning/Software Downloading
Programming customer parameters and adjusting damper motors
Reprogram the customer programmed data
Carry out self-adjustment of the damper motor end positions. This is carried out in VIDA Vehicle communication.
Test drive the vehicle. Check that the engine and climate control system are functioning.