
XC90 L5-2.5L Turbo VIN 59 B5254T2 (2004)
Specifications/Tightening Torque
-
the power supply cable and the clamps for the Active on Demand coupling (AOC).
Installing the spring
Install:
-
the lower control arm
-
the screw holding the lower control arm to the sub-frame. Finger tighten
-
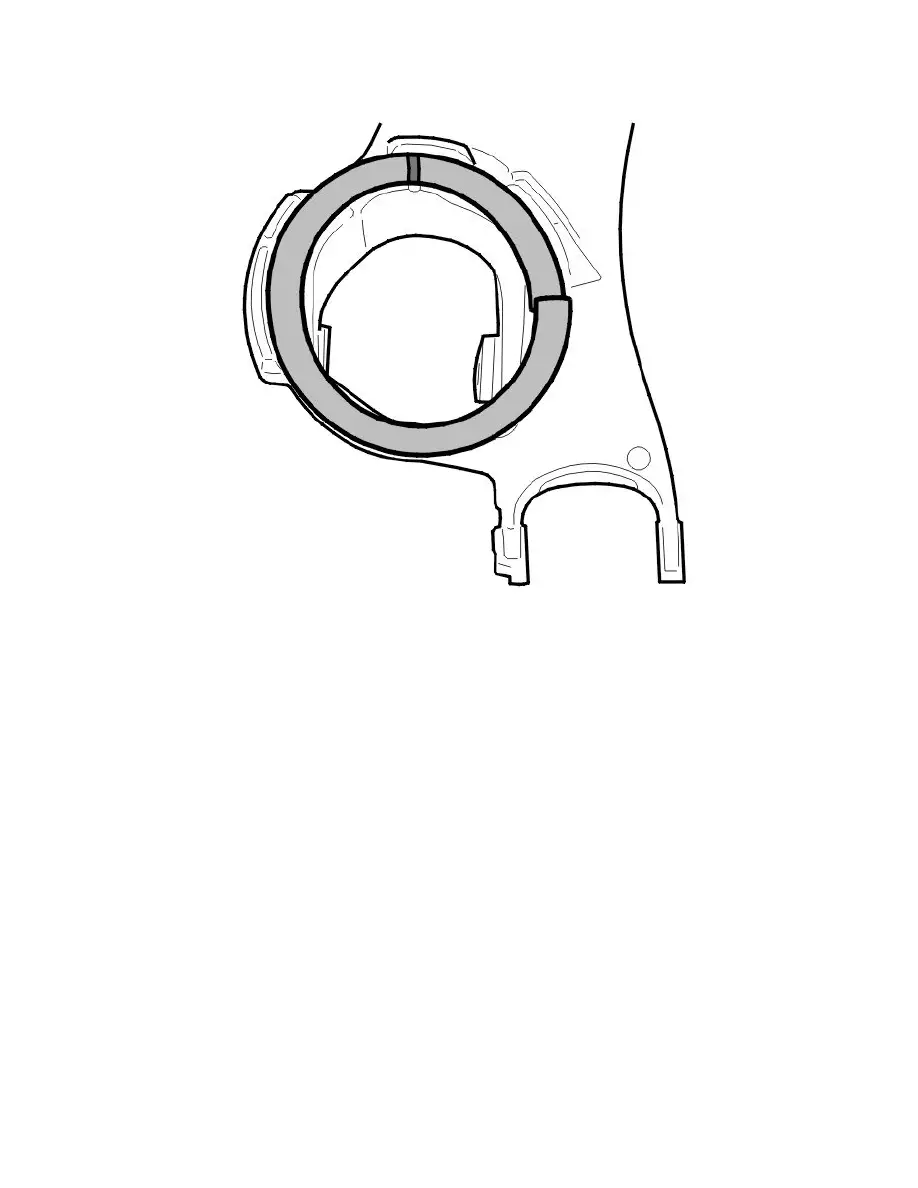
the spring
Press up the control arm by hand.
Install the screw for the control arm in the wheel spindle. Finger tighten.
Note! Check that the spring ends up correctly installed in the lower spring seat.
Install:
-
the parking brake cable
-
the expander
-
the spring for the parking brake shoes
-
the brake disc
-
the M6 screw for the brake disc
-
the ABS sensor, M6
-
the ABS line on the wheel spindle and the lateral link.
Installing the brake caliper
Install:
-
the holder for the brake caliper
-
the sliding pin for the brake caliper. Tighten. See Tightening torque See: Brakes and Traction Control/Specifications/Tightening Torque.
-
the brake pads
-
the tensioner 999 5659 Tension caliper See: Tools and Equipment/999 5659 Tension Caliper. See Tensioner 999 5659, User instructions See:
Steering and Suspension/Suspension/Service and Repair/User Instructions.
Press the tensioner up approximately 25 mm from the normal position.
Note! The tensioner must be positioned as far out as possible on the tensioner plates to provide the correct lifting force.