
XC90 L5-2.5L Turbo VIN 59 B5254T2 (2004)
Remove the 2 screws for the inner front control arm mounting.
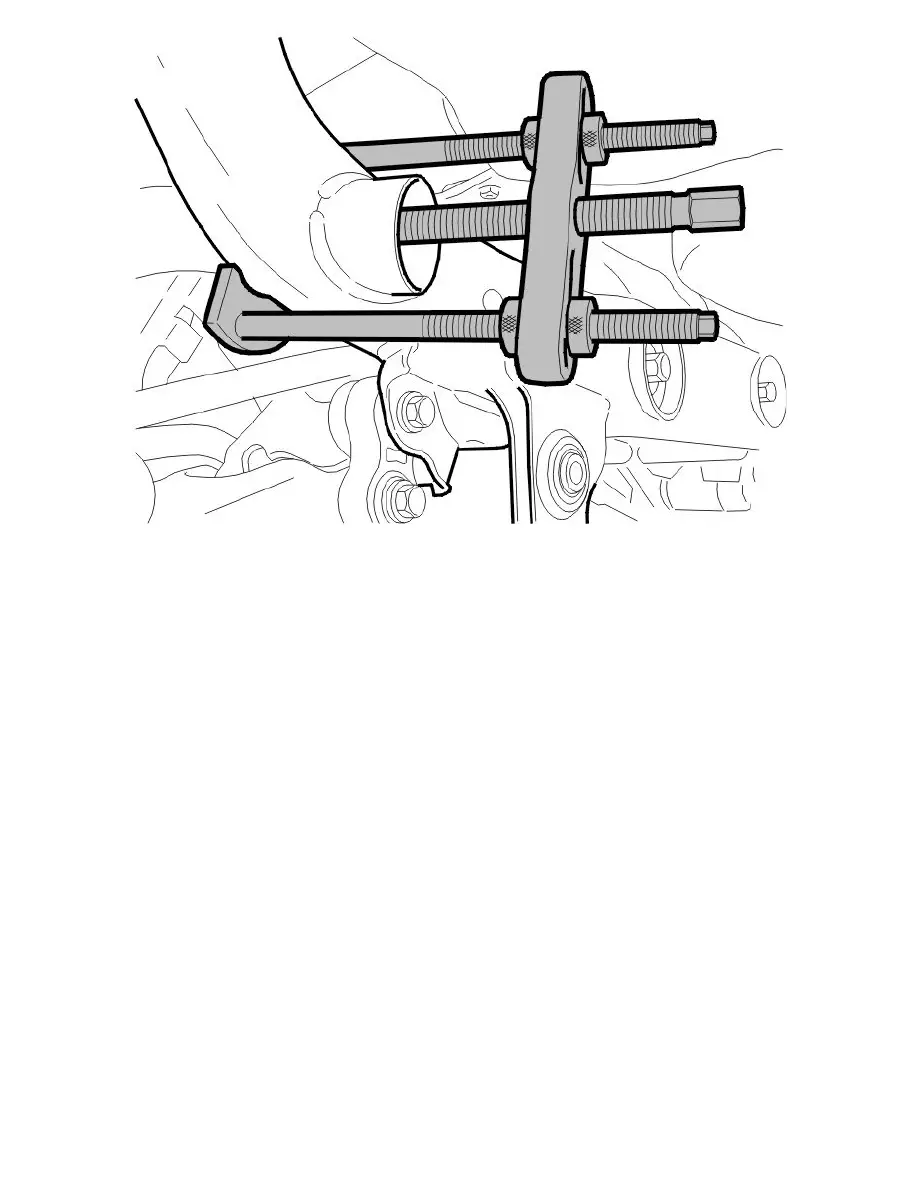
Slacken off the screw for the inner rear control arm mounting. Slacken off 3 turns. Use puller 998 5434 SEPARATOR L 200 MM See: Tools and
Equipment/998 5434 Separator L 200 mm with counterhold 999 7074 Adapter plate See: Tools and Equipment/999 7074 Adapter Plate.
Note! Only press until the bushing releases from its splined area.
Remove the screw.
Remove:
-
the upper control arm
-
the 4 x screws for the anti-roll bar
-
the anti-roll bar.
Removing the drive shaft from the final drive
Note! Only applies to cars with AWD.
Remove the drive shafts.
Use a larger screwdriver. Position the tip of the screwdriver between the constant velocity joint and the final drive.
Tap firmly so that the snap ring for the drive shaft releases. Pull out the drive shaft. Do not damage the drive shaft seal.
Install sealing plug 999 7060 Plug See: Tools and Equipment/999 7060 Plug.
Removing the final drive
Note! Only applies to cars with AWD.
Remove:
-
the 3 screws for the final drive
-
the final drive.
Installation
Note! For tightening torques, see Specifications See: Steering/Specifications/Mechanical Specifications.
Note! To ensure that there is no exhaust leakage, see: Flanged joint, assembling See: Engine, Cooling and Exhaust/Exhaust System/Exhaust