
XC90 AWD L5-2.5L Turbo VIN 59 B5254T2 (2005)
If necessary mark with a center punch or a number punch. See Crank mechanism, assembling See: Crank Mechanism, Assembling.
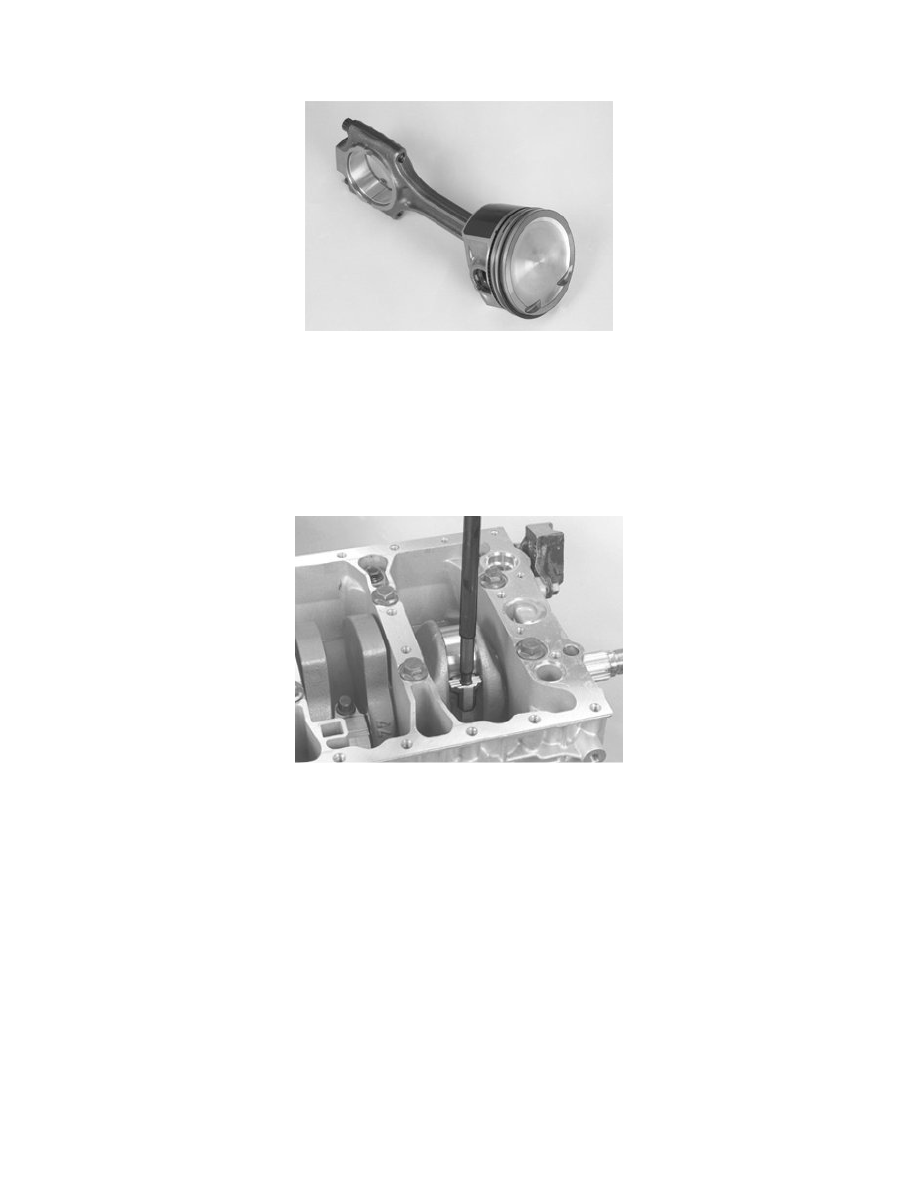
New connecting rod
A new connecting rod has been introduced on certain engines.
The mating surface between the cap and the connecting rod is not machined. It is aligned through a dedicated fracture surface.
Caution! If the cap is turned the wrong way and tightened, the structure of the fracture surface will be damaged and the connecting rod must
then be discarded.
Note! Blow the fracture surface clean using compressed air before installing the cap.
Removing the pistons from the cylinder block
Caution! The bearing covers are not interchangeable. Also note the position of the bearing caps in relation to the rotation of the crankshaft.
Remove the screws for the connecting rod cover.
Lift off the cover. Ensure that the bearing cover comes with it.
Install tool in the connecting rod. Press out the connecting rod and piston.
Hold by hand so that the piston does not fall to the floor. Ensure that the bearing cover comes with it.
Place the piston and connecting rod in such a way that they will be reinstalled in the correct cylinder.
Continue with cylinders 2, 3, 4 and 5 as above.
Check