
XC90 AWD L5-2.5L Turbo VIN 59 B5254T2 (2005)
Drive/Propeller Shaft: Description and Operation
Propeller shaft, special information
Note! Some variation in the illustrations may occur, but the essential information is always correct.
Removal and Installation
Note! Removal steps in this procedure may contain installation details.
When disconnecting the propeller shaft from the bevel gear, final drive, or when changing propeller shaft, it is important to follow the method steps to
avoid damage on the rubber gaiter on the middle universal joint.
There is a raised part inside the universal joint that may damage the rubber gaiter if the propeller shaft is moved aside to max. when disconnecting at
either end or removing the propeller shaft.
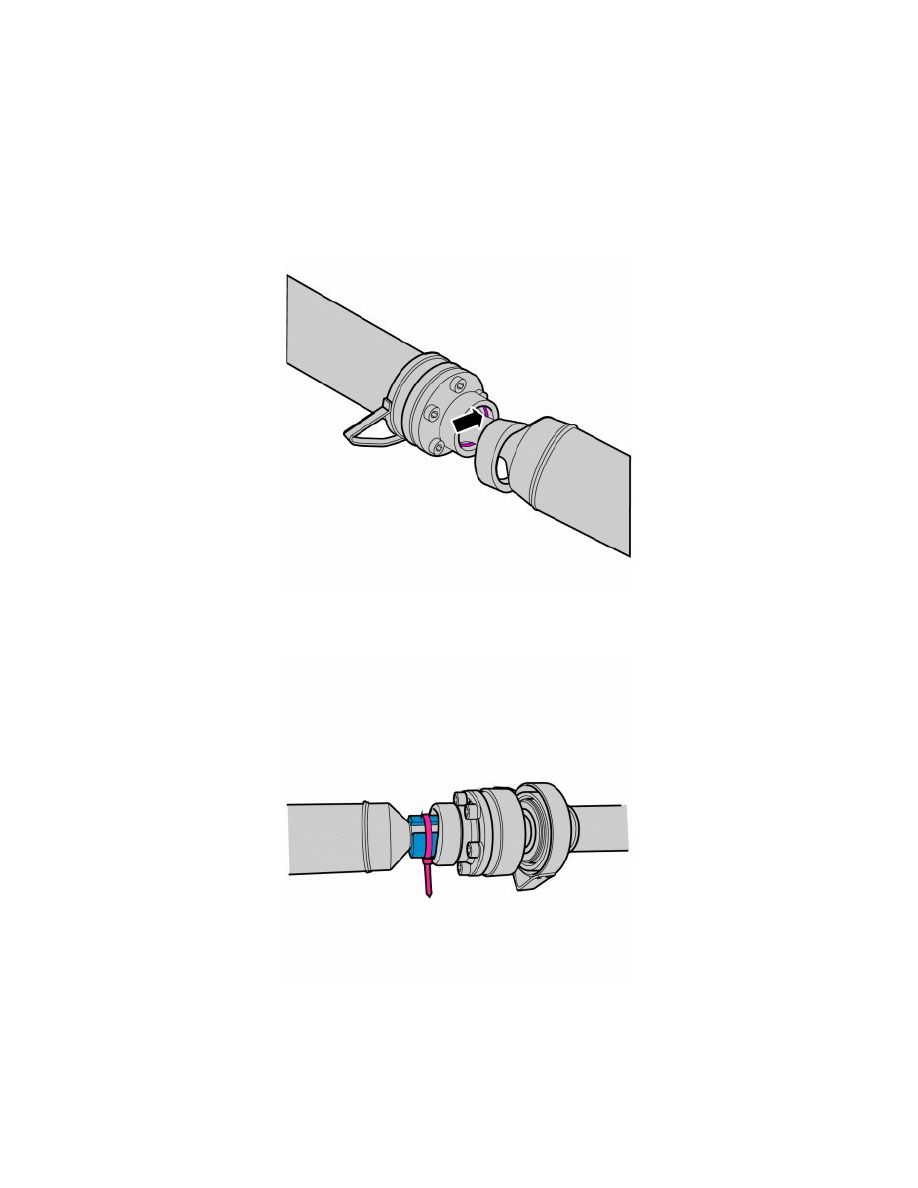
If the whole propeller shaft is to be removed, the rubber gaiter must be protected.
Cut a 35 mm long piece of, e.g., radiator hose or similar that has been discarded.
Cut up the hose along its length.
Press in the hose into the universal joint and secure it with a cable tie.