
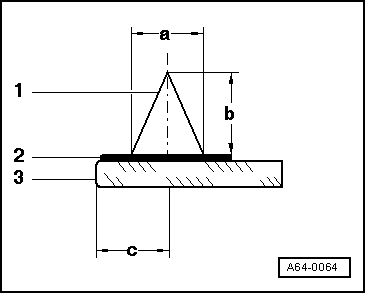
A1
|
|

|
|
|
|
|
| ||
| ||
| 1) | Note minimum drying time → Anchor |
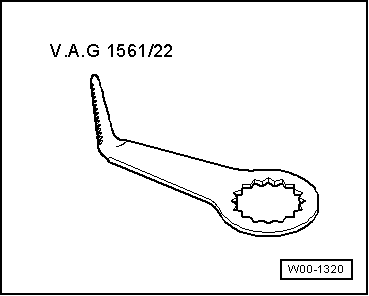
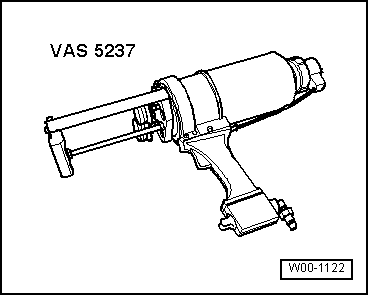
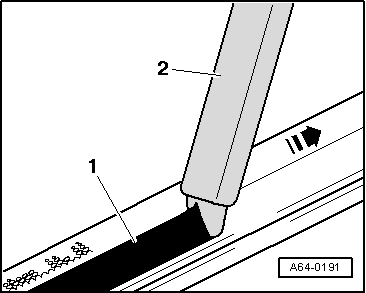
| 2) | To process this material use double cartridge gun -VAS 5237-. |
| 3) | Miniature 110 ml cartridge for sealing and/or for use when the 400 ml double cartridge is not sufficient. |
|
|
|
|
|
|
|
|
|
|
|
|
|
 Caution
|
|
|
|
|
|
 WARNING
| Adhesive sealant | Minimum drying time (in hours) | |
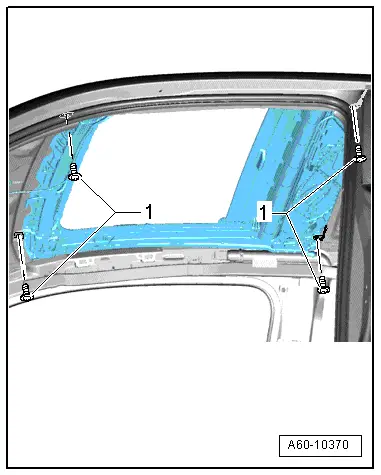
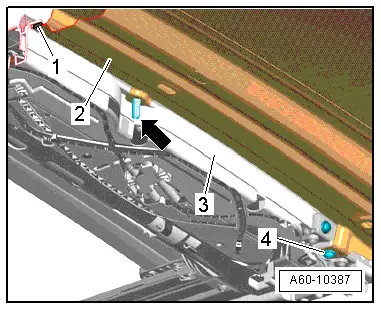
| Sliding/tilting sunroof frame | 2-component window glass adhesive -DA 004 600 A2- | 3 |