
Prizm L4-108 1.8L DOHC VIN 8 MFI (1998)
Hood Latch: Service and Repair
REMOVAL PROCEDURE
Hood Latch Replacement: Removal Procedure
1. Raise and suitably support the hood.
2. Remove the following components from the vehicle:
^
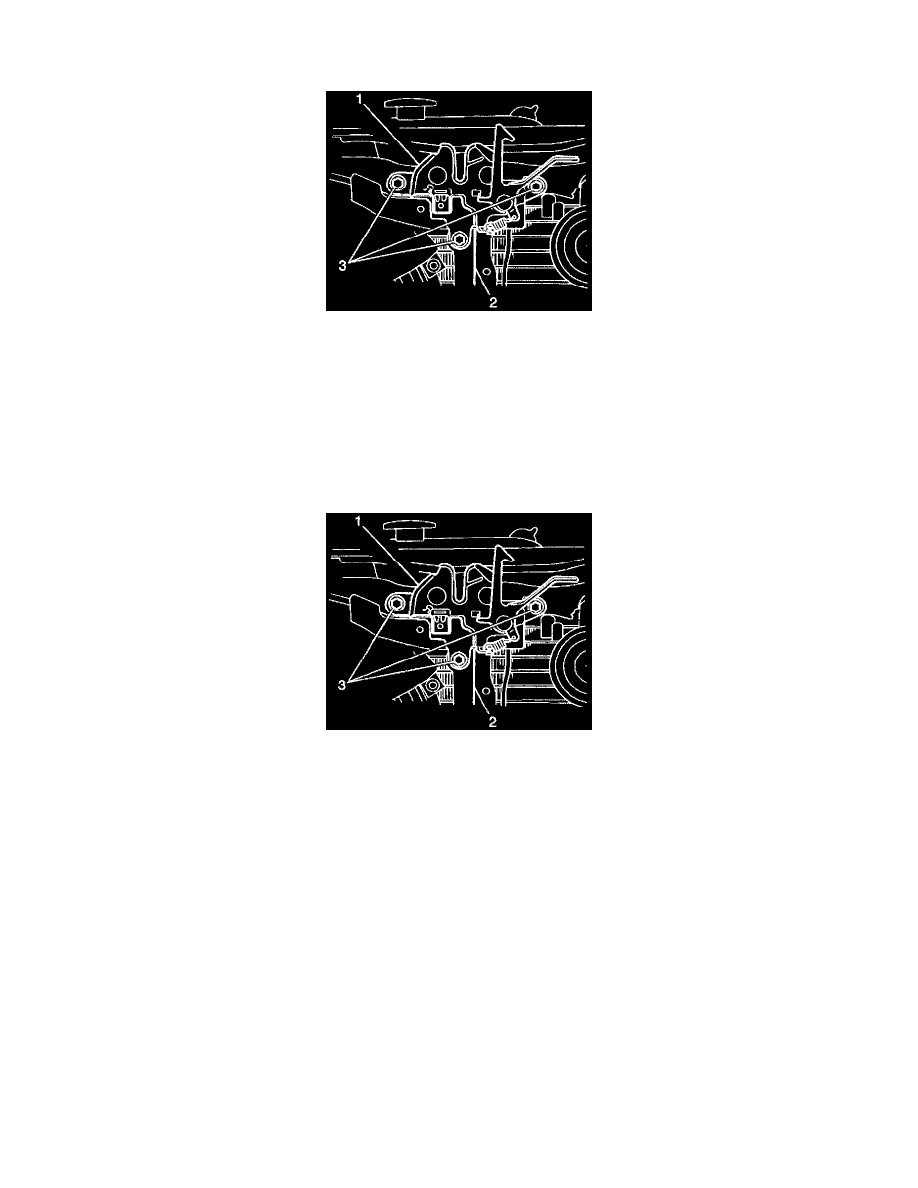
The plastic retainer
^
The 3 bolts (3)
3. Disconnect the hood latch release cable.
4. Remove the hood latch (1) from the vehicle.
INSTALLATION PROCEDURE
Hood Latch Replacement: Installation Procedure
1. Install the hood latch release cable to the hood latch.
2. Install the hood latch (1) to the vehicle. Secure the latch with the 3 bolts (3) and one plastic retainer but do not tighten fully.
3. Make the following adjustments to the hood latch:
^
The striker shaft lines up with the center groove of the latch.
^
The hood is flush with the front fender.
Tighten
Tighten the hood latch bolts to 15 N.m (11 lb ft).
4. Lower the hood.