
RL V6-3.5L (2007)
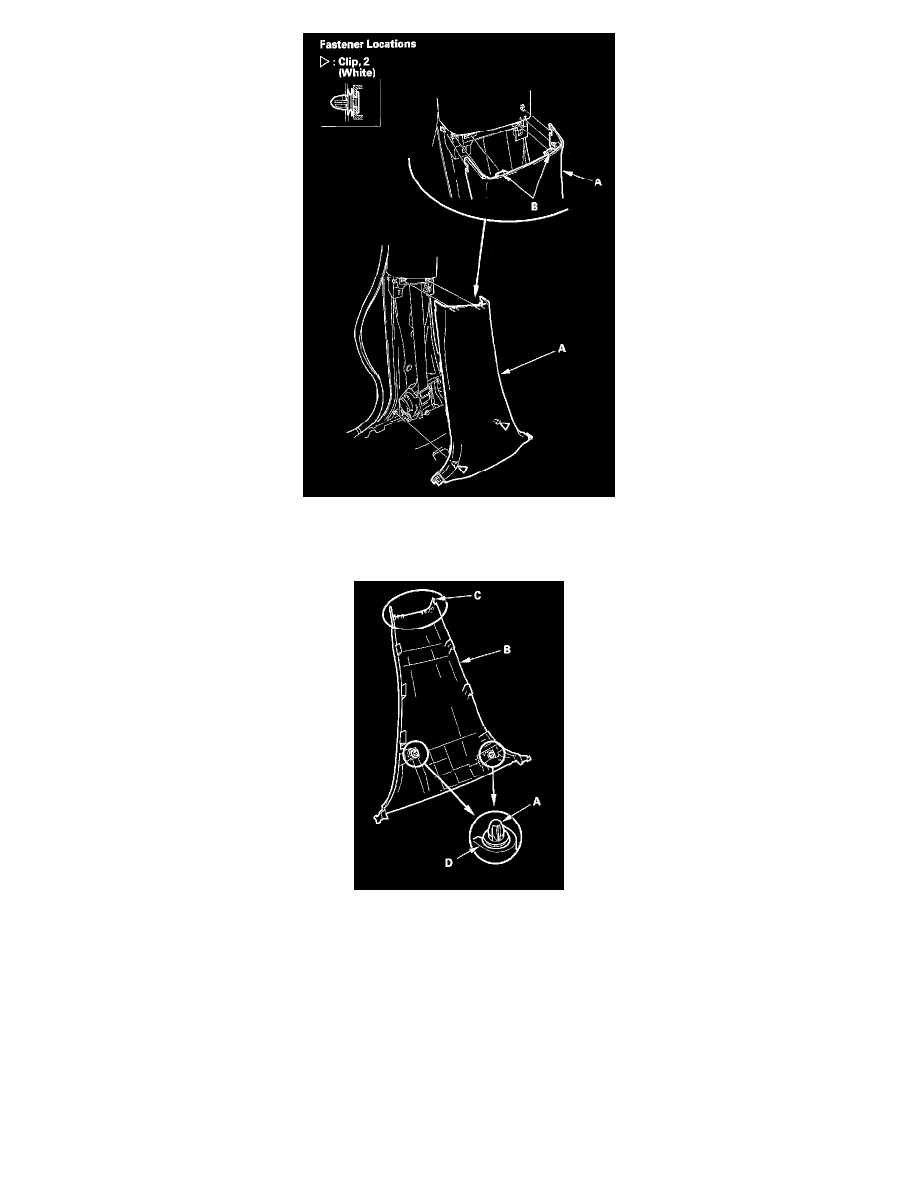
3. Remove the B-pillar lower trim (A).
1. Pull the upper portion of the trim back to release the upper hooks (13).
2. Detach the lower clips by pulling the bottom of the trim back by hand.
4. Install the trim in the reverse order of removal, and note these items:
-
Check if the clips (A) are damaged or stress-whitened, and if necessary, replace them with new ones.
-
To prevent the side curtain airbags from deploying improperly and possibly causing injury, inspect the trim and replace it if it has any of these
types of damage:
-
Any cracks or deformations in the B-pillar lower trim (B), and any damage to the area (C) that fits into the B-pillar upper trim
-
Any cracks or stress-whitening in the clip seating surfaces (D)
-
Replace the damaged part with a new one.
-
Push the clips into place securely.
Special Tools Required
KTC trim tool set SOJATP2014 *
* Available through the American Honda Tool and Equipment Program