
Maintenance
- Make
- Aston Martin
- Model
- DB9 Factory Workshop Manual
- Year
- Issue 2, 2005
- Section
- Exterior Trim › Maintenance
01 Body systemMaintenance
Maintenance
Side Trim
Removal
- Remove the trim panel.
- Remove the top / bottom screws (x2). Remove the outer panel.
- Pull the inner trim panel away from the vehicle.
- Remove the door sealing rubber.
- Remove the rear ¼ glass and seal.
- Remove the chrome trim screws (x18). Remove the chrome trim.
Pull the top of the outer panel away from the vehicle and slide it forward.
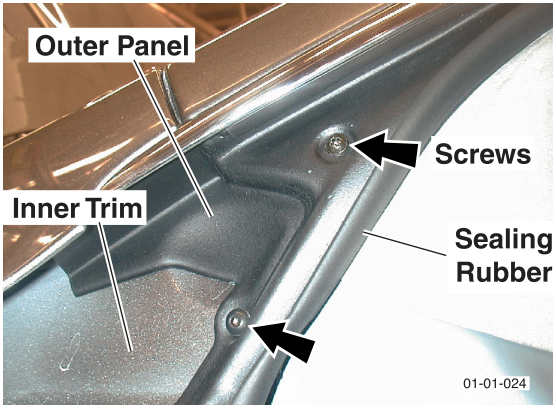
Pull the inner trim panel downwards.
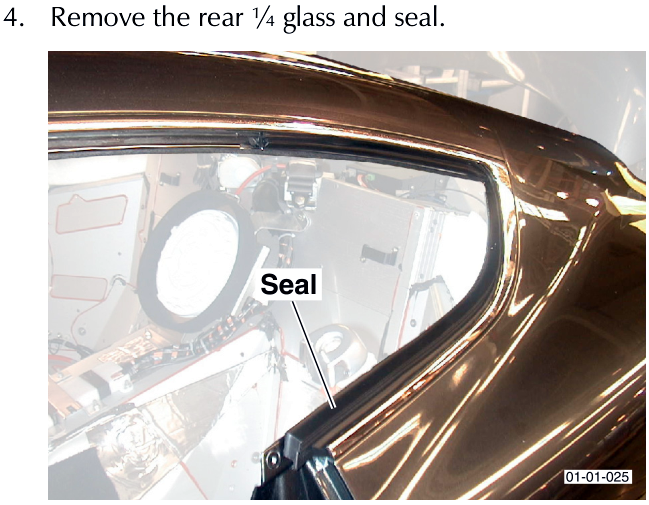
Support the trim as it is removed.
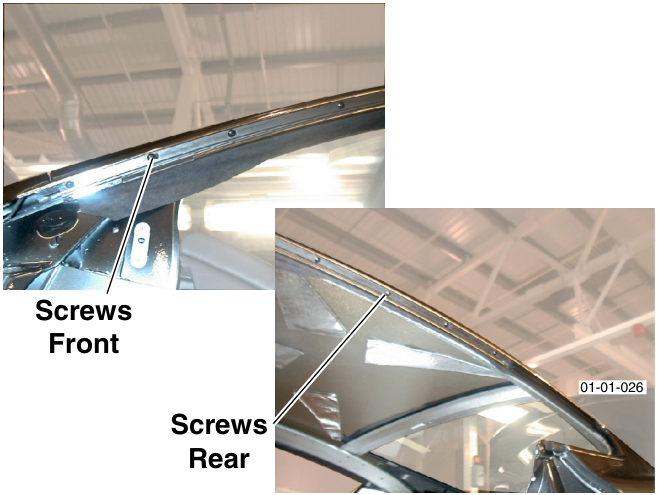
Installation
- Install the chrome trim.
- Rear ¼ glass seal and glass.
- Install the mirror trim panels. Insert the section of door sealing rubber as the inner and outer trim panels are installed.
The lower screw, screws into fibre glass. Ensure that the lower screw is screwed into the original threads.
- Install the door sealing rubber.
Parts & tools for this job For 2005 Aston Martin DB9
- PARTOil filterSearch: Aston Martin DB9 2005 oil filter
- TOOLOil filter wrenchSearch: oil filter wrench
- FLUIDEngine oilSearch: Aston Martin DB9 engine oil
Links open Amazon search results in a new tab. As an Amazon Associate I earn from qualifying purchases.