
Installation
- Make
- Aston Martin
- Model
- DB9 Factory Workshop Manual
- Year
- Issue 2, 2005
- Section
- Seating › Installation
01 Body systemInstallation
Installation
- Place the seat in the vehicle.
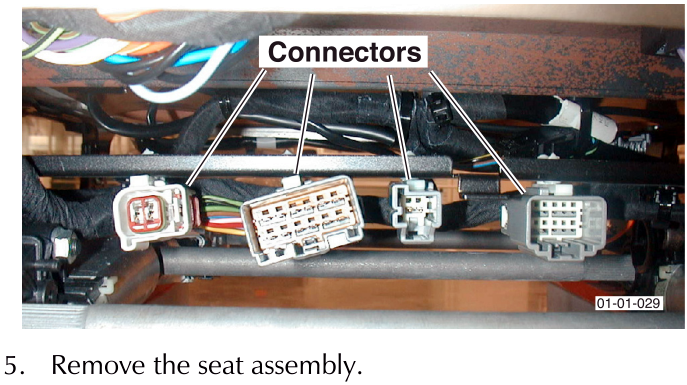
- Connect the wiring harness plugs (x4).
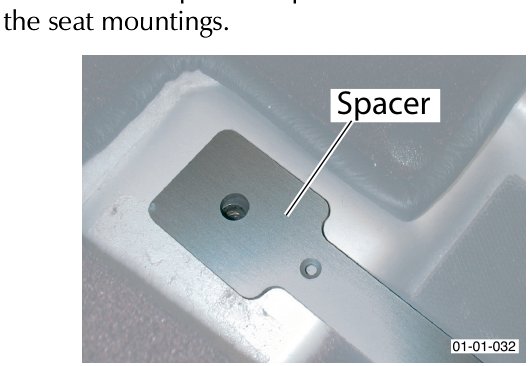
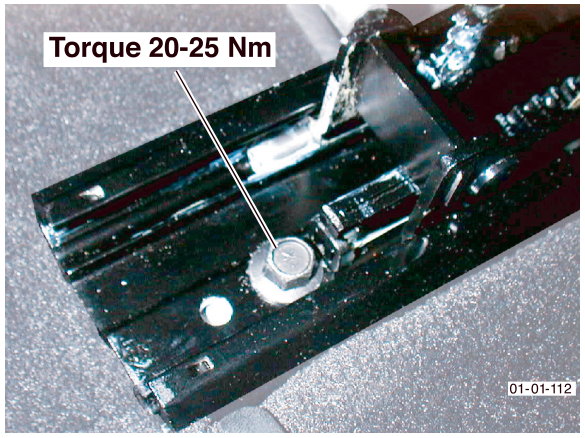
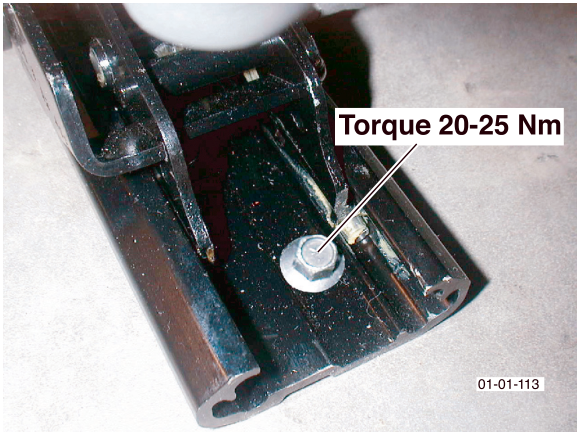
- Place the two spacers in position. Locate the seat over seat mountings.
Seat Base Control Motors
The seat base control motors are an integral part of the seat base.
Seat Module
Removal
- Remove seat from vehicle.
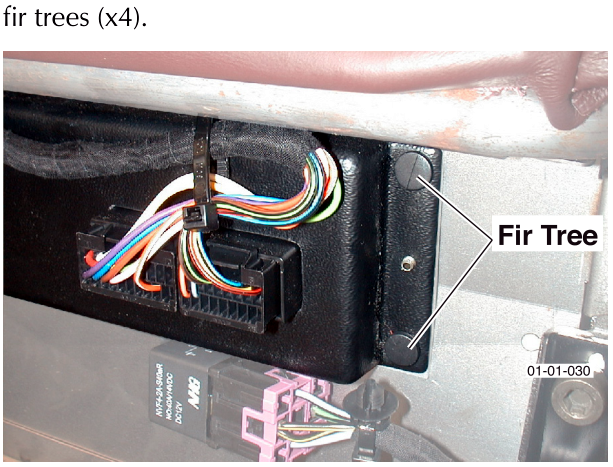
- Remove the seat module. The seat module is held in by fir trees (x4).
Installation
- Remove seat from vehicle.
- Remove the seat module. The seat module is held in by fir trees (x4).
Parts & tools for this job For 2005 Aston Martin DB9
- TOOLTrim removal tool kitSearch: trim removal tool kit
- PARTTouch-up paintSearch: Aston Martin touch up paint
- PARTPanel clip assortmentSearch: Aston Martin panel clips assortment
Links open Amazon search results in a new tab. As an Amazon Associate I earn from qualifying purchases.