
Installation
- Make
- Aston Martin
- Model
- DB9 Factory Workshop Manual
- Year
- Issue 2, 2005
- Section
- Anti-lock Braking System (ABS) › Installation
06 Brake systemInstallation
Installation
- Install the modulator to its mounting bracket. Secure with bolts (x3). Torque to 5 Nm.
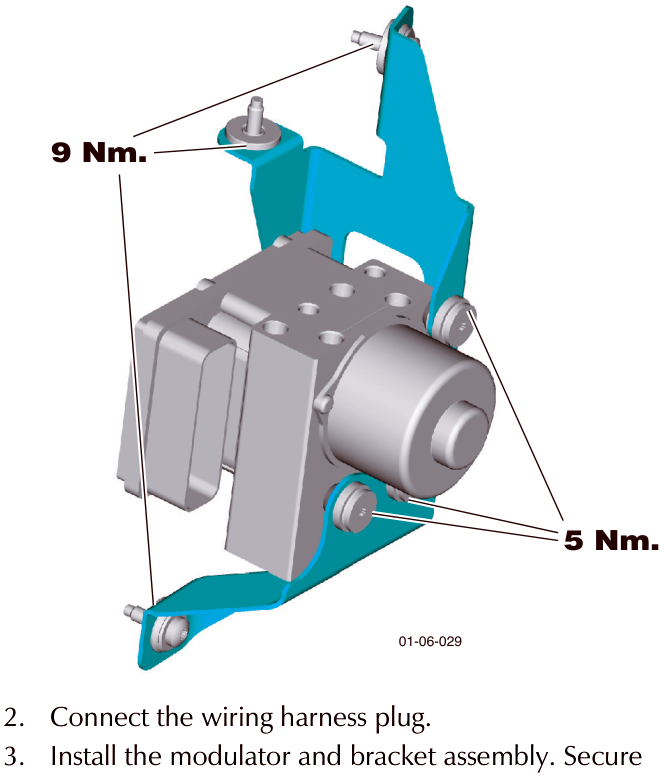
- Connect the wiring harness plug.
- Install the modulator and bracket assembly. Secure using bolts (x3). Torque to 9 Nm.
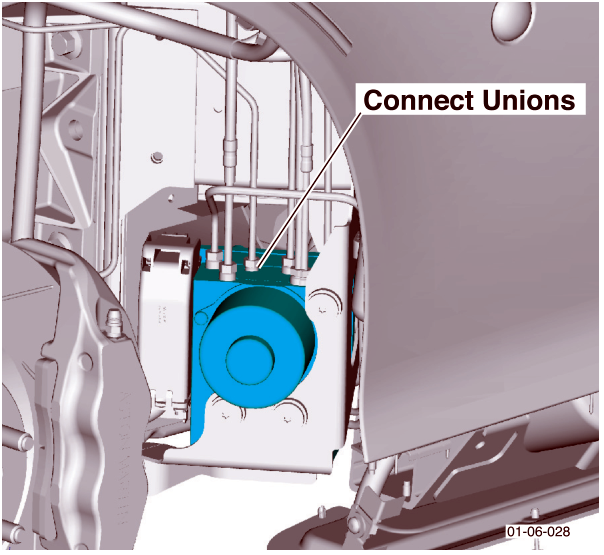
- Remove the sealing caps and plugs from the brake pipes and the valve block. Install the brake pipes (x6) to their matching outlets on the valve block.
Torque the unions to:
17 Nm
14 Nm
17 Nm
14 Nm
14 Nm
17 Nm

- Remove any traces of brake fluid from the modulator and surrounding area.
- Install the road wheel arch liner and road wheel.
- Bleed the brake system (Refer to ‘Brake Bleeding - WDS’, page 6-4-4).
- Install the road wheel arches and road wheels (Refer to ‘Road Wheel Nut Torque Tightening’, page 4-5-7).
- Connect the vehicle battery.
Parts & tools for this job For 2005 Aston Martin DB9
- TOOLOBD2 scanner with ABSSearch: OBD2 scanner ABS SRS
- TOOLDigital multimeterSearch: automotive digital multimeter
Links open Amazon search results in a new tab. As an Amazon Associate I earn from qualifying purchases.