| Display on vehicle diagnosis, testing and information system: |
| t
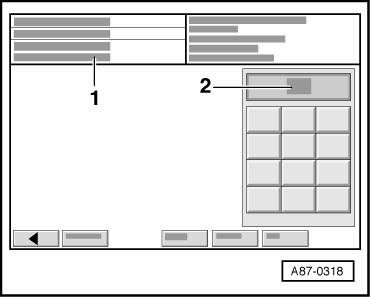
| The prompt to enter a display group appears in display zone -1-. |
| t
| Display zone -2- shows a keypad. |
| –
| Enter „006“ as „display group number“ via the keypad in display zone -2- and confirm entry with the „Q“ key. (Moving piston to original position). |
| –
| Press the green arrow button (bottom left) to exit from the input mask. |

Note | Fault memory interrogated, indicated faults eliminated and fault memory erased. |
| –
| With ignition switched off, disconnect vehicle diagnostic, testing and information system -VAS 5051B- or -VAS 5052- from 16-pin diagnostic socket in vehicle. |
|
|
|

 WARNING