
SRX AWD V6-3.0L (2010)
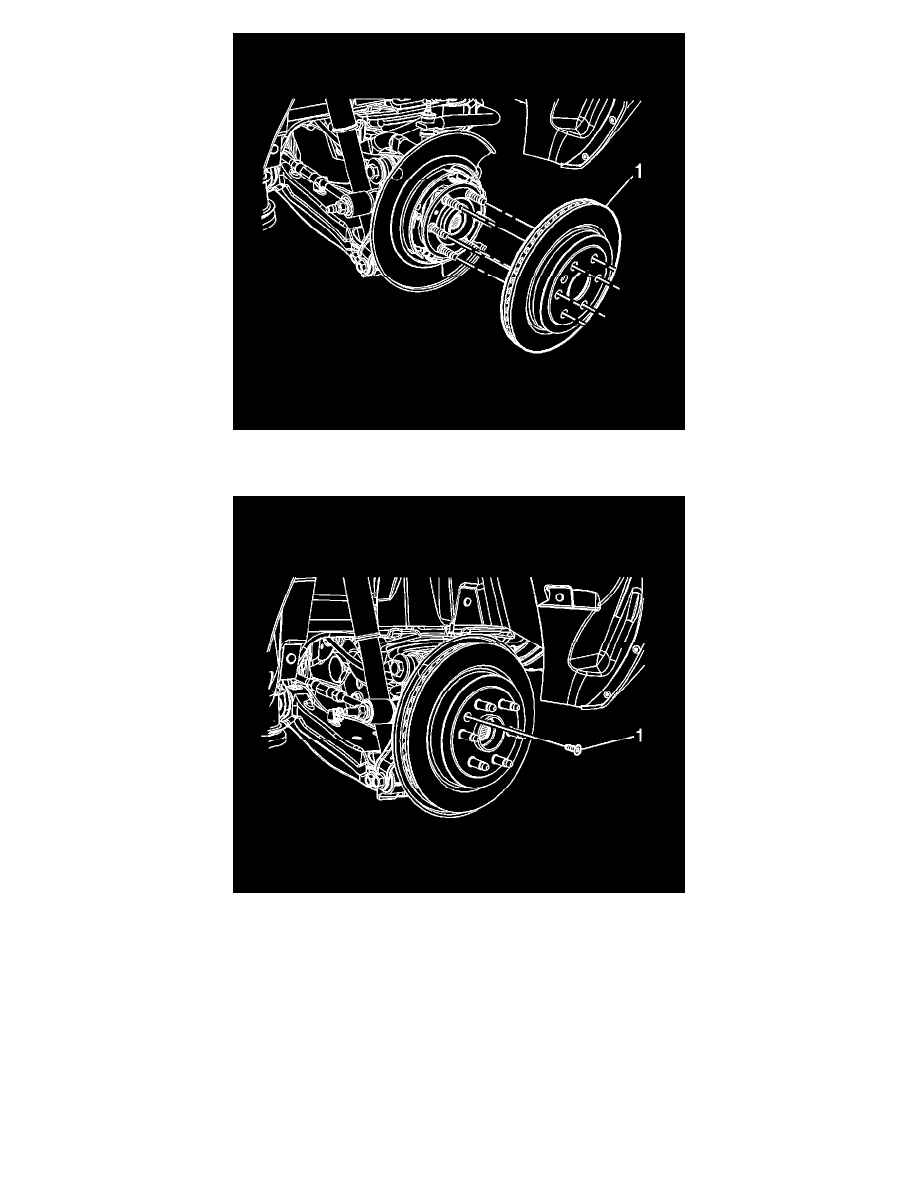
5. Install the brake rotor (1).
If installing the original brake rotor, align the rotor to the wheel hub as noted during removal.
Caution: Refer to Fastener Caution (See: Service Precautions/Vehicle Damage Warnings/Fastener Caution).
6. Install the brake rotor bolt (1) and tighten to 9 Nm (80 lb in).
7. After installing the brake rotor, measure the assembled lateral runout (LRO) of the brake rotor. Refer to Brake Rotor Assembled Lateral Runout
Measurement (See: Testing and Inspection/Brake Rotor Assembled Lateral Runout Measurement).
8. If the brake rotor assembled LRO measurement exceeds specification, bring the LRO to within specification. Refer to Brake Rotor Assembled
Lateral Runout Correction (See: Testing and Inspection/Brake Rotor Assembled Lateral Runout Correction).
9. Prepare the brake caliper bracket bolts and the bracket threaded holes for assembly:
*
Thoroughly clean the residue from the bolt threads with denatured alcohol or equivalent and allow to dry.
*
Thoroughly clean the residue from the threaded holes with denatured alcohol or equivalent and allow to dry.
*
Apply threadlocker to 2/3 of the threaded length of the caliper bracket bolts. Refer to Adhesives, Fluids, Lubricants, and Sealers (See:
Specifications/Fluid Type Specifications).
*
Ensure there are no gaps in the threadlocker along the length of the filled area of the bolts.