
SRX AWD V6-3.6L (2008)
Exhaust Manifold: Service and Repair
Exhaust Manifold Replacement - Left Side (V8 and LHD)
Exhaust Manifold Replacement - Left Side (V8 and LHD)
Removal Procedure
Caution: Refer to Exhaust Service Caution (See: Service Precautions) .
Caution: Refer to Protective Goggles and Glove Caution (See: Service Precautions/Technician Safety Information/Protective Goggles and Glove
Warning) .
1. Remove the air cleaner housing assembly. Refer to Air Cleaner Assembly Replacement (See: Engine/Tune-up and Engine Performance
Checks/Air Cleaner Housing/Service and Repair) .
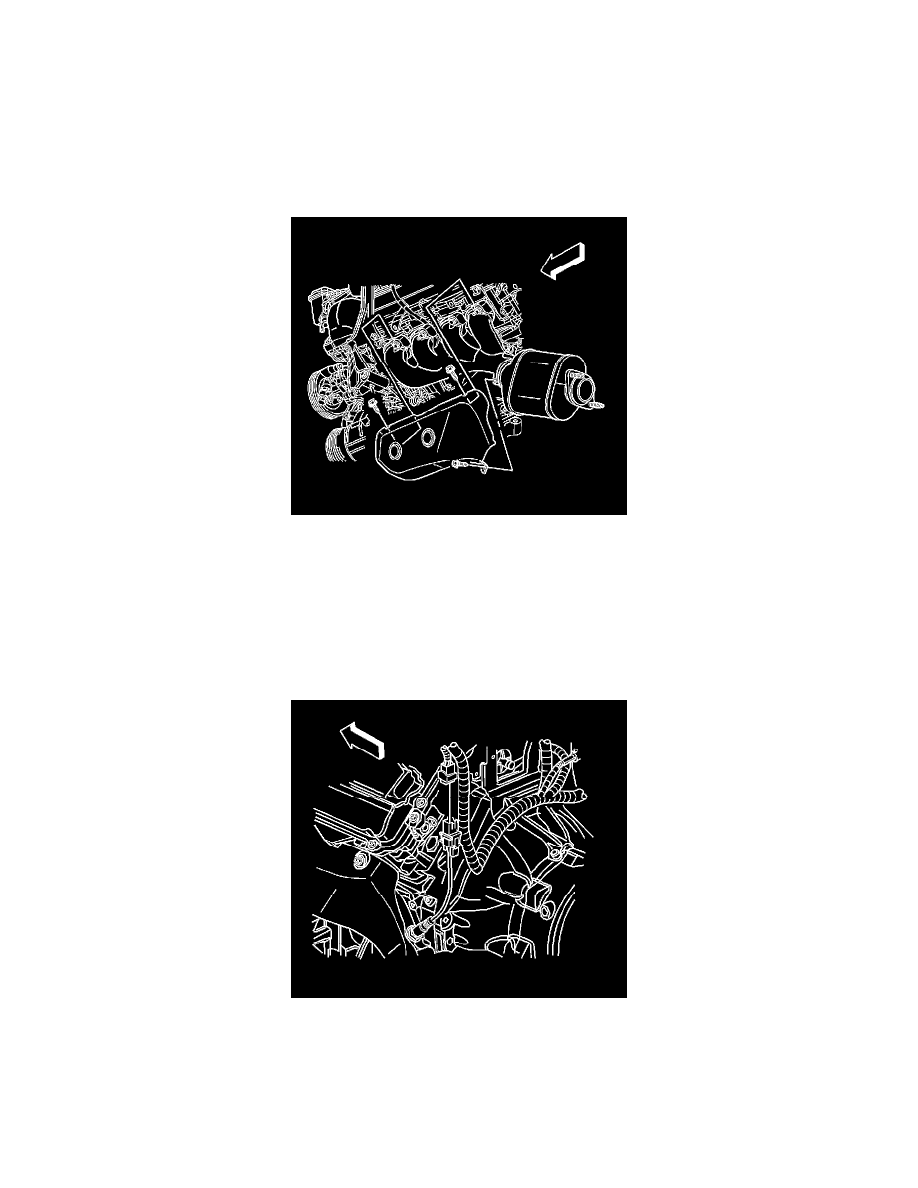
2. Remove the nut securing the air conditioning (A/C) lines to the left hand shock tower.
Position the lines aside to provide tool access to the exhaust manifold shield front bolt.
3. Remove the front upper heat shield bolt.
4. Disconnect the master cylinder electrical connector.
5. Remove the master cylinder mounting nuts.
Position the master cylinder towards the engine to gain tool access to the exhaust manifold shield rear bolt.
6. Remove the rear upper heat shield bolt.
7. Disconnect both Bank 2 heated oxygen sensor pigtail connectors from the wiring harness connector.
8. Remove the power steering gear. Refer to Steering Gear Replacement (Left Hand Drive) (See: Steering and Suspension/Steering/Steering
Gear/Service and Repair)Steering Gear Replacement (Right Hand Drive) (See: Steering and Suspension/Steering/Steering Gear/Service and
Repair) .
9. Remove the lower intermediate steering shaft. Refer to Lower Intermediate Steering Shaft Replacement (See: Steering and
Suspension/Steering/Steering Column/Service and Repair/Lower Intermediate Steering Shaft Replacement) .