
SRX AWD V6-3.6L (2008)
1. Connect the air inlet assembly electrical connector (1).
2. Install the air inlet assembly (1) to the locator pin.
Notice: Refer to Fastener Notice (See: Service Precautions/Vehicle Damage Warnings/Fastener Notice) .
3. Install the upper air inlet assembly bolts (1).
Tighten the bolt to 9 N.m (80 lb in).
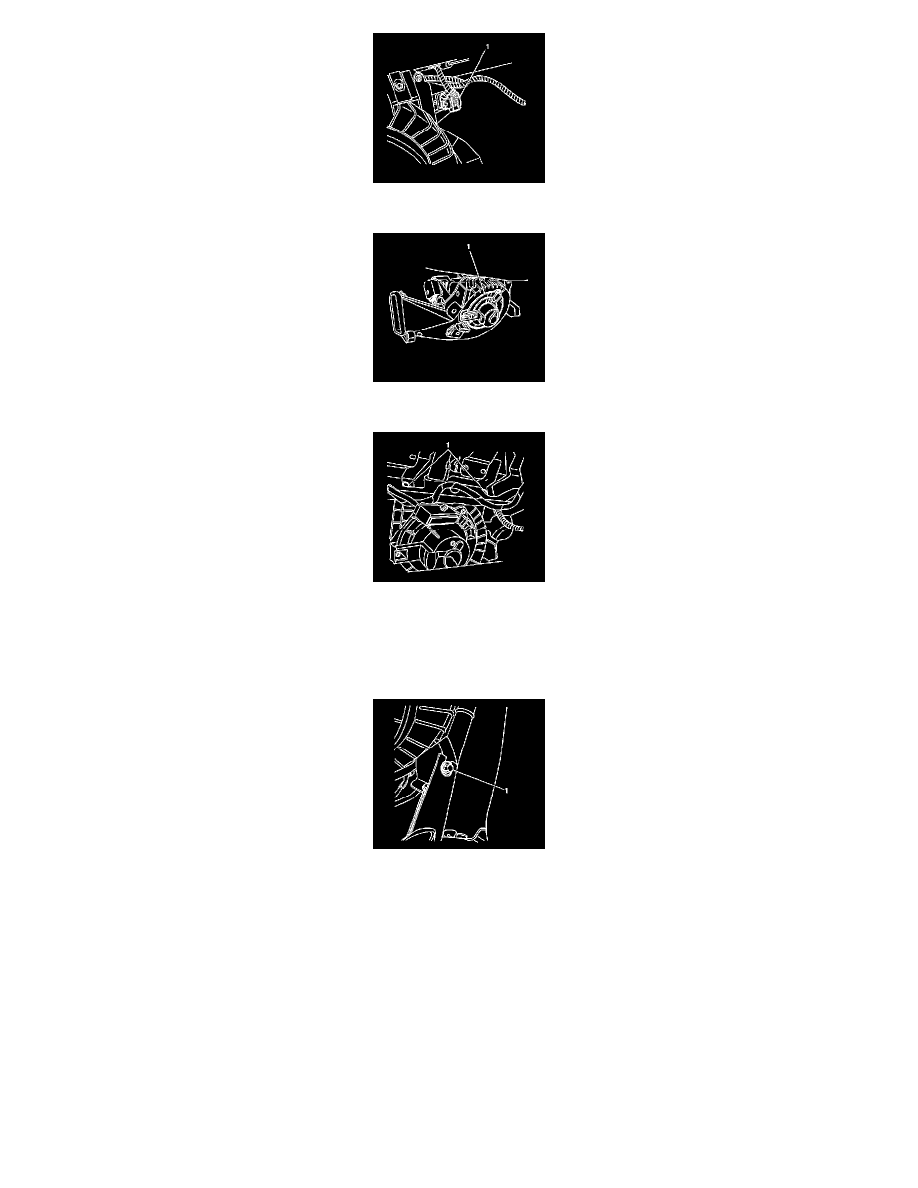
4. Install the lower right air inlet assembly bolt (1).
Tighten the bolt to 9 N.m (80 lb in).
5. Install the I/P compartment. Refer to Instrument Panel Compartment Replacement (Left Hand Drive) (See: Body and Frame/Interior Moulding /
Trim/Glove Compartment/Service and Repair)Instrument Panel Compartment Replacement (Right Hand Drive) (See: Body and Frame/Interior
Moulding / Trim/Glove Compartment/Service and Repair) .
6. Install the closeout panel. Refer to Instrument Panel Insulator Panel Replacement - Right Side (Left Hand Drive) (See: Body and Frame/Interior
Moulding / Trim/Dashboard / Instrument Panel/Service and Repair)Instrument Panel Insulator Panel Replacement - Right Side (Right Hand Drive)
(See: Body and Frame/Interior Moulding / Trim/Dashboard / Instrument Panel/Service and Repair) .