
SRX AWD V6-3.6L (2008)
Tighten the bolt to 9 N.m (80 lb in).
4. Install the lower right air inlet assembly bolt to I/P carrier (1).
Tighten the bolt to 9 N.m (80 lb in).
5. Install the I/P compartment. Refer to Instrument Panel Compartment Replacement (Left Hand Drive) (See: Body and Frame/Interior Moulding /
Trim/Glove Compartment/Service and Repair)Instrument Panel Compartment Replacement (Right Hand Drive) (See: Body and Frame/Interior
Moulding / Trim/Glove Compartment/Service and Repair) .
6. Install the left insulator panel. Refer to Instrument Panel Insulator Panel Replacement - Left Side (Left Hand Drive) (See: Body and
Frame/Interior Moulding / Trim/Dashboard / Instrument Panel/Service and Repair)Instrument Panel Insulator Panel Replacement - Left Side
(Right Hand Drive) (See: Body and Frame/Interior Moulding / Trim/Dashboard / Instrument Panel/Service and Repair) .
Instrument Panel Outer Air Outlet Upper Duct Replacement - Left Side (Left Hand Drive)
Instrument Panel Outer Air Outlet Upper Duct Replacement - Left Side (Left Hand Drive)
Removal Procedure
1. Remove the instrument panel (I/P) retainer. Refer to Instrument Panel Retainer Replacement (Left Hand Drive) (See: Body and Frame/Interior
Moulding / Trim/Dashboard / Instrument Panel/Service and Repair)Instrument Panel Retainer Replacement (Right Hand Drive) (See: Body and
Frame/Interior Moulding / Trim/Dashboard / Instrument Panel/Service and Repair) .
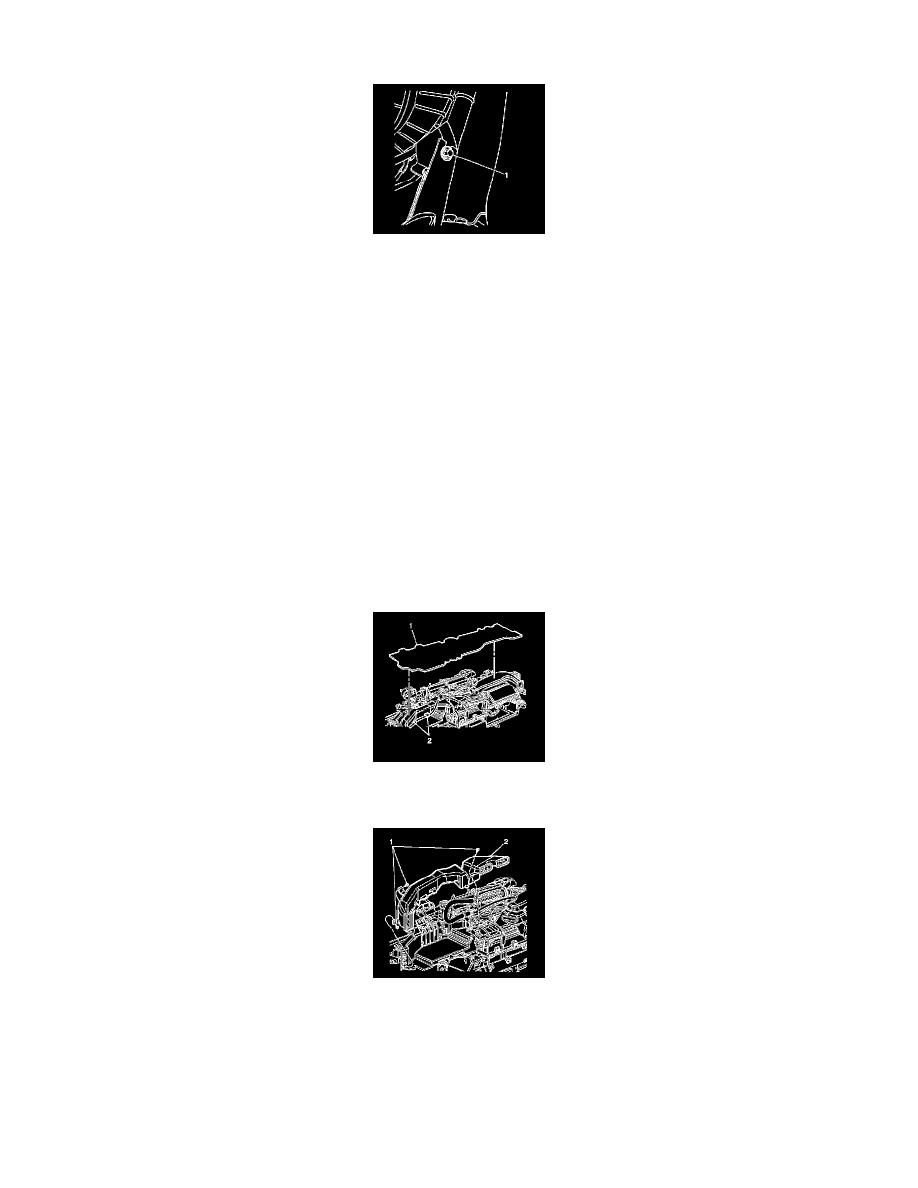
2. Remove the dash insulator (1).
3. Disconnect the wiring harness from the air duct.
4. Remove the screws (1) that retain the air duct.
5. Remove the left air duct (2), by unsnapping the duct from the HVAC module.
Installation Procedure