
Caravan AWD V6-201 3.3L (1991)
2.
Remove the load on the engine mounts by carefully supporting the engine and transmission with a floor jack.
3.
Loosen the 2 bolts attaching the right engine mount insulator to the frame rail.
4.
Loosen the screw and 2 nuts attaching the front engine mount bracket to the front lower crossmember.
5.
If the driveshaft lengths are within specification, skip to step 6. Otherwise, loosen the left engine mount through bolt so it is still engaged in the
threads weld nut of the rail bracket. Pry the engine right or left as required to achieve the proper driveshaft lengths. Make sure the left engine
mount two piece gold color slider tube moves in relation to the aluminum core for the adjustment to be effective.
6.
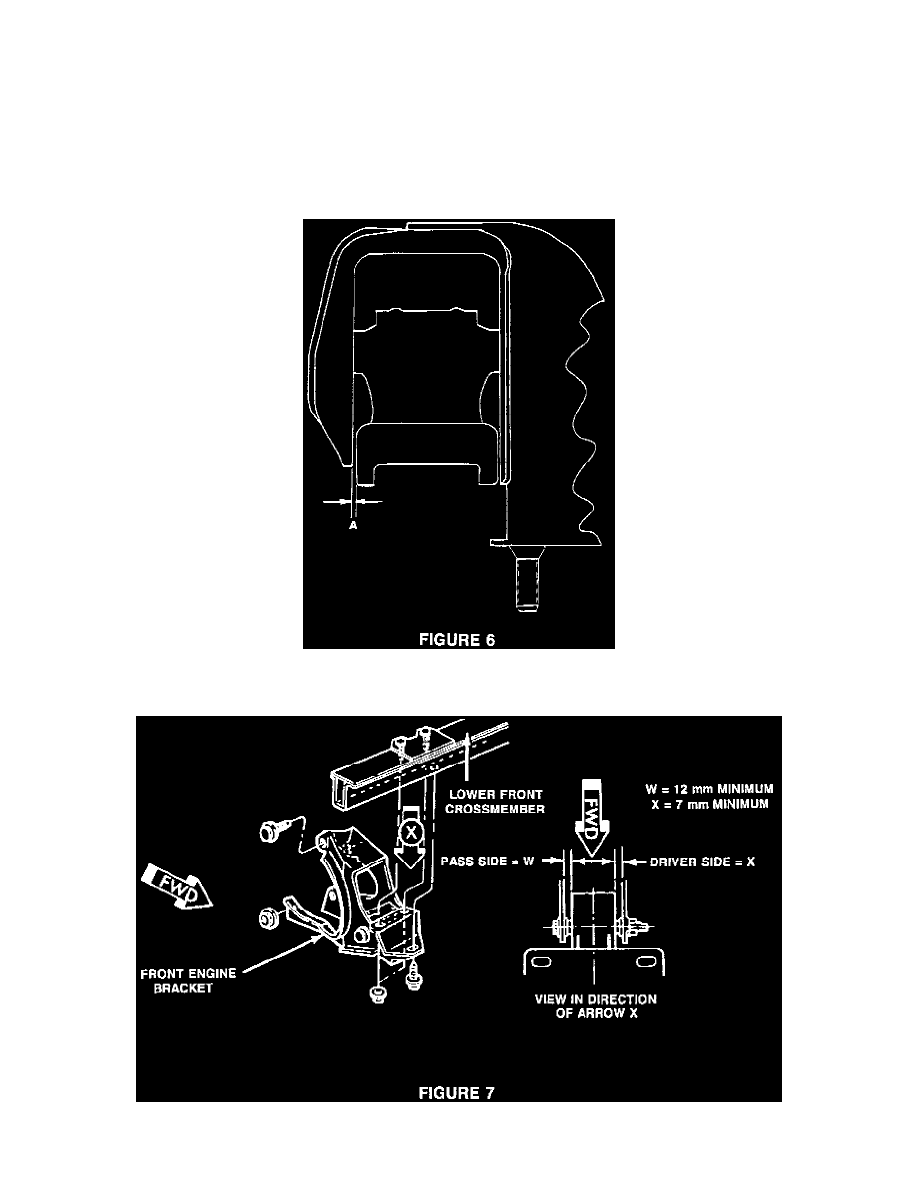
Position the right engine mount insulator so an outboard gap "A" of .020 in. (0.5 mm) is achieved between the outboard snubber of the insulator
and the yoke bracket (Refer to Figure 6). Torque the 2 right engine mount insulator attaching bolts to 50 ft.lbs. (68 N-m).
7.
Position the front engine mount isolator to achieve a minimum clearance of 0.3 in. (7 mm) on the drivers side and 0.5 in. (12 mm) on the