
Stator
- Make
- Fiat
- Model
- Punto (176) Factory Service Manual
- Year
- 1993–1999
- Section
- Recharging system › Stator
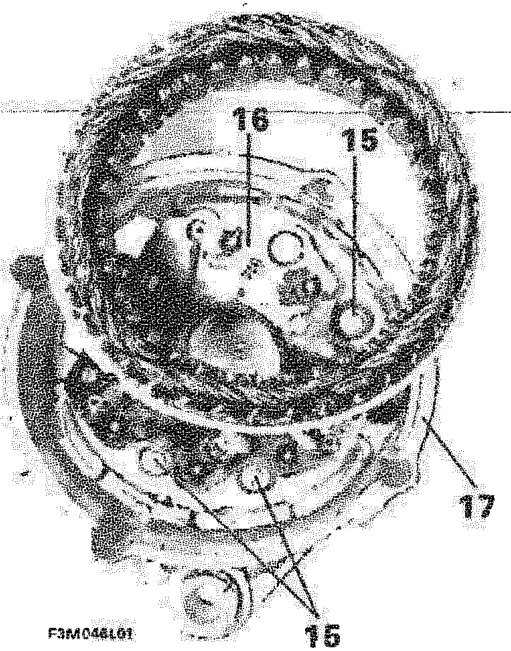
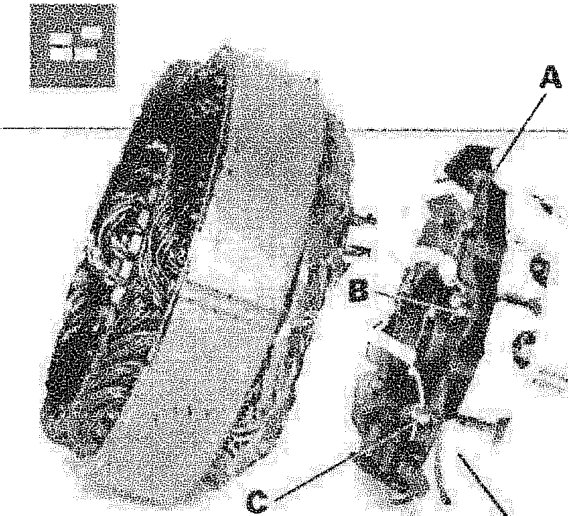
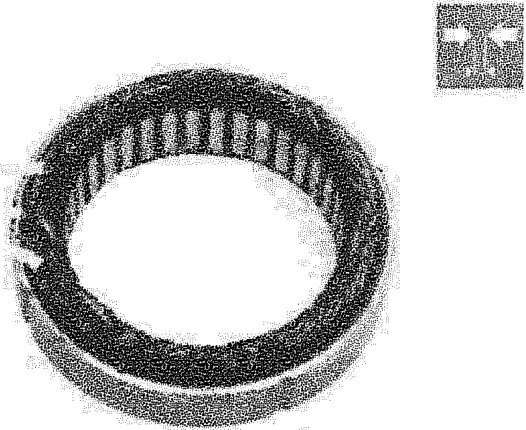
Withdraw the rotor from the stator as appropriate, after releasing it from the rear end bracket.
Undo the nut (14 top figure on preceding page) and the bolts (15) securing the diode pack (16) to the alternator's rear end bracket (17).
Unsolder the stator terminals (A–B–C) from the diode pack (16).
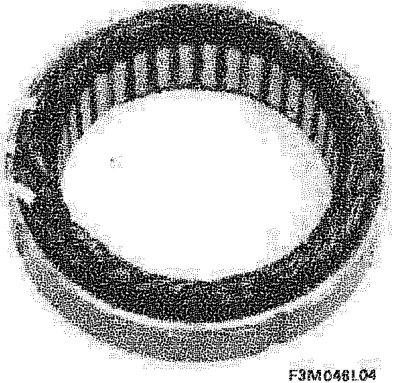
STATOR
Checking the continuity of the 3 stator windings

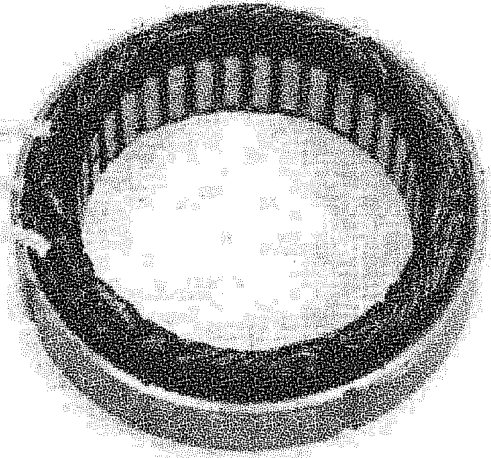
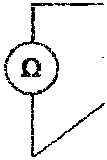
Place the leads of an ohmmeter (set to the scale Ω × 1) in contact with the ends of the stator's phases (A–B–C) in the three possible ways as illustrated.
The instrument must give the same resistance reading for each of the three measurements.
If the instrument's pointer does not move (infinite resistance) or reaches full scale (no resistance), this means that the phase being measured is broken or short-circuited, and so the stator must be renewed.
Parts & tools for this job For 1993 Fiat Punto
- TOOLDigital multimeterSearch: automotive digital multimeter
- PARTAssorted fuse kitSearch: car fuse assortment kit
- TOOLWire crimper and connector kitSearch: wire crimper connector kit
Links open Amazon search results in a new tab. As an Amazon Associate I earn from qualifying purchases.