
Hombre XS Space Cab L4-2.2L CPC (1997)
Compressor Shaft Seal: Service and Repair
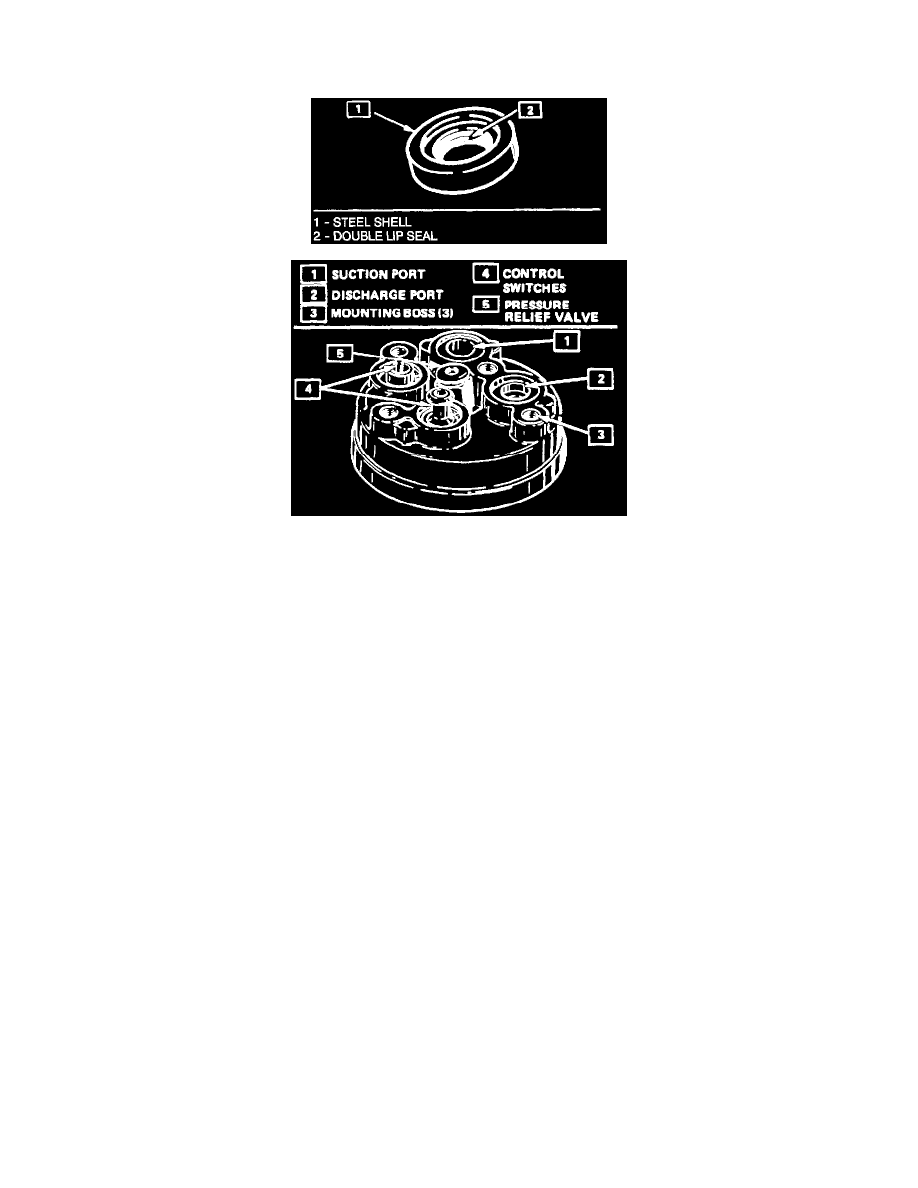
HT6/HD6 Type
Compressor Shaft Seal Replacement
When replacing the shaft seal assembly, pressure relief valve or control switches, it will be necessary to recover the refrigerant. Other than clutch repair
procedures, the same holds true for any disassembly of the compressor.
A clean workbench covered with a sheet of clean paper, and a place (clean trays, etc.) for all parts being removed and replaced is important, as is the use
of proper clean service tools.
NOTE: Any attempt to use makeshift or inadequate service tools or equipment may result in damage and/or improper compressor operation.
All parts required for servicing the internal compressor are protected by a preservative process and packaged in a manner which will eliminate the
necessity of cleaning, washing or flushing of the parts. The parts can be used in the internal assembly just as they are removed from the service package.
Seals and protective packaging should be left Intact until just prior to Installation.
If the compressor rear head, front head or cylinder and shaft assembly is to be serviced or replaced, the oil in the compressor must be drained, measured,
recorded and replaced.
A shaft seal should not be changed because of small amounts of oil found on an adjacent surface but only after actual refrigerant leakage is found using
an approved leak detector, J 39400 or equivalent.
Remove or Disconnect
1. Recover the refrigerant using J 39500.
2. Loosen and reposition compressor in mounting brackets, if necessary.
3. Remove clutch plate and hub assembly from compressor as described in minor repairs.