
Hombre XS Space Cab L4-2.2L CPC (1997)
Starter Motor: Service and Repair
Starter Motor Inspection
Cleaning and Inspection Procedure
Tools Required
-
J21008-A Self Powered Test Light
-
J39200 Digital Multimeter
NOTE: Do not clean the starter motor parts in a degreasing tank. Soaking parts will dissolve the permanent lubrication and may damage the electrical
insulation. This will shorten starter motor life.
1. Clean all parts by wiping with a dry cloth.
2. Inspect the bushing or the armature bearing fit in the following locations:
-
The end frame
-
The shift lever housing
-
The drive end frame housing (If the bushings or the bearings are damaged, install new ones.)
3. Lubricate the bushings before assembling the starter motor.
-
Avoid over lubrication.
-
Do not lubricate the roller bearings, if equipped.
-
The roller bearings are permanently lubricated when manufactured.
4. Inspect the armature shaft for runout or scoring. If the condition of the armature shaft is in doubt, install a new shaft.
5. Inspect the commutator for discolored or uneven conductors.
-
Do not turn the commutator on a lathe.
-
Do not undercut the insulation.
-
Clean the commutator with No. 240 grit emery cloth.
-
Blow away any copper dust.
-
If the commutator can not be cleaned satisfactorily, install a new armature.
6. Inspect the armature for short circuits using the following procedure:
-
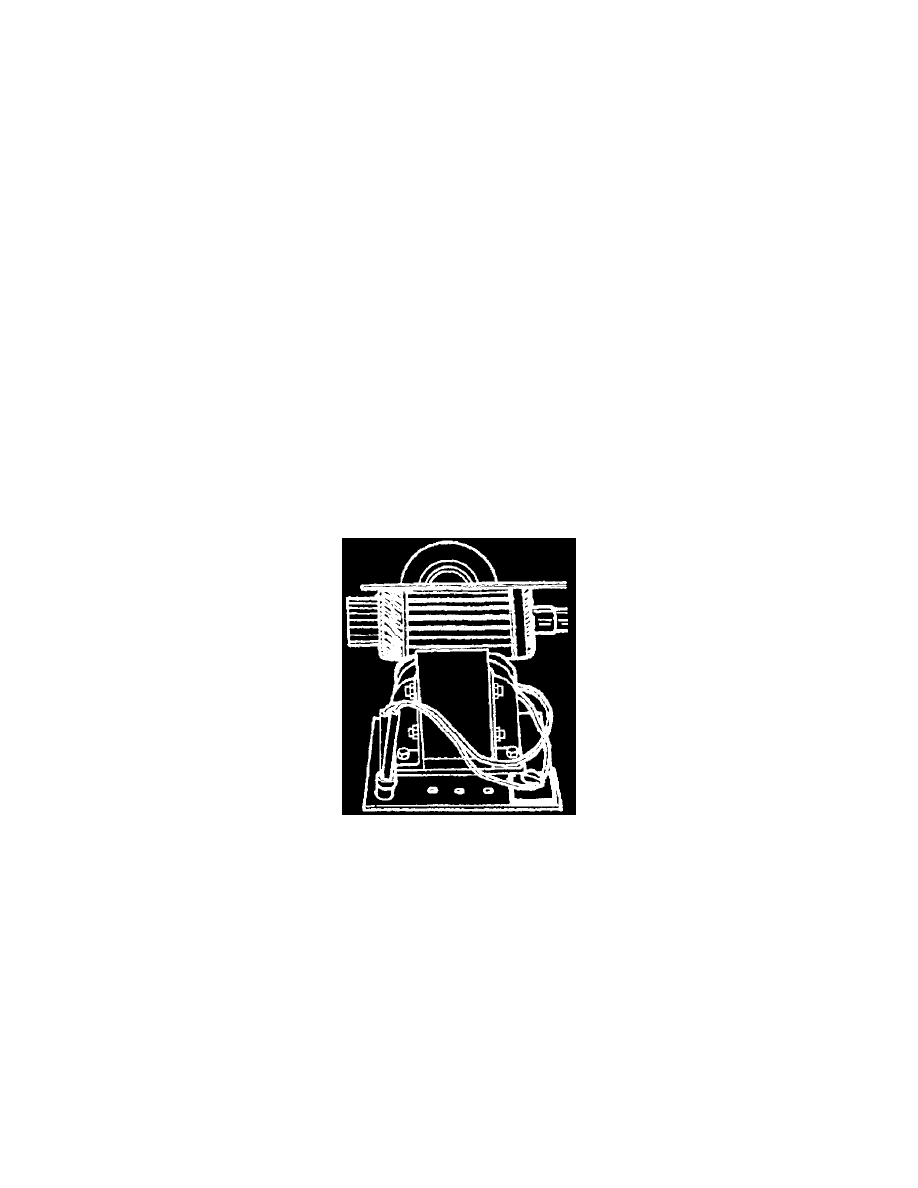
Rotate the armature in a "growler."
-
Use a steel strip (such as a hacksaw blade) held on the armature, parallel to the shaft.
-
If a short circuit is detected, the steel strip will vibrate over the area.
-
Consult the "growler" manufacturer's instructions for more information.
-
Short circuits between the commutator bars can be produced by brush (carbon) dust or copper dust.