
Hombre XS Space Cab L4-2.2L CPC (1997)
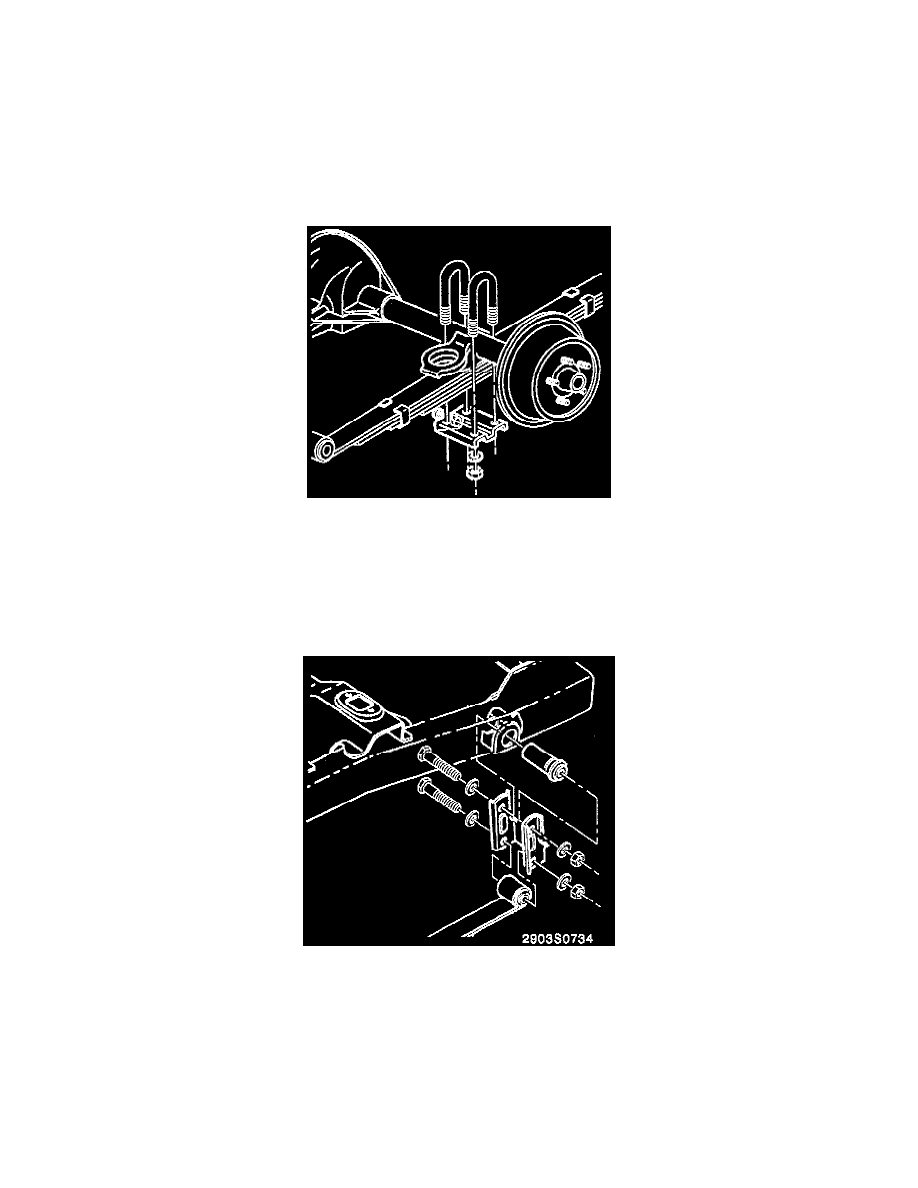
14. .Attach the U-bolts, anchor plate, washers, and U-bolt nuts then tighten the U-bolt nuts to 25 Nm (18 ft. lbs.) using the sequence shown in the
picture,then tighten the Up-bolt nuts to 100 Nm (73 ft. lbs.) using the sequence shown in in the picture.
15. Support the axle in such a way that there is a distance of 170 mm +/- 6 mm (6.7 inch +/- 0.24 inch) between the axle tube and the bumper bracket
metal surface.
16. Install the shock absorber.
Spring Bushing
1. Remove the spring assembly from the vehicle.
2. Detach the bushing from the spring assembly then press the bushing from the spring using an arbor press.
3. Clean the spring eye of any remaining debris from the bushing then remove any burrs that would cause the new bushing to bind when installed.
4. Before installing, apply rubber lubricant to the bushing, and the spring eye.
5. Insert the bushing into the spring assembly then press the bushing into the spring using an arbor press.
6. Attach the spring assembly to the vehicle.
Shackle Replacement
1. Raise the vehicle on a hoist and support the rear axle then loosen the frame to shackle nut, washers, and frame bolt.
2. Loosen the shackle to spring nut, washers, and bolt.
3. Remove the shackle from the vehicle.
4. Attach the shackle to the vehicle.
5. Insert the shackle to spring bolt, washers, and nut but only hand tighten.
6. Insert the frame to shackle bolt, washers, and nut but only hand tighten.
7. Support the axle in such a way that there is a distance of 170 mm +/- 6 mm (6.7 inch +/- 0.24 inch) between the axle tube and the bumper bracket
metal surface then tighten the rear shackle nuts to 122 Nm (89 ft. lbs.).
8. After installing, lower the vehicle.
Shackle Bushing Replacement