Rodeo S 2WD L4-2.2L (1999)

26.
Tighten the No. 2 body mount bolt and nut to the specified Torque of 37 lb. ft (50 N.m). (Figure 17)
IMPORTANT:
Apply torque values by hand with an appropriate torque wrench. Do not use air tools when applying torque values for this section.
27.
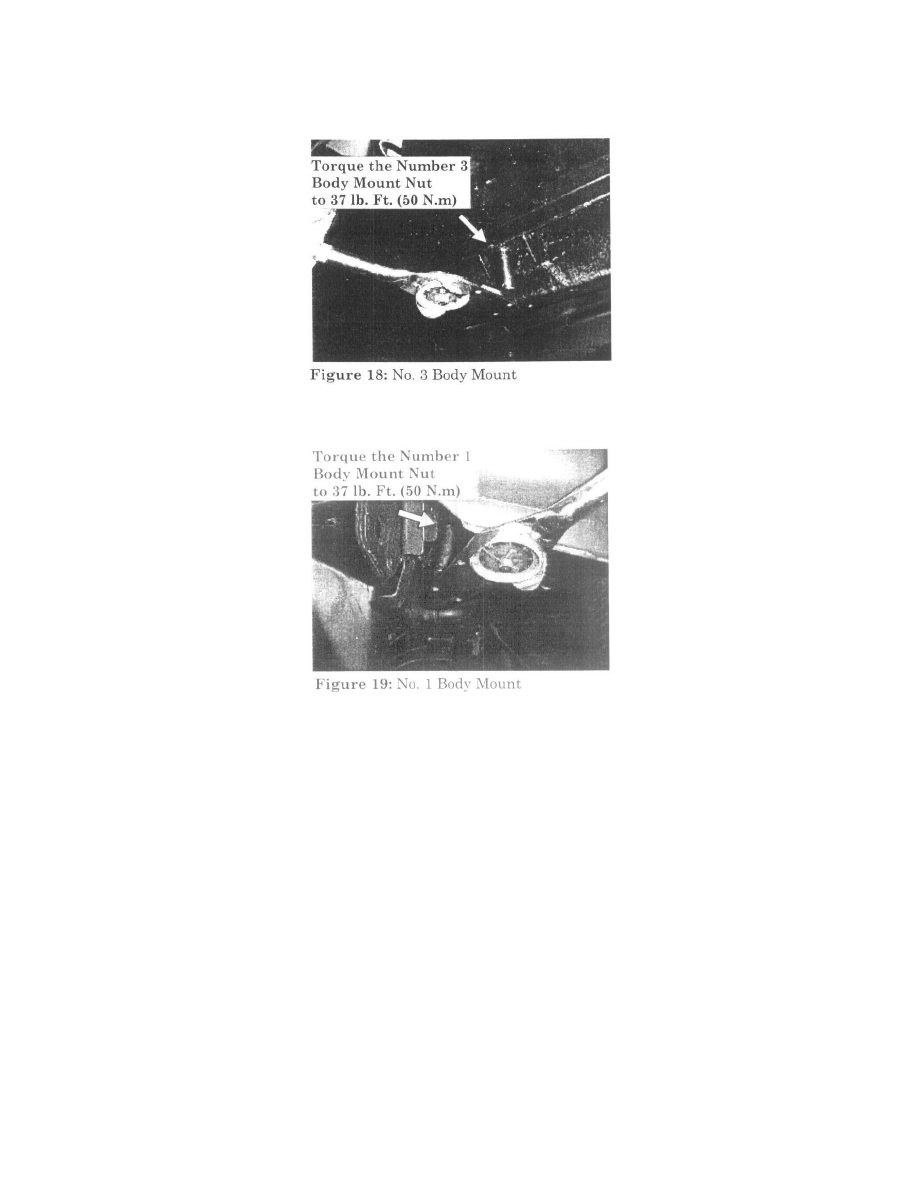
Tighten the No. 3 body mount bolt and nut to the specified Torque of 37 lb. Ft (50 N.m). (Figure 18)
28.
Tighten the No. 1 body mount bolt and nut to the specified Torque of 37 lb. Ft (50 N.m). (Figure 19)
29.
Repeat Steps 17 through 28 for the other side.
30.
Remove any body undercoating residue from your hands prior to the reinstallation of the interior parts.
CAUTION:
Undercoating residue is difficult to remove if the vehicle interior is stained. Wash hands thoroughly prior to handling the interior components.
31.
Reinstall the following interior parts for both sides:
^
All removed access plugs (4)
^
Interior carpet (fit into place)
^
Front and rear door sill plates
^
Front kick panels
32.
Verify the repair by re-measuring the upper clearance gap of the No. 1 body mount. There should be a minimum of 2 mm clearance gap between
the mounting rubber at the upper half of both the left and right side No. 1 body mounts.
Section D: RIDE HEIGHT ADJUSTMENT
33.
The following items are needed in this procedure (which can be acquired at your local hardware store):
