
Freelander Service Procedures
AIR CONDITIONING
REPAIRS
82-17
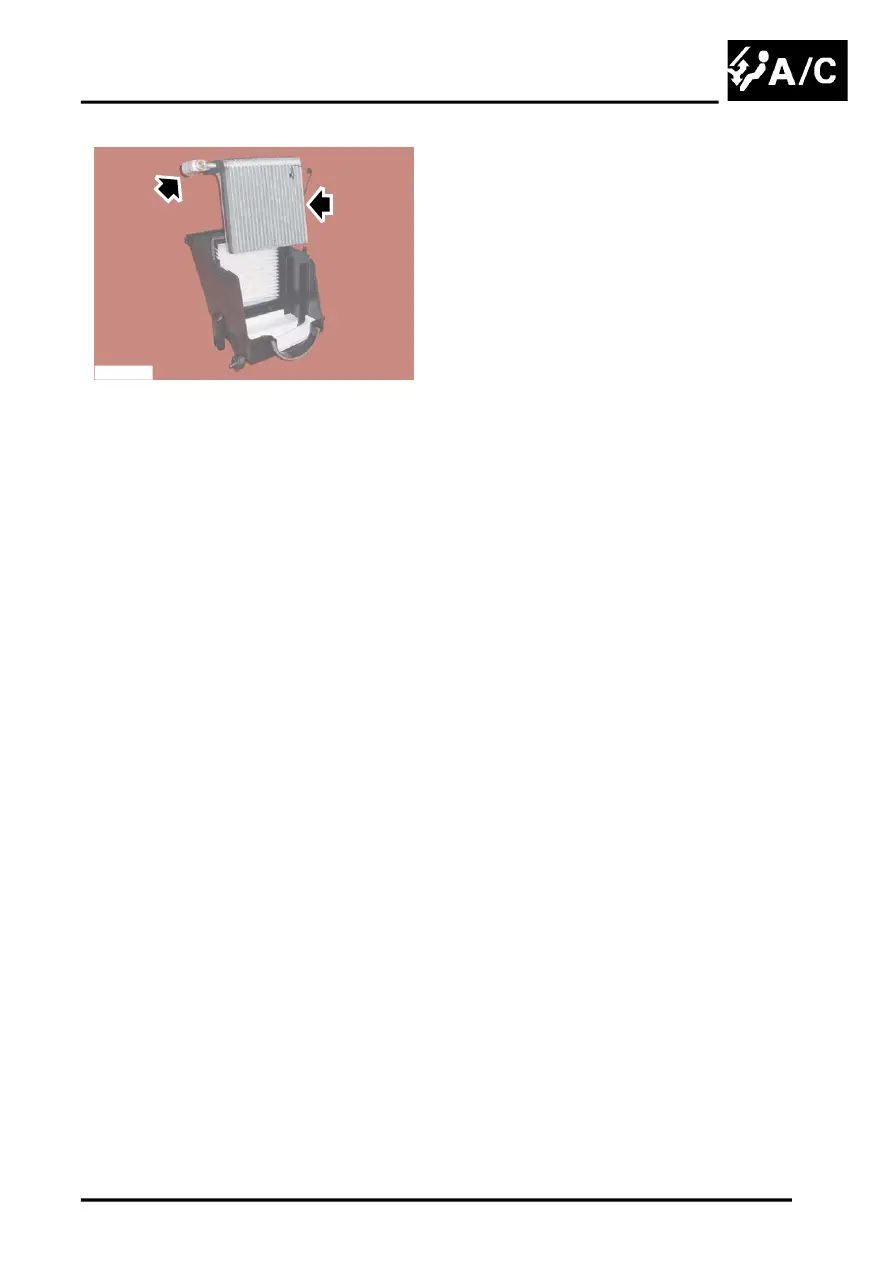
12. Remove evaporator from casing.
13. Remove 2 Allen key bolts securing TXV valve,
remove valve and discard 2 'O' rings.
Refit
1. Lubricate new 'O' rings with clean refrigerant oil
and fit to evaporator pipes
2. Fit evaporator pipes to TXV valve and fit
bracket, fit and tighten bolt to 10 Nm (7 lbf.ft).
3. Carefully fit evaporator to casing.
4. Fit top half of evaporator casing.
5. Fit 7 screws to casing.
6. Fit harness in securing clips.
7. Locate evaporator assembly to drain hose and
air intake, position evaporator to body.
8. Fit and tighten nuts securing evaporator to
body.
9. Connect multiplugs to heater harness and A/C
switches.
10. Position face level vent ducting, fit and tighten
bolt.
11. Fit fascia.
12. Clean evaporator pipes.
13. Lubricate new 'O' rings with refrigerant oil.
14. Fit 'O' rings to evaporator pipes.
15. Clean evaporator pipes.
16. Fit pipes to TXV valve and fit bracket, tighten
bolt to 10 Nm (7 lbf.ft).
17. Charge A/C system.
RECOVERY, RECYCLING AND
RECHARGING, Refrigerant recovery -
recycling and recharge.
M820825