Freelander Service Procedures

DRIVESHAFTS
REPAIRS
47-9
Gaiter - inner joint - rear
$% 47.11.16
Remove
1. Disconnect battery earth lead.
2. Raise rear of vehicle.
WARNING: Do not work on or under a
vehicle supported only by a jack. Always
support the vehicle on safety stands.
3. Remove road wheel.
4. Remove outer gaiter.
DRIVESHAFTS, REPAIRS, Gaiter -
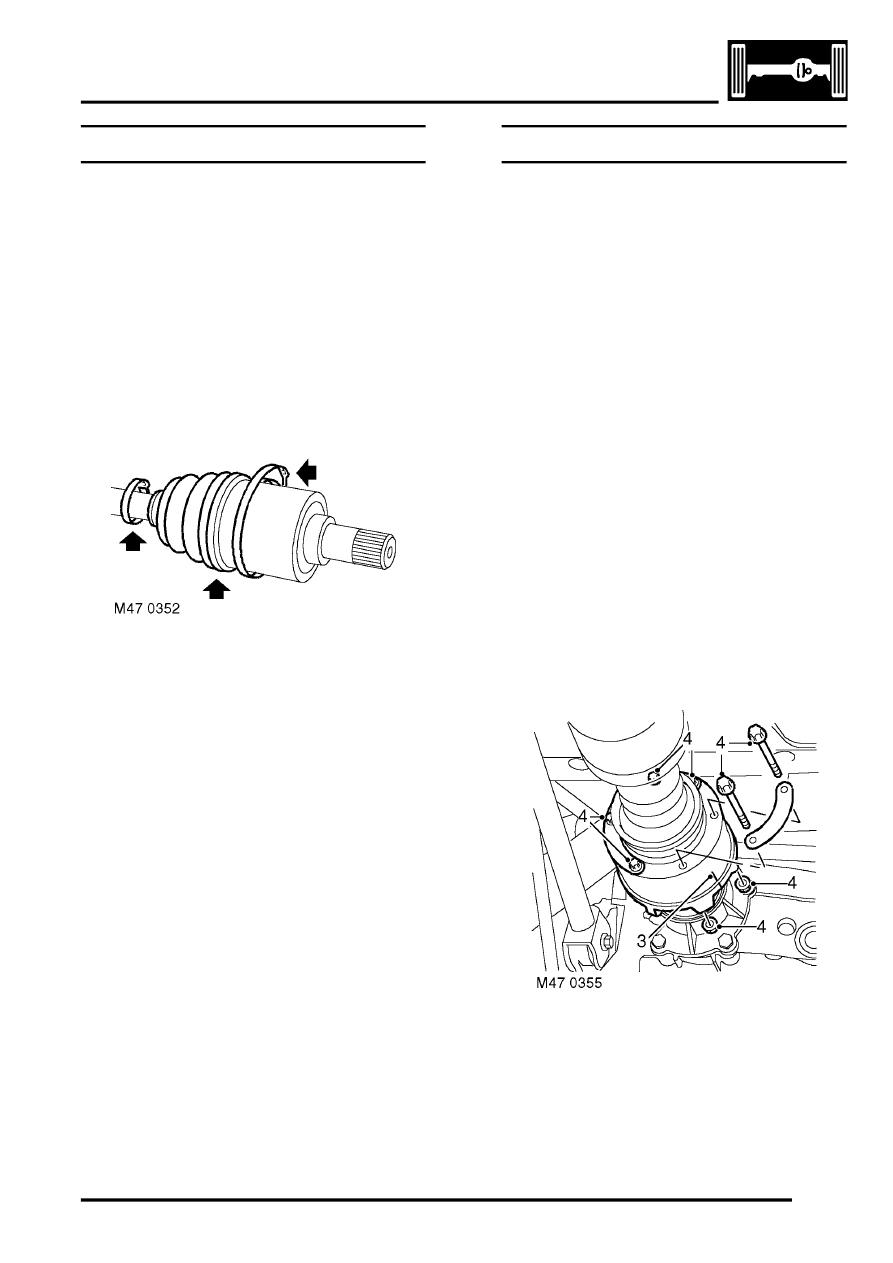
5. Release both gaiter clips and discard.
6. Slide gaiter from shaft.
Refit
1. Clean drive shaft and gaiter.
2. Apply grease from the sachet to the joint.
3. Fit new gaiter to shaft.
4. Apply grease from the sachet to the joint.
5. Position gaiter to joint and use a 'Band-it
thriftool' LRT-99-019 to secure the 2 new clips.
6. Fit outer gaiter.
DRIVESHAFTS, REPAIRS, Gaiter -
7. Fit road wheel(s) and tighten nuts to 115 Nm
(85 lbf.ft).
8. Remove stands and lower vehicle.
9. Connect battery earth lead.
Propeller shaft assembly
$% 47.15.01
Remove
1. Raise vehicle on a 4 post ramp.
2. Raise one wheel on each axle for rotation of
propeller shaft as necessary to access fixings.
CAUTION: When working on the propeller
shafts:
l
Always remove the propeller shafts and
viscous coupling as an assembly.
Dismantling the individual units on the
vehicle may cause damage to the
components.
l
Never unbolt the viscous coupling
support bearings from the body without
first detaching the propeller shafts at the
differential and IRD. The weight of the
centre section will pull the CV joint apart,
causing irreparable damage.
l
Never allow the CV joint to be
manipulated to an acute angle. This will
cause the internal roller bearings to
break up, leading to excessive backlash
and CV joint failure.
3. Reference mark the position of propeller shaft
flanges to IRD and rear axle flanges to aid
reassembly.
4. Remove 6 nuts, bolts and link washers
securing CV joint to IRD flange.
