
Freelander Service Procedures
DRIVESHAFTS
47-6
REPAIRS
Gaiter - inner joint
$% 47.10.16
Remove
1. Disconnect battery earth lead.
2. Raise front of vehicle.
WARNING: Do not work on or under a
vehicle supported only by a jack. Always
support the vehicle on safety stands.
3. Remove road wheel.
4. Remove outer gaiter.
DRIVESHAFTS, REPAIRS, Gaiter -
5. Release both gaiter clips and discard.
6. Slide gaiter from shaft.
Refit
1. Clean drive shaft and gaiter.
2. Apply grease from the sachet to the joint.
3. Fit new gaiter to shaft.
4. Position gaiter to joint and use a 'Band-it
thriftool' LRT-99-019 to secure the 2 new clips.
5. Fit outer gaiter.
DRIVESHAFTS, REPAIRS, Gaiter -
6. Fit road wheel(s) and tighten nuts to 115 Nm
(85 lbf.ft).
7. Remove stands and lower vehicle.
8. Connect battery earth lead.
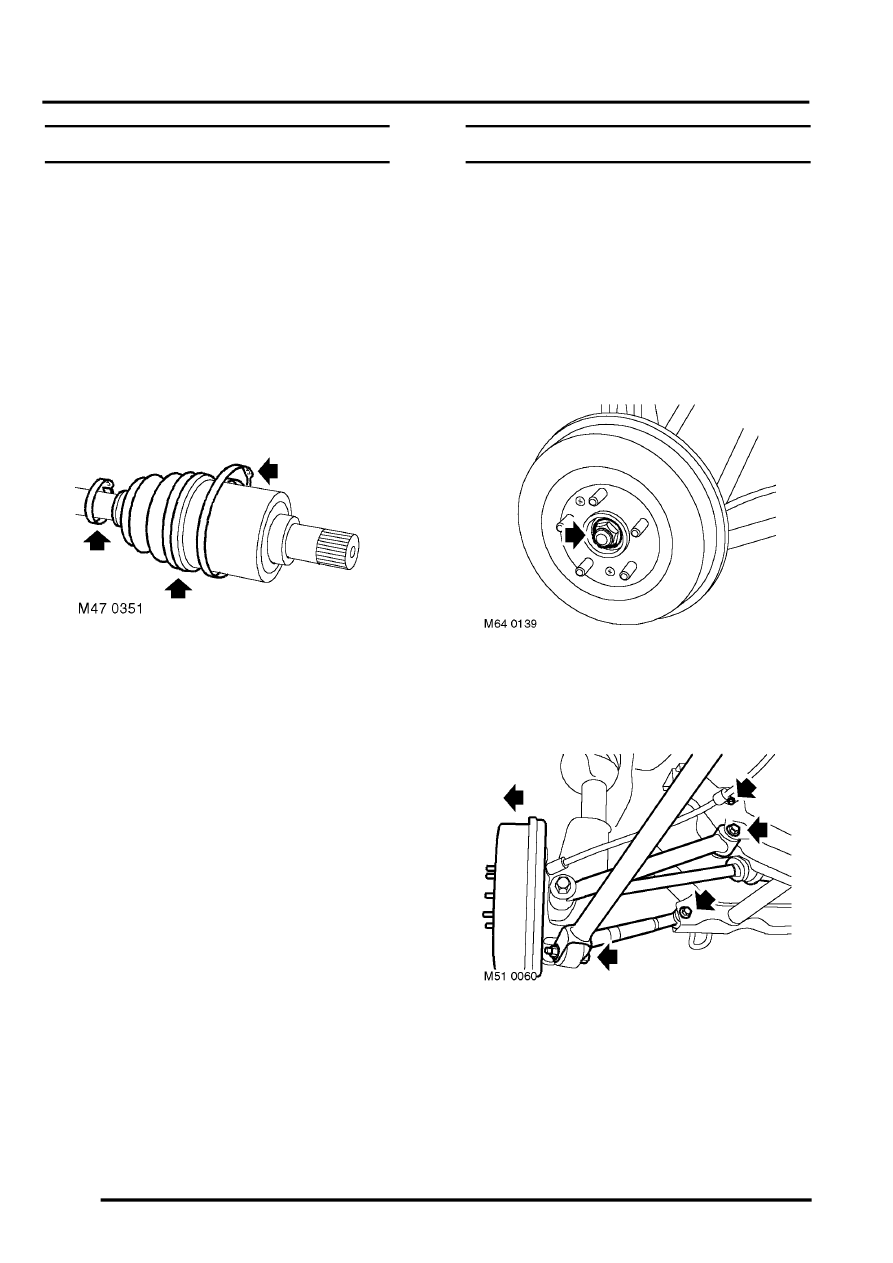
Shaft with both joints - rear
$% 47.11.01
Remove
1. Disconnect battery earth lead.
2. Raise rear of vehicle.
WARNING: Do not work on or under a
vehicle supported only by a jack. Always
support the vehicle on safety stands.
3. Remove road wheel.
4. Release stake from drive shaft nut.
5. With assistant depressing the brake pedal,
remove and discard drive shaft nut.
6. Remove nut and bolt securing trailing link to
rear hub, collect spacer from under bolt head.
7. Remove nut and bolt securing fixed transverse
link to subframe. Collect dynamic damper.
8. Remove nut and bolt securing adjustable
transverse link to subframe.
9. Position container to catch oil spillage