Freelander Service Procedures: 5-Door 'A' Post Repair | Page 956

PANEL REPAIRS
77-2-42 REPAIRS
Repair
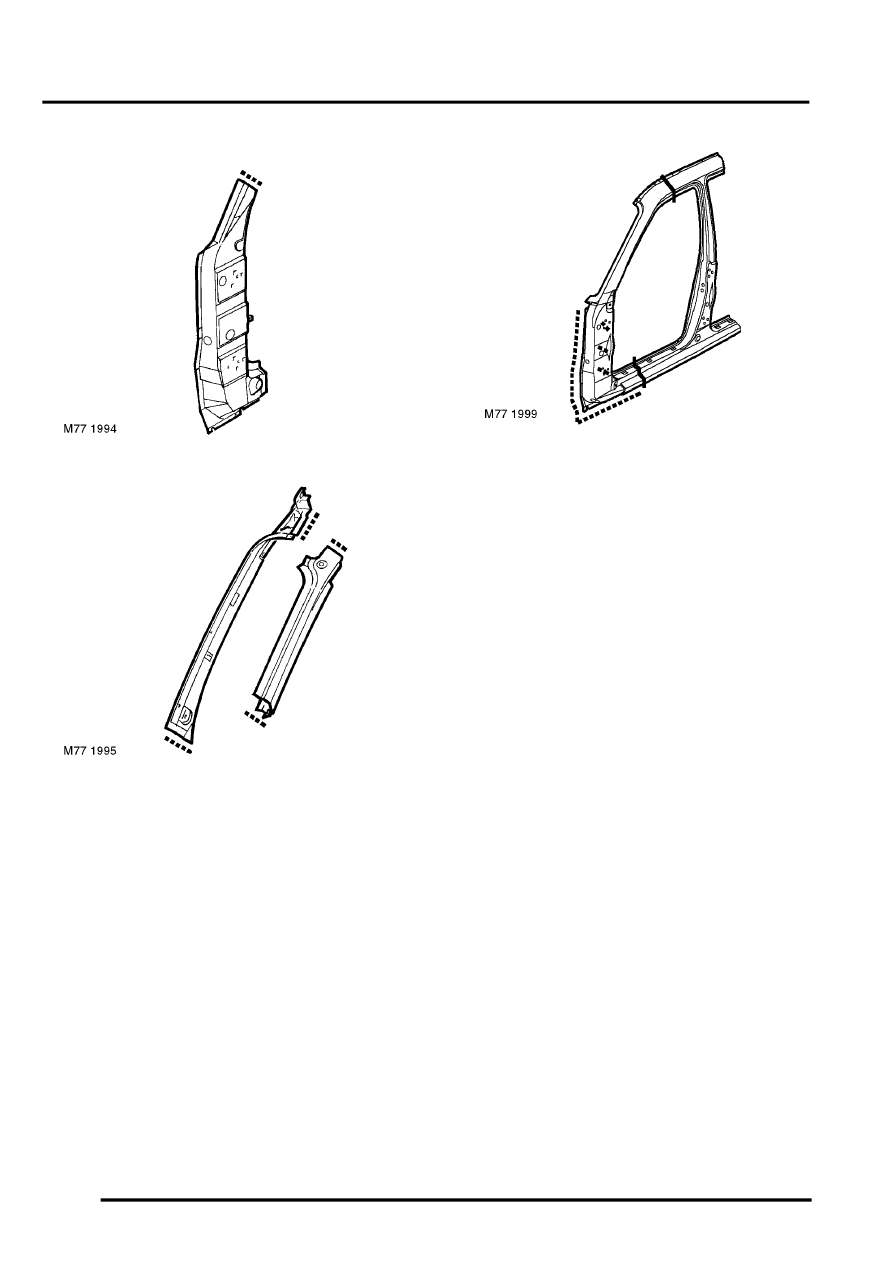
1. Remove existing panel(s), prepare panel joint
faces and install new panel(s) in accordance
with Panel Replacement Procedure. Punch or
drill holes in new panel for plug welding as
shown.
Refit
1. Driver's side: Fit passenger compartment fuse
box.
2. Fit insulation pads to engine bulkhead.
3. Fit front door aperture seal.
4. Position front carpet and fit treadplate to front
door aperture.
5. Fit headlining.
6. Fit windscreen.
7. Fit duct of outboard face level ventilator.
8. Fit fascia.
9. Fit front seat.
10. Fit front door.
- front - remove for access & refit.
11. Fit front wing.
12. Fit front wheel arch liner.
13. Fit road wheel(s) and tighten nuts to 115 Nm
(85 lbf.ft).
14. Connect all ECUs.
15. Connect alternator.
16. Connect battery earth lead.
