
Freelander Service Procedures
PANEL REPAIRS
REPAIRS 77-2-53
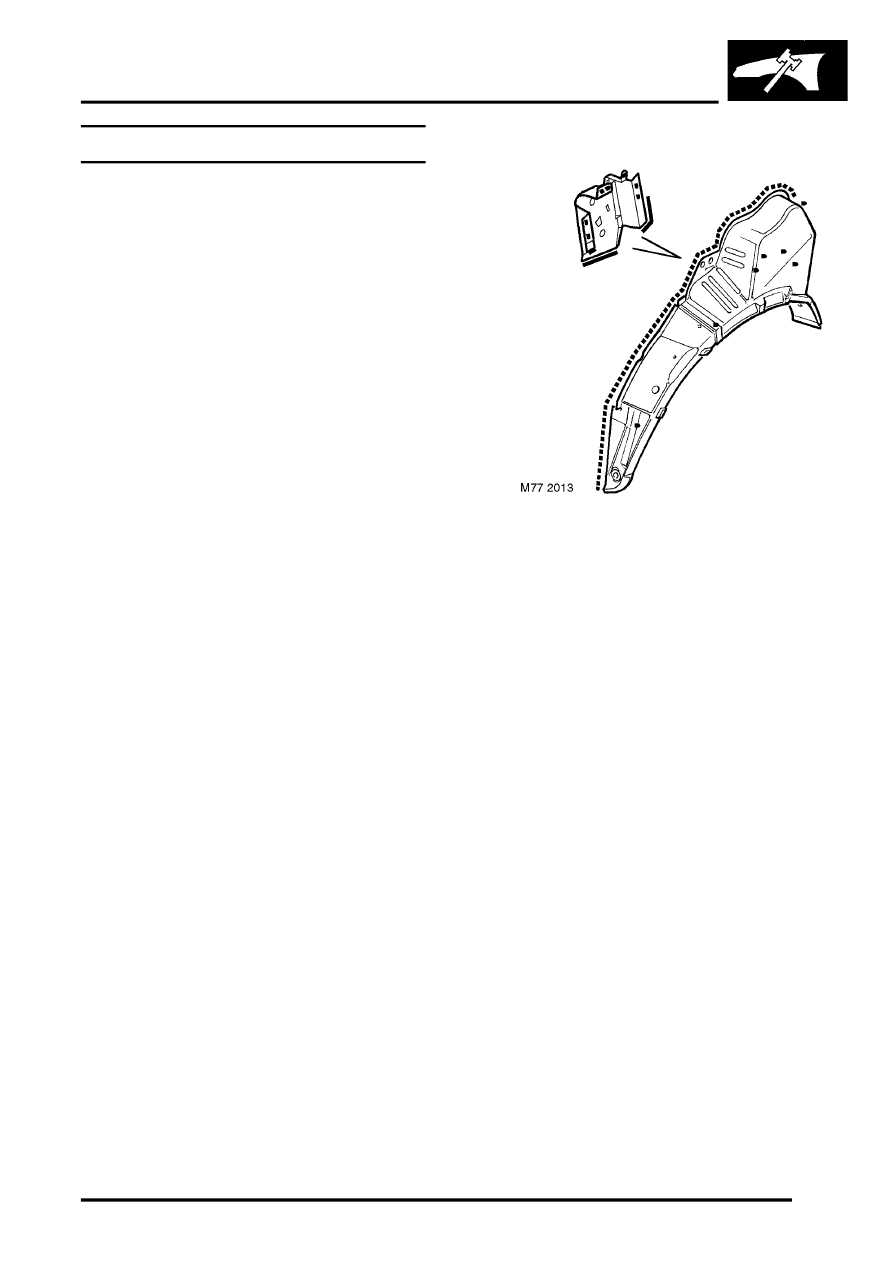
Outer rear wheel arch - 3 door
In this procedure, the squab side reinforcement is
replaced in conjunction with the outer rear wheel
arch.
Remove
1. Disconnect battery earth lead.
2. Disconnect alternator.
3. Disconnect all ECUs.
4. Remove road wheel(s).
5. Remove rear bumper valance.
Bumper valance - rear - up to 04MY.
6. Remove rear wheel arch liner.
7. Remove rear quarter lower casing.
REPAIRS, Trim casing - rear quarter - lower
- 3 door.
8. Remove rear seat.
SEATS, REPAIRS, Rear seat - LH.
SEATS, REPAIRS, Rear seat - RH.
9. Remove rear body side casing.
REPAIRS, Trim casing - body side - rear - 3
door.
10. Remove rear damper.
11. RH side: Remove fuel filler neck.
12. RH side: Remove fuel tank.
PETROL, REPAIRS, Tank - Non NAS.
Repair
1. Remove existing panel(s), prepare panel joint
faces and install new panel(s) in accordance
with Panel Replacement Procedure. Punch or
drill holes in new panel for plug welding as
shown.
Refit
1. RH side: Fit fuel tank.
PETROL, REPAIRS, Tank - Non NAS.
2. RH side: Fit fuel filler neck.
3. Fit rear damper.
4. Fit rear body side casing.
REPAIRS, Trim casing - body side - rear - 3
door.
5. Fit rear seat.
SEATS, REPAIRS, Rear seat - LH.
SEATS, REPAIRS, Rear seat - RH.
6. Fit rear quarter lower casing.
REPAIRS, Trim casing - rear quarter - lower
- 3 door.
7. Fit rear wheel arch liner.
8. Fit rear bumper valance.
Bumper valance - rear - up to 04MY.
9. Fit road wheel(s) and tighten nuts to 115 Nm
(85 lbf.ft).
10. Connect all ECUs.
11. Connect alternator.
12. Connect battery earth lead.