
Freelander Service Procedures
Roof assembly - 5 door
Remove
1. Disconnect battery earth lead.
2. Disconnect alternator.
3. Disconnect all ECUs.
4. Remove tail door glass upper finisher.
5. Remove LH and RH roof panel finishers.
6. Remove headlining.
7. If applicable, remove sunroof.
roof - complete - front - 5 door.
8. Remove aerial.
REPAIRS, Aerial - manual - 5 door.
9. Remove windscreen.
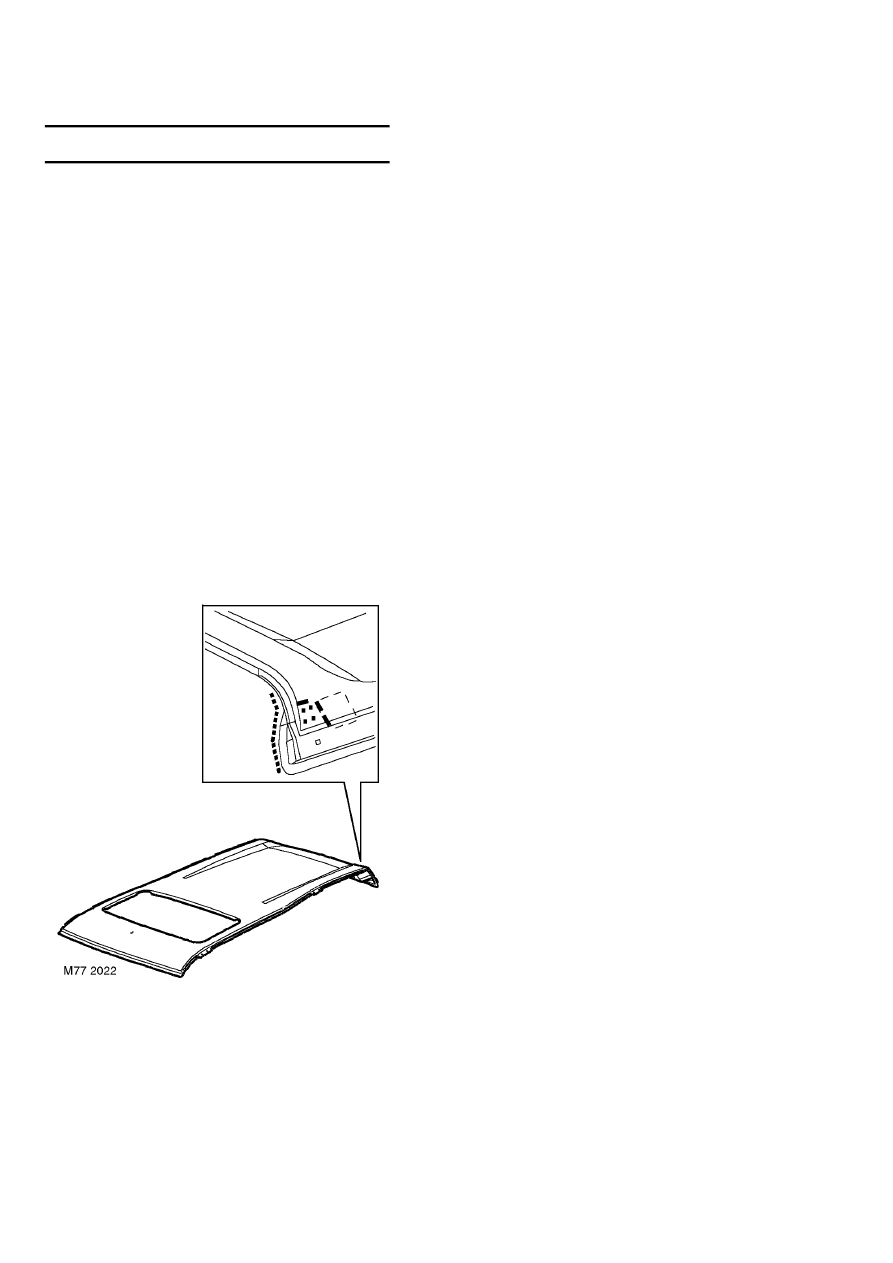
Repair
1. Remove existing panel(s), prepare panel joint
faces and install new panel(s) in accordance
with Panel Replacement Procedure. Punch or
drill holes in new panel for plug welding as
shown.
Refit
1. Fit windscreen.
2. Fit aerial.
REPAIRS, Aerial - manual - 5 door.
3. If applicable, fit sunroof.
roof - complete - front - 5 door.
4. Fit headlining.
5. Fit LH and RH roof panel finishers.
6. Fit tail door glass upper finisher.
7. Connect all ECUs.
8. Connect alternator.
9. Connect battery earth lead.