
LR3/Disco 3
14 .
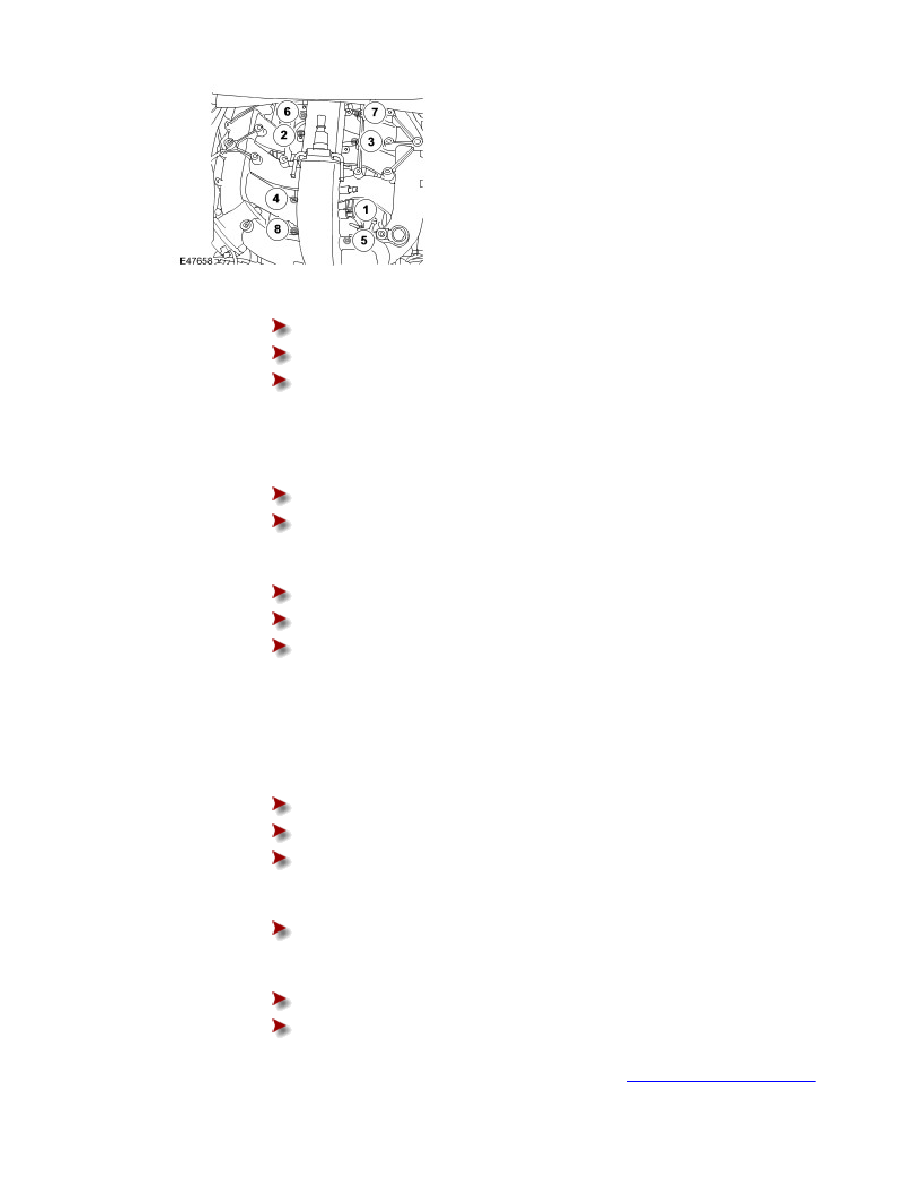
Install the remaining ignition coils.
Tighten the bolts to 6 Nm (4 lb.ft).
Tighten the studs to 6 Nm (4 lb.ft).
Connect the HT electrical connections.
15 .
Connect the ignition coil electrical connectors.
16 .
Connect the fuel line to the fuel rail.
Clean the component mating faces.
Install the clip.
17 .
Secure the coil wiring harness.
Connect the coil harness ground cables.
Tighten the nuts to 6 Nm (4 lb.ft).
Position and secure the clips.
18 .
Connect the intake manifold tuning valve electrical connector.
19 .
Connect the vacuum pipe to the inlet manifold.
20 .
Secure the purge line to the intake manifold.
Install the spacer.
Install the bolt.
Tighten the bolt to 6 Nm (4 lb.ft).
21 .
Connect the crankcase vent hose.
Clean the component mating faces.
22 .
Connect the intake manifold coolant hose.
Secure the clip.
Remove the hose clamp.
23 .
Install the air intake resonator. For additional information, refer to
Intake Air Resonator (19.70.03)
(Section 303-12A Intake Air Distribution and Filtering - 4.0L)