
B3000 SE Regular Cab 4WD V6-3.0L OHV (1998)
NOTE: Inspect the propeller shaft slip-yoke for wear and damage. Replace if required.
5. Align the drive shaft with the marks made during removal to ensure correct balance.
6. Install rear propeller shaft.
7. Lower the vehicle.
8. Fill the transmission to the proper fluid level.
1) Use Mazda ATF TYPE 5 fluid.
9. Check for proper transmission operation.
EXTENSION HOUSING AND GASKET REMOVAL/ INSTALLATION
1. Disconnect the battery ground cable.
2. Raise and support the vehicle.
NOTE: To maintain initial propeller shaft balance, mark the rear propeller shaft yoke and axle flange so they may be installed in their original
position.
3. Mark the rear propeller shaft.
4. Remove the rear propeller shaft.
5. Remove transfer case (4x4 only).
6. Remove wire harness locators from extension housing wire bracket (4x4 only).
7. Remove the transmission mount nuts.
8. Raise and support the transmission.
9. Remove the transmission mount.
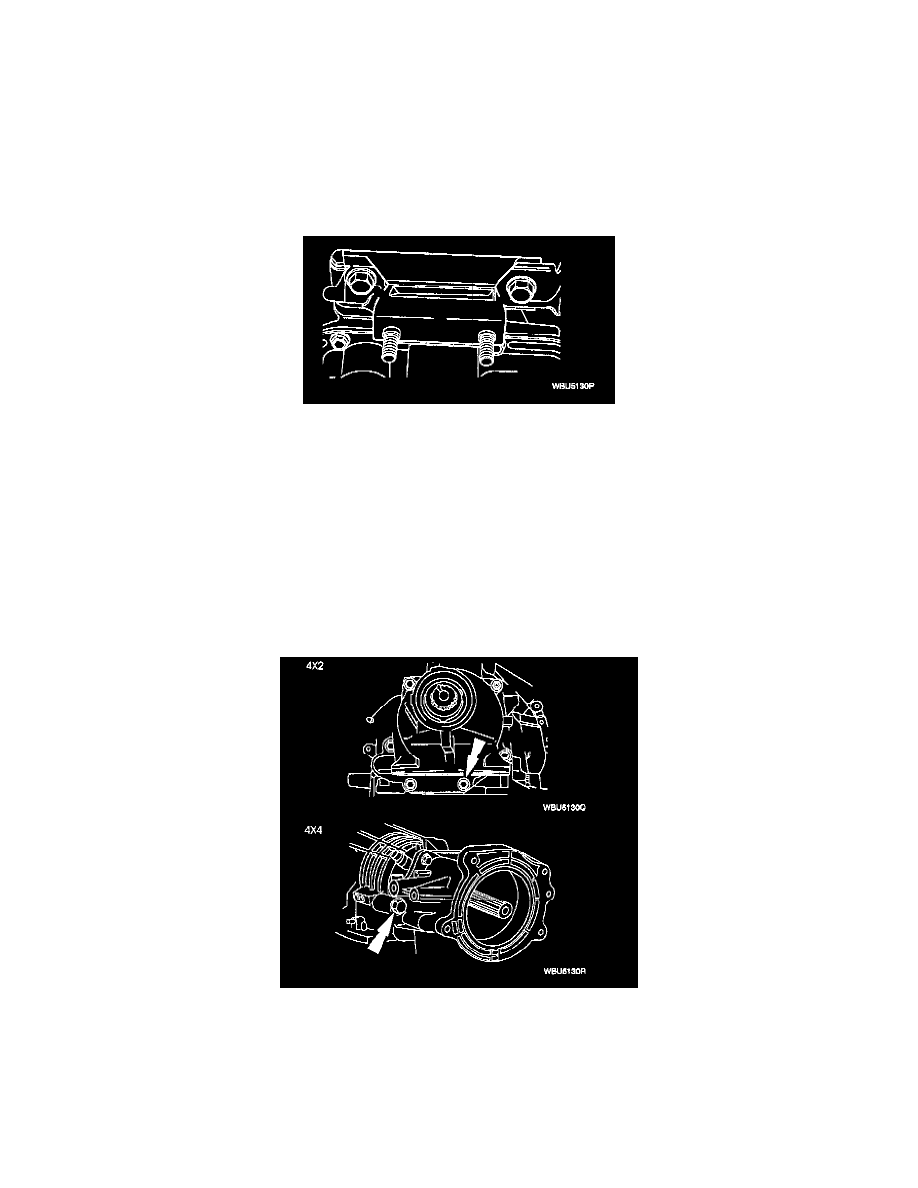
10. Remove the screws and stud (s).
NOTE: The parking pawl, parking pawl return spring and parking pawl shaft could fall out during removal of the extension housing.